
AshuraDX
-
Posts
2,319 -
Joined
-
Last visited
Content Type
Profiles
News Articles
Tutorials
Forums
Downloads
Posts posted by AshuraDX
-
-
Lets make a topic there and discuss this. I know Jason still checks in often.
messaged him on skype allready but didn't get an answer yet (hurray for timezone differences) , but feel free to open a thread - I'll pass the link to him
therfiles likes this -
There was actually no official end, it's just the fact that the last post in their internal forum is almost one year old. They didn't release anything yet. I guess it would be the best to ask for the files as long someone got them on his computer... would be a shame if everything would get lost
I could ask what the others think about this, I wouldn't mind releasing my stuff
-
I have done a jawa reskin, and equipped them with fusion cutters, yes but it's not a new model
I need to find the motivation to work at that clonetrooper stuff , atm I'm rather up for smaller 2-3 day projects, such as this or this stuff, as I know that I can finish them
ChalklYne likes this -
I really like that animation !
do what @@Archangel35757 just suggested though
also :
I think adding a camera shake effect to the impact frame for that death anim via animevents.cfg would be a great idea, probably you could also add a slight camera shake for the steps I guess it would really help the immersion and believeability of this heavy walker
minilogoguy18 and Jeff like this -
try baking a bent normal map using xnormal, extracting the green channel and putting that ontop of your texture using a blendmode such as soft light or screen
it should give you a nice "light from top" effect
or get a curvature map from your normal map /bake it from your mesh and overlay that for some cavity shadows & edge highlights
-
@zeƒilus that helmet is sooo lowpoly - it'd look extremely crappy XD
-
I use Bamboo, though I would like to have a more powerful tablet. It works differently for Mac and PC, so I am still undecided what to do. =) But it helps creating textures and pictures nonetheless.
Do you use Corel Draw or Photoshop? Or maybe something else?
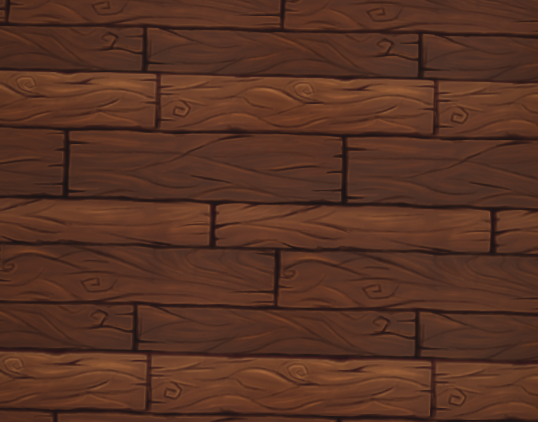
I really like the clean look of the wooden texture.
My tablet : http://www.amazon.com/Huion-H610-Graphics-Drawing-Tablet/dp/B00GIGGS6A
I'm painting in photoshop btw
NumberWan likes this -
-
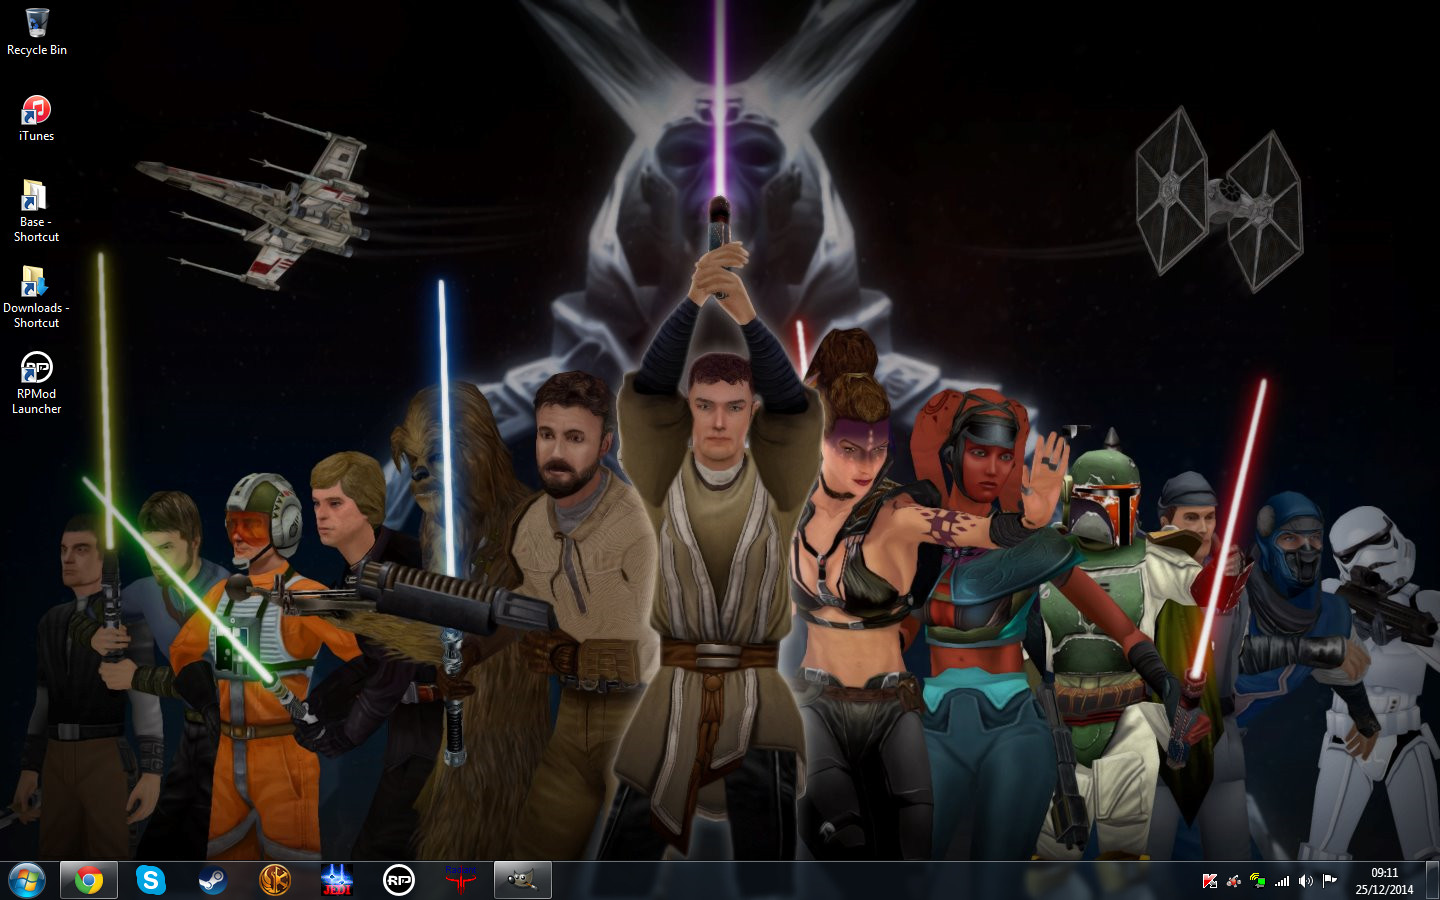
Thank you for my gift, Secret Santa!
If anyone's curious...

Glad you like it !
-
yeah sure, take the devaronian head
-
and I think I finally figured out what bothers me at that walk cycle ^^U
lower him a bit, the "ankle-segment" of his elgs is standing upright for most of the aniamtion rather than being slanted back and resting in the spring/catch once weight is put onto that foot
-
-
Please explain me with some images, because I know nothing of modelling and I don't know where to put hand
that's your problem my friend, you don't understand what you are doing exactly and tzhat is why these errors come up
I'd suggest watching tutorials to get the basics of blender
I can't really help you with anything blender specific, neither can @ as we both use 3ds Max instead of Blender - but I can tell you what causes this error :
Every vertex (the small points that shape the model) has 3 sets of coordinates
2 of them are 3-dimensional (X,Y,Z) and the last one is 2 dimensional(U,V)
the 3d ones, namely Normals (direction) and Position are not interesting to us here
the problem lies within the 2d UV-coordinates, the uv coordinates define the position of the vertex on your 2d UV map, which tells the engine which part of your texture belongs to that vert.
So to fix this problem you will have to identify the vertex causing the problem and re-uvmap/uvw-unwrap it
look for tutorials on how to do this in blender, you could watch this one for example :
you will have to find your way from here on - good luck !
-
Excuses man, you manage to communicate quite well in english here so you should be able to understand tutorials aswell
preferring somebody else to do something for you as it would take some effort sounds pretty lazy to me =P
-
why should we do what you are to lazy to ?
why can't you export the model with the horns ?
Which error message is coming up ?
Delmi likes this -
-
Omicron likes this
-
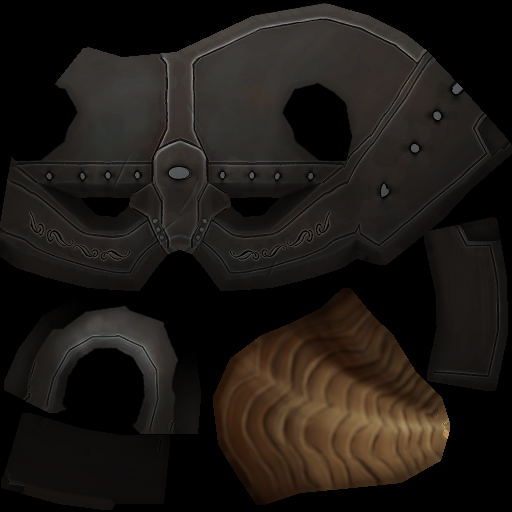
That armor set does indeed look quite cool...
I might do that some time, if I can don't know wether the model will work in Jedi Academy then though- mgiht end up in skyrim or just as a nice portfolio piece
-
@@AshuraDX what kind of tablet did you get, I'm thinking about getting a new one soon.
Huion H610 Pro probably the best you can get for 70€
-
Since my new Graphics Tablet arrived I just had to do some stylised texturing, enjoy my handpainted 256x256 Wood texture !
I also changed the title, as this was not done entirely using substance designer (only used for the render and to process my painted Height map into a normal map)
click the image to see all texture maps
-
Well that error pops up in carcass when my Hierarchy is fucked up - it basically means that you have a few objects not linked in to your hierarchy
here's an excerpt from an old guide for 3ds max, found on @@Psyk0Sith's site
This list is in the order you need to select things and then link them.
bolt_l_leg_calf
bolt_l_leg_cap_hips
bolt_l_leg_foot
l_leg_cap_hips_off
-select them and link to l_leg
-----------
bolt_r_leg_calf
bolt_r_leg_cap_hips
bolt_r_leg_foot
r_leg_cap_hips_off
-select them and link to r_leg
------------
bolt_head_back
bolt_head_cap_torso
bolt_head_eyes
bolt_head_front
bolt_head_left
bolt_head_right
bolt_head_top
head_cap_torso_off
*face + eyes also need linking if you've included them.
-select them and link to head
--------------
bolt_l_hand
bolt_l_hand_cap_l_arm
l_hand_cap_learn_off
-select them and link to l_hand
---------------
bolt_r_hand
bolt_r_hand_cap_r_arm
r_hand_cap_r_arm_off
-select them and link to r_hand
----------------
bolt_r_arm_cap_r_hand
bolt_r_arm_cap_torso
bolt_r_arm_elbow
r_arm_cap_r_hand_off
r_arm_cap_torso_off
r_hand
-select them and link to r_arm
-----------------
bolt_l_arm_cap_hand
bolt_l_arm_cap_torso
bolt_l_arm_elbow
l_arm_cap_l_hand_off
l_arm_cap_torso_off
l_hand
-select them and link to l_arm
-----------------
bolt_back
bolt_chestg
bolt_hip_bl
bolt_hip_br
bolt_hip_fl
bolt_hip_fr
bolt_hip_l
bolt_hip_r
bolt_lchest_l
bolt_lchest_r
bolt_shldr_l
bolt_shldr_r
bolt_torso_cap_head
bolt_torso_cap_hips
bolt_torso_cap_l_arm
bolt_torso_cap_r_arm
bolt_uchest_l
bolt_uchest_r
torso_cap_head_off
torso_cap_hips_off
torso_cap_l_arm_off
torso_cap_r_arm_off
head
l_arm
r_arm
-select them and then link them to torso
------------------
bolt_hips_cap_l_leg
bolt_hips_cap_r_leg
bolt_hips_cap_torso
bolt_hips_l_knee
bolt_hips_r_knee
hips_cap_l_leg_off
hips_cap_r_leg_off
hips_cap_torso_off
torso
l_leg
r_leg
-select them and then link them to hips
--------------------
hips
-select and link it to stupidtriangle_off
--------------------
stupidtriangle_off
-select and link it to mesh_root
--------------------
mesh_root
-slect and link it to model_root
here's the full tutorial :
-
-
haha the old subdivided Cube=sphere trick ;D well done
textures look great
-
I started this guy any suggestions for the piece that should go on his right shoulder, cause I'm out of ideas.
model it yourself maybe ?

Kualan's Kitbash Workshop
in WIPs, Teasers & Releases
Posted
yes and 4 arms, these are the reasons why nobody tackled him before