
AshuraDX
-
Posts
2,319 -
Joined
-
Last visited
Content Type
News Articles
Tutorials
Forums
Downloads
Posts posted by AshuraDX
-
-
hm that's interesting
could oyu upload your gloss image to imgur or something and post a link here ?
-
hm good question , the first thing I'd do is bring this stage
{

map models/players/shadow_stormtrooper2/armor-spec

blendFunc GL_SRC_ALPHA GL_ONE

detail

alphaGen lightingSpecular

}
below all others
then probably you could recreate the old shader and test both shader variants in the same spots , and see if the old one behaved similiar
or you could brighten up the gloss image a little
-
@@Psyk0Sith nope Kain is not textured , I was going to do so and had quite some progress
I knid of forgot about that , until now
I'll see wether I can find my old psd's and probably get back to it sometime soon
-
-
so.... can I mark this as solved @@Asgarath83 ?
-
shiiiit.... how many effects are you running at the same time ?
well I can only tell you to reduce the amount of efx used in your mod
you should know : a ton of effects =/= spectacular mod , if these effects are very flashy , bright and colorful it will also burn the players eyes out
also - please work on your english
it's often kinda hard to get what you are saying , you dont have to in any way but I doubt I'm the only one who thinks so
You're probably using way too many tris/polygons.
The effect gets repeated for each glow chunk of the saber I believe. Try it out with 1 particle, 200ms life and a simple white shader. Note how many times the effect gets repeated.nope , the effect get's only displayed once for each tag_blade in your weapon model
Circa likes this -
Well, Uvmapping distorsion, maybe yu create a new division: metal trooper!

it's not the UVs that are fucked up , the mesh normals are fucked up
-
my saberbuilder worked like this :
I made a single w_saber.glm file including all of the parts
these parts are named :
Emitter1-3;Body1-3;Button1-4;Handle1-3;Pommel1-3
the Saberbuilder I made actually just generated .skin files that *offed all parts that were not chosen and
gave the pieces the chosen textures
here are some examples :
Emitter1,models/weapons2/saberbuilder/off.tga
Emitter2,models/weapons2/saberbuilder/Emitter4.tga
Emitter3,models/weapons2/saberbuilder/off.tga
Body1,models/weapons2/saberbuilder/off.tga
Body2,models/weapons2/saberbuilder/Body4.tga
Body3,models/weapons2/saberbuilder/off.tga
Button1,models/weapons2/saberbuilder/off.tga
Button2,models/weapons2/saberbuilder/Buttons1.tga
Button3,models/weapons2/saberbuilder/off.tga
Button4,models/weapons2/saberbuilder/off.tga
Handle1,models/weapons2/saberbuilder/off.tga
Handle2,models/weapons2/saberbuilder/Handle4.tga
Handle3,models/weapons2/saberbuilder/off.tga
Pommel1,models/weapons2/saberbuilder/off.tga
Pommel2,models/weapons2/saberbuilder/Pommel4.tga
Pommel3,models/weapons2/saberbuilder/off.tga
Emitter1,models/weapons2/saberbuilder/Emitter2.tga
Emitter2,models/weapons2/saberbuilder/off.tga
Emitter3,models/weapons2/saberbuilder/off.tga
Body1,models/weapons2/saberbuilder/Body2.tga
Body2,models/weapons2/saberbuilder/off.tga
Body3,models/weapons2/saberbuilder/off.tga
Button1,models/weapons2/saberbuilder/Buttons4.tga
Button2,models/weapons2/saberbuilder/off.tga
Button3,models/weapons2/saberbuilder/off.tga
Button4,models/weapons2/saberbuilder/off.tga
Handle1,models/weapons2/saberbuilder/Handle2.tga
Handle2,models/weapons2/saberbuilder/off.tga
Handle3,models/weapons2/saberbuilder/off.tga
Pommel1,models/weapons2/saberbuilder/Pommel2.tga
Pommel2,models/weapons2/saberbuilder/off.tga
Pommel3,models/weapons2/saberbuilder/off.tga
the program also generated a .sab file which directed the game to display the specified name and directed to the .skin file connected to that name
for example , assumnig your saber was named Test the Saberbuilder would write this in a .sab file:
//Generated by SaberBuilder 0.5 C:AshuraDx
Test
{
name "Test"
saberType SABER_SINGLE
saberModel "models/weapons2/Saberbuilder/Saberbuilder.glm"
customSkin Test
saberLength 40
saberColor random
}
in the end my tool ran a command line command which simply zipped up all the required files for your personal hilt (the .skin and .sab file) and in the end renamed the file from
.zip to .pk3 that's the whole "magic" behind my old Saberbuilder so no @@ChalklYne you dont need to save a few hundred models
I bet this could and most likely would be done differently for an ingame editor
an Ingame editor should work like the character customization :
this will require the creator of a new "saber parts pack" that's going to be added to the saber customization menu to
create small .skin files for each of their emitters , handles , pommels and buttons (or whatever pieces you want to be interchangeable)
If I knew anything about coding in C or C++ I could probably pull that off as I bet you can just copy&paste the Player customization code , and then make some alterations
but as my Programming skills are limited and I allready tend to produce a huge mess in simple programming languages like java I'll leave that to the more experienced coders on this site
-
Try to keep the paint pieces as sharp&crisp as possible ,it'S supposed to look like paint was scratched off
not smudged around so you dont want any other opcity values than 100-90% and 10-0%
-
Maybe someone then should just try to break the model at the UV seams before export in an attempt to preserve the normals, in the game the 'hard' edges are noticeable when light hits them.
tried that , have to wait for this converter to be finished or find my old max 2010 installer
-
pass me your pk3 via pm please , I'll try to find the error and correct it for you
I'll leave comments in your shader so you'll be able to find out what I changed
-
@@Rage , for your candle Light shader you could try 3 things :
a. use yiour candle shader as spriteimage for a sprite drawing shader , then apply that sprite shader to a little plane that's horizontal above the candle
the sprite should then get drawn upright on top of the plane and should allways turn to face the player
b.simply use FX runners for your candle flames
c. (for cheap) just use 2 planes with your candlelight shader and turn the copy around 90°
-
Use the AT-ST lreferences I posted andm odle the legs after them , then modle a basic ST head (just a box)
and model your CT head using that box for scale reference
I can remember drawing side and front sketches for the CT "head" myself , I'll see if I can find them but I highly doubt it
-
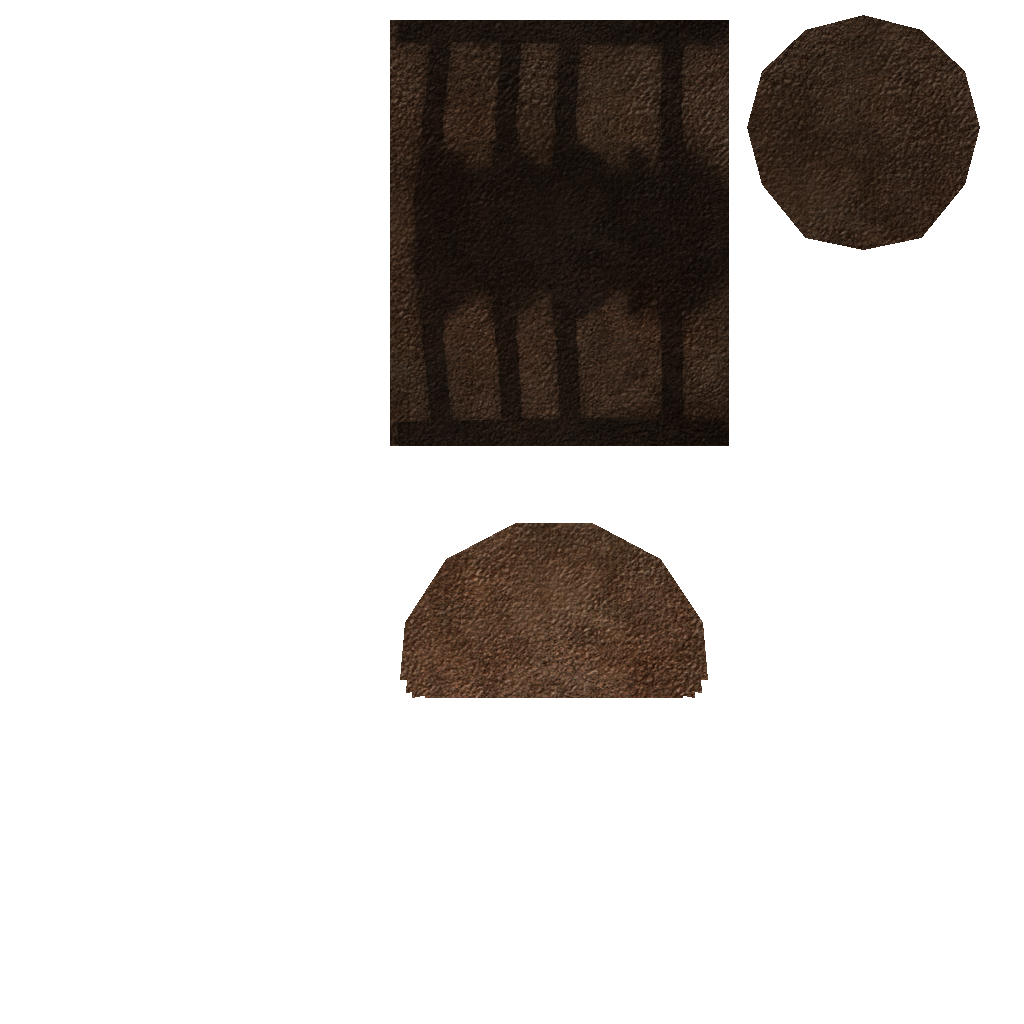
//hiddenblade
models/weapons2/hiddenblade/w_blade
{
    q3map_nolightmap
    cull    twosided
    {
        map models/weapons2/hiddenblade/w_blade
        blendFunc GL_ONE GL_ZERO
        rgbGen lightingDiffuse
    }
    {
        map models/weapons2/shortsword/env_chrome
        blendFunc GL_DST_COLOR GL_SRC_COLOR
        detail
        alphaGen const 0.1
        tcGen environment
    }
    {
        map models/weapons2/hiddenblade/w_leather
        blendFunc GL_SRC_ALPHA GL_ONE_MINUS_SRC_ALPHA
        rgbGen lightingDiffuse
    }
    {
        map  models/weapons2/hiddenblade/w_blade_spec
        blendFunc GL_SRC_ALPHA GL_ONE
        detail
        alphaGen lightingSpecular
    }
}
here are the used textures
w_blade :
w_leather :
so you have to prepare yourt extures like this ,
my w_leather is used to cover up areas that are not supposed to shine therefore I alphamapped all areas that should shine out
after preparing a copy oif your texture like this you just have to add this between your specular and ENV stage
{ map models/players/shadow_stormtrooper2/armor_nogloss blendFunc GL_SRC_ALPHA GL_ONE_MINUS_SRC_ALPHA //detail - remove the slashes and this text in order to make this stage detail rgbGen lightingDiffuse } -
proportions are f*cked
check this out :
and you should check this out aswell , these will help you with the general shape , proportions and detail of a generic AT-ST
I Used these ref pics back when I made my AT-Walker models and jsut altered the pilotbooth and weapons for the KT and CT variants
here are further pics of my old AT-CT for youand
it's a shame that I lost these models , they could have used some optimization and a retexture but they'd have been a solid base for youBarricade24 likes this -
I'd use overlays to cover the parts that are not supposed to shine
simply create an alpha channel on a copy of your texture that's transparent in places the model is supposed to shine
and put that as an alphamapped diffuse stage above the shine stage in your shader
if you need an example for this check out my assassins Creed weapons pack
I used this for the hidden blade I think
-
nope never experienced that @@Archangel35757
-
guys , it's just opening a directory o nthe site I posted and then spamming middlemousebutton to open all files in a new tab and then download ~10-20 maps over night if possible
-
http://www.gamefront.com/files/listing/pub2/star-wars-jedi-knight-jedi-academy
we better get to work...
the map folders are sepperated by gamemode and then subdivided by title
If we get a plan setup like this :
user1 | FFA |0-9
user2 | FFA |A-J
user3 | FFA |K-T
and so on
and the same for the other gamemodes I guess we'll be good to go
who'd be willing to participate in this ?
-
Anyone have any tips making select parts of a model be shiny and reflective? I tested around with this:
map models/players/shadow_stormtrooper2/shine
blendFunc GL_DST_COLOR GL_SRC_COLOR
rgbGen lightingDiffuse
tcGen environment
but it did not give me the result I wanted. Anyone have any other types on getting the result I am looking for?
well if you get me a pic of what your current shader looks like ingame , show me your shine texture and tell me what you want to achieve I guess I can
-
I'd sharpen those decals a little , they appear alittle blurry
-
@@Circa it's still not be worth the effort and I dount that woudl look good in any way
-
@@katanamaru no , that is only for the bonuding boxes (collision) as far as I know
-
http://starwars.wikia.com/wiki/Kell_dragon
shiiiiiet that is one ugly lowpoly model there , but going but those pics I have to agree , a howler skeleton just wouldn't work
btw @@ChalklYne you posted a Krayt Dragon


 and
and

Kain - Legacy of Kain series
in WIPs, Teasers & Releases
Posted
@@Asgarath83 the model is not mine it's made by @@minilogoguy18
I was just texturing it , and I plan to finish it If I can find my old psds somewhere on my external drive