MagSul
-
Posts
1,087 -
Joined
Content Type
News Articles
Tutorials
Forums
Downloads
Posts posted by MagSul
-
-
That is not a 2^n based resolution.
Try 2048 or 4096 squared.
Good point! My bad.

-
I multipled it to 3072px just to see what happens. I got this:
-
Wasa, Noodle and bigphil2695 like this
-
There used to be a fulfilled tag you could attach to posts in the requests forum. My first request still has it: https://jkhub.org/topic/737-vehicle-model-request-dark-forces-the-moldy-crow/
I notice that if I try and edit the post now, I don't see that option. JKHub 2.0, maybe?
Pickles256 likes this -
I've an NPC who delivers dialog when interacted with. She speaks without issue and then we fade to black. During that time the original NPC is removed and a new one is placed on the dueling mat opposite the player. When the player hits 1HP, the NPC does a quick emote, says a line of dialog and then we fade to black again. While the screen is faded out, the original NPC is respawned and the one that was on the dueling mat is removed.
My problem is that when the original NPC is respawned, she won't deliver the next line of dialog by herself. I've tried this two ways: First is to simply put this at the end of the script upon fading back in:
//(BHVD)


affect ( "npc_ella", /*@AFFECT_TYPE*/ FLUSH )
{
set ( /*@SET_TYPES*/ "SET_LOOK_TARGET", "player" );


task ( "jedi_zfintro1 line 2" )
{
print ( "Let me know if you're ever free for any more." );
sound ( /*@CHANNELS*/ CHAN_VOICE, "sound/chars/ella/01ella007.mp3" );
}


dowait ( "jedi_zfintro1 line 2" );
}
The alternate way was to make a separate script to be fired instead. Neither seems to work. Does anyone have any suggestions that may be able to help me resolve this? -
//(BHVD)set ( /*@SET_TYPES*/ "SET_PLAYER_TEAM", /*@TEAM_NAMES*/ "TEAM_PLAYER" );Cheers! That's all sorted.
Droidy365 likes this -
Okay so, take model_default.skin as an example... Break it up into head_a1, torso_a1 and lower_a1 in line with the tutorials you mentioned you've already read. Make an icon for each .skin with an identical name. Then for model_hood.skin split it up into head_b1, torso_b2 and lower_b1. Rinse and repeat for the rest of the outfits! As Circa said, what's particularly more advanced that you need help with?
-
I found this in the BehavED manual:
SET_VAMPIRE "true/false" Draws only in mirrors/portals
Try enabling that with a script, maybe?
RebelChum likes this -
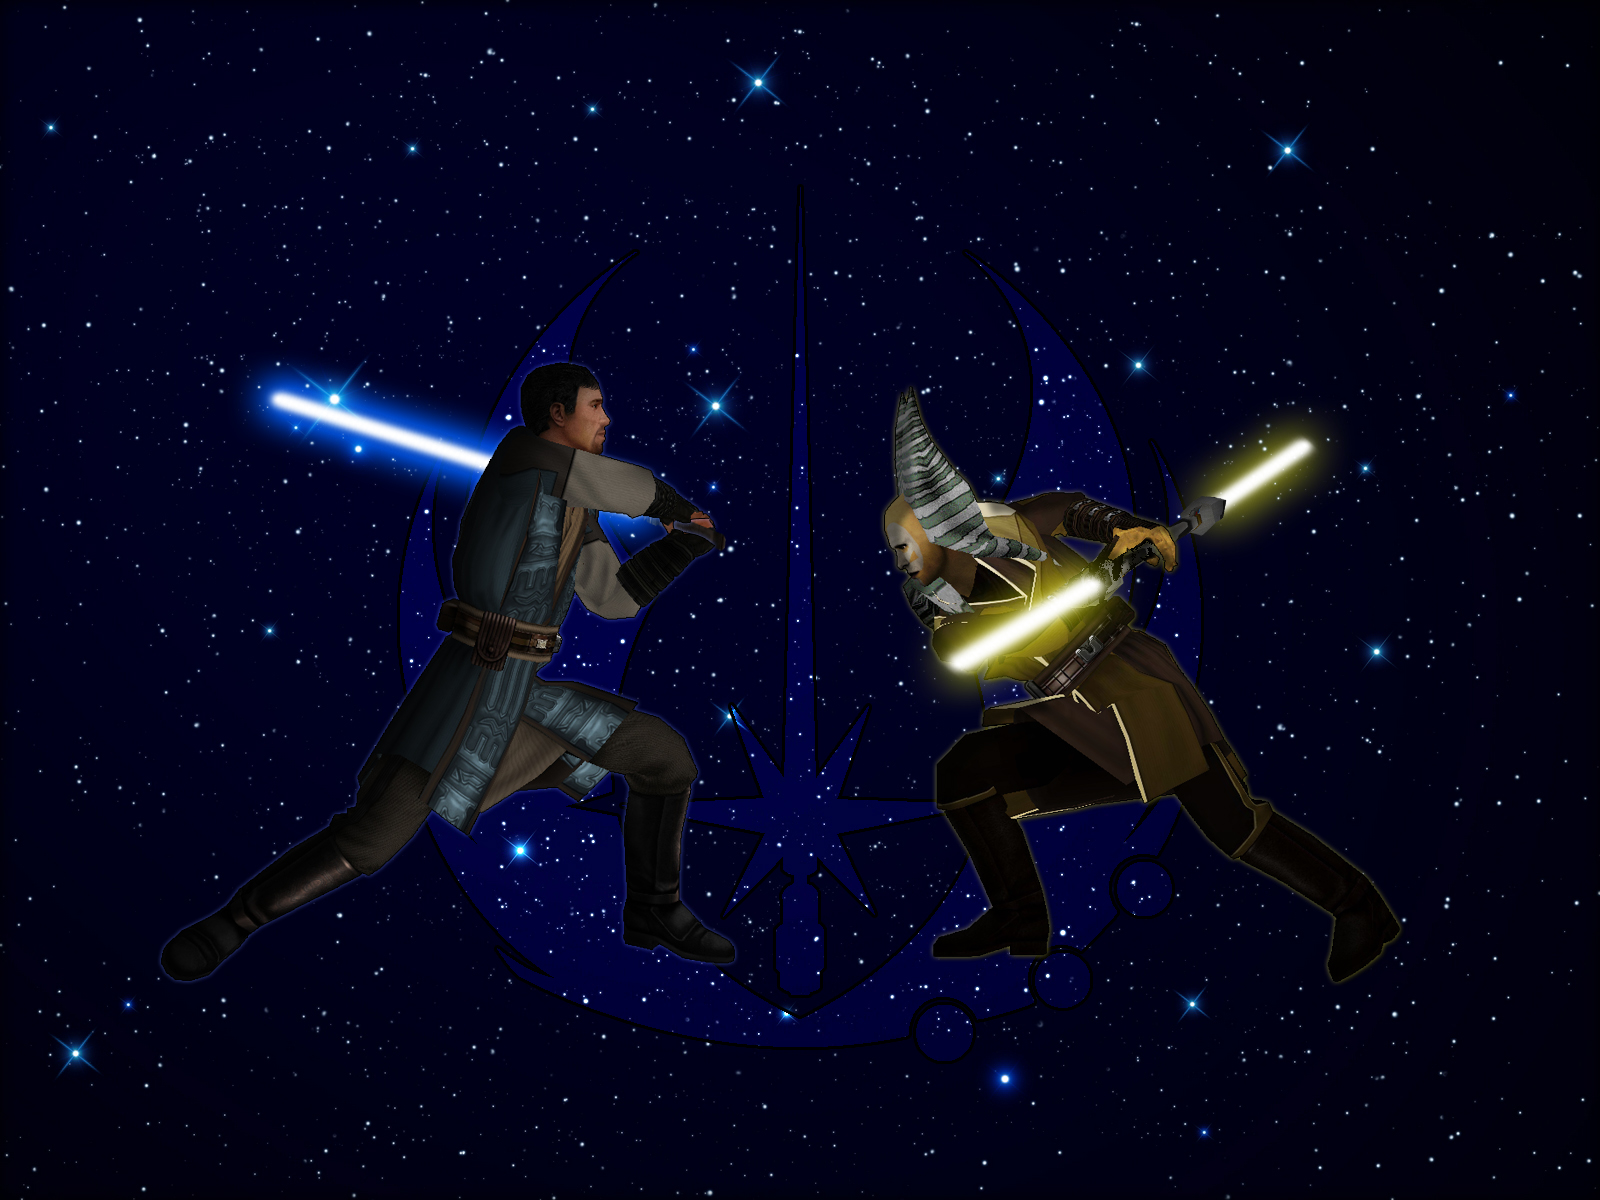
Following dialogue with the NPC in the picture below, the screen fades out and the player is placed on the sparring mat against a new NPC with the same likeness while the old one is removed. When the player's defeated, both parties are frozen and the screen fades out. The player re-appears with the original NPC and the aggressive one is removed.
Question: After the spar has taken place, every NPC in the map creates a red cross-hair when targeted by the player and the player's head will always focus on nearby NPCs whereas before the duel, that doesn't happen. Would anyone happen to know how to fix this so that the player model doesn't turn her head to look at every nearby NPC and look at them like an enemy?
Before:
After:
-
im working on this map
I was tempted to give it a go whilst I was watching this episode too. I'm eager to see your progress when it comes!
-
There were a lot of great submissions. Congratulations, Artemis!
Artemis likes this -
Jeff, the_raven and OfficialRedNation like this
-
Early or not, that does look superb, @@sebcrea!
I really like the detail you've put into Boc's face. He looks just as menacing as I remember!
-
I really like the cave work, well done!
-
Also, define "Old Republic Era" - there are several periods
That's what the "other" option is for!
You should just help with the Star Wars Saga mod.
I wouldn't be very good at making maps based on the films. I am terrible at making custom textures and shaders!
I'm interested in the Force Sensitivity results. May make an alteration to my plans off of that.
-
I really enjoyed both episodes and I'm curious to see how they're going to wrap up the whole thing. ^.^
Circa likes this -
-
All of the music files for Jedi Academy are stored in the assets0.pk3 inside of your base folder. If you open it with Pakscape, you should be able to work out the file structure pretty quickly. Just extract the music from the .pk3 to listen to it and know what you're replacing first. Then, choose your tracks and change their file name to match a track from the original game and place it back inside of a new .pk3 with a matching folder structure.
For example:
Let's say I wanted to replace the music that plays in the Yavin temple with "Yoda and the Younglings" from Attack of the Clones.
I'd make a new .pk3, create a folder inside named music and then create a folder inside of that called yavin2_old. After that, I'd make a copy of my Yoda and the Younglings.mp3 and rename it to yavtemp_explore.mp3 and place it inside of the folders I've just created in my new .pk3. I save the .pk3 and place it in the base folder and that's it, done!
I know what to name the folders and the .mp3 because in assets0.pk3, there's music/yavin2_old/yavtemp_explore.mp3 and that's the track that plays on the Jedi Academy levels.
General Howard likes this -
As is well-documented, Star Wars Rebels went right back to the source — original Star Wars concept artist Ralph McQuarrie — to provide the aesthetic blueprint for the series. Returning to McQuarrie’s work was a long time desire for executive producer Dave Filoni, an artist himself. Many of the vistas and cityscapes, including Lothal’s capital city, were inspired by McQuarrie’s designs — in fact, Filoni used McQuarrie artwork to show Lucasfilm president Kathleen Kennedy how Rebels would look. Likewise, the character Zeb is modeled after McQuarrie’s own original idea for Chewbacca, and an earlier design for Jabba the Hutt appears on the show as Azmorigan, a crime boss. As Filoni told StarWars.com, “We wanted something that was going to be reminiscent of the original trilogy, so I suggested we base it on Ralph’s designs. I wanted to do that on Clone Wars, but honestly, we didn’t have the know-how to accomplish it at the time. We were able to do it with Rebels though, with round-shaped characters and things that were a bit more classic animation.”
Here's a more thorough interview from Hero Complex: http://herocomplex.latimes.com/tv/star-wars-rebels-ralph-mcquarrie-legacy-on-view-in-animated-series/#/6
-
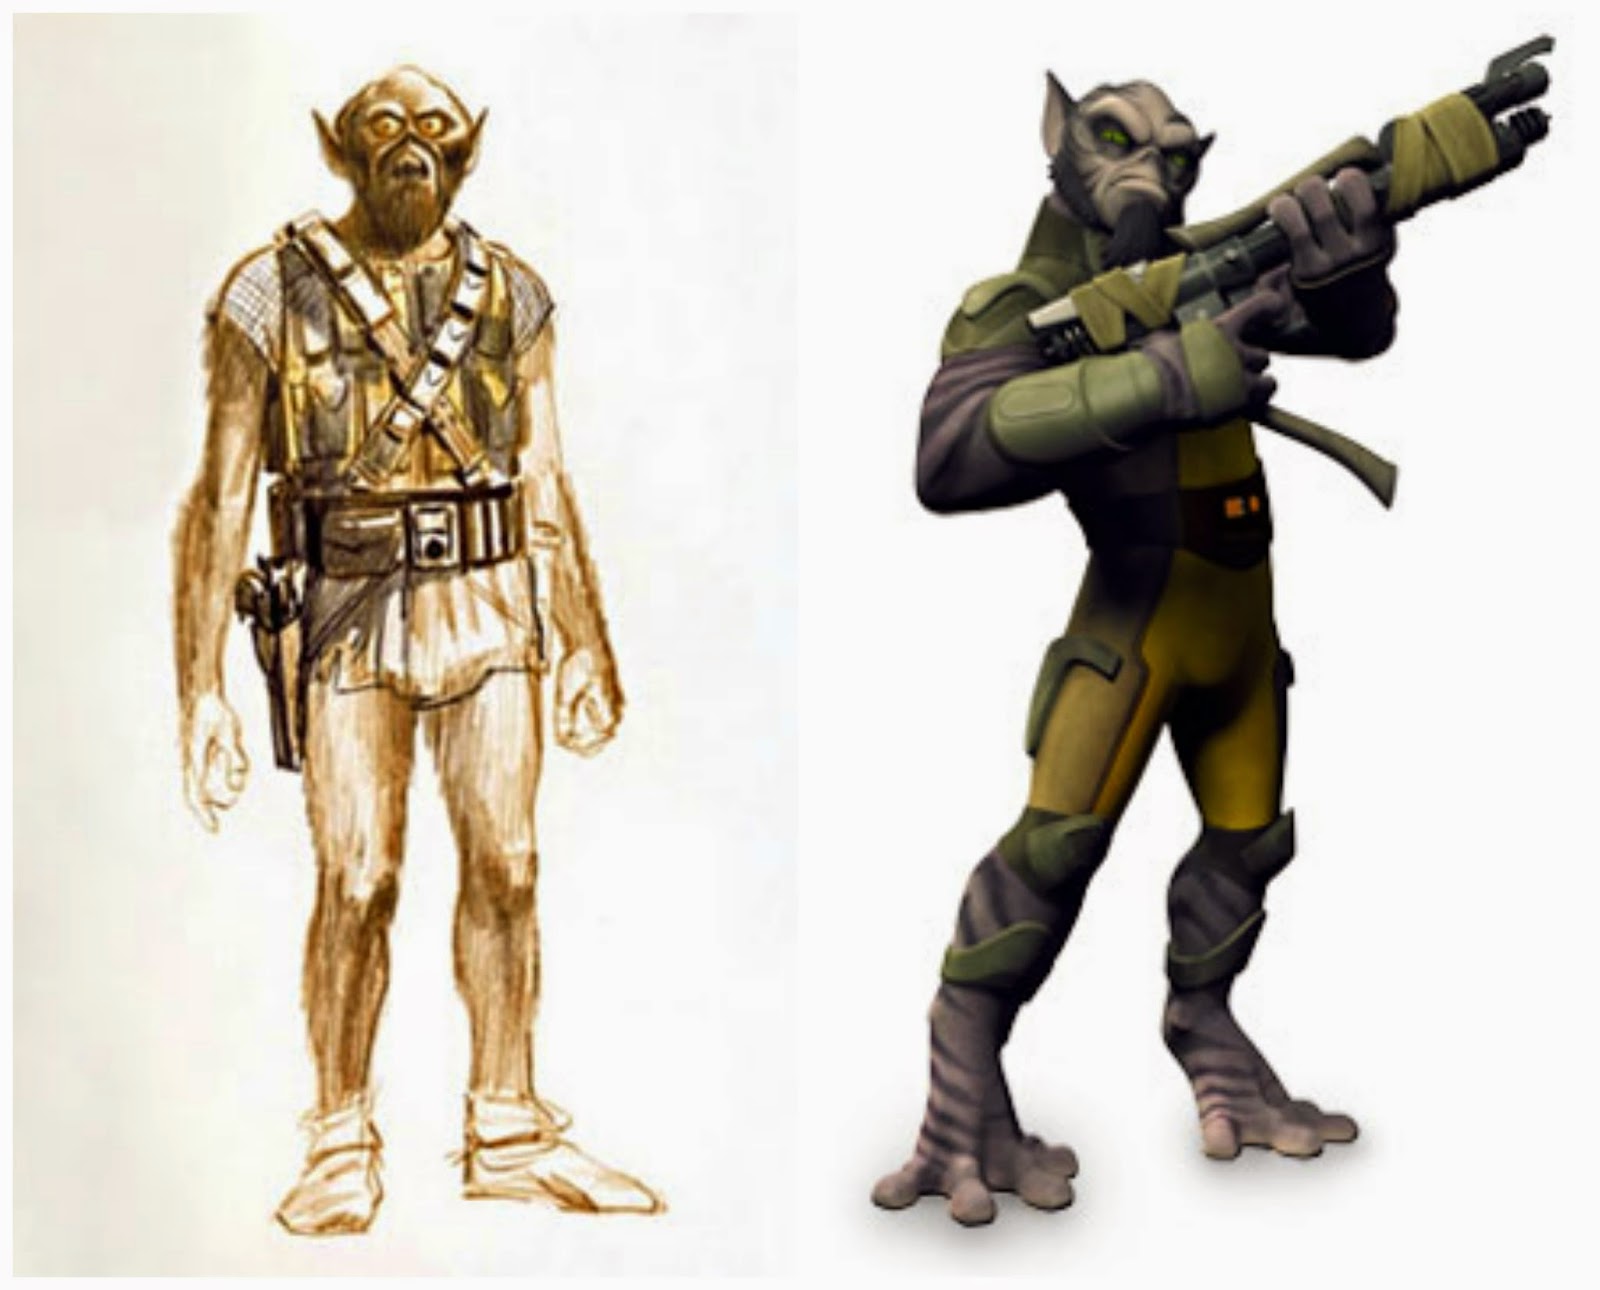
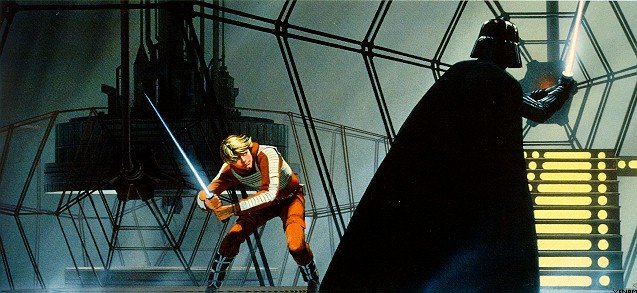
Star Wars Rebels takes a lot of inspiration from Ralph Mcquarrie, the concept artist for the original trilogy. In his concepts, the lightsabers had very thin blades:
The design of Zeb is Ralph's original Chewbacca concept. If you look through his artwork, you'll find all sorts. His original C-3PO even makes it into the show.
Here're some more examples of things you will probably recognise from episodes of Rebels:
- Zeb (Original Chewie design): http://4.bp.blogspot.com/-ItupKaSPK9Y/VUV5NjdGuXI/AAAAAAAAQQI/EyZIagdyXDs/s1600/zebchewie.jpg
- More Lightsabers: https://3.bp.blogspot.com/-S6hKJzg0Tic/UhvrvMhdV2I/AAAAAAAAOu8/78kKRMTCbhk/s640/luke-and-vader-duel-concept.jpg
- Leia's Outfit: https://static1.squarespace.com/static/56272186e4b0a79b5123f467/t/56a4672a5a5668d9c8ca641e/1453614896432/
- The Spiders (Original Dagobah): http://starwarsblog.starwars.com/wp-content/uploads/sites/6/2014/08/McQuarrie35.jpg
-
Since I can't delete my own thread! I solved this a moment ago after looking at the original Jedi Outcast temple for reference. Rather than tick "inactive", I've ticked "locked", which contrary to what GTKRadiant says, will allow you to use the door again. So a trigger_once points to a target_relay which in turn points to a locked door. Firing the trigger unlocks the door, no target_activate required.
-
Good morning! I'd placed an affect on the player already and that wasn't working. I've done a bit of a cheaty way which is to just have the animation line re-appear a few times in the script. It's not the most efficient way, but it works without hindering anything so it'll do for now.
-
I feel like I've been making dozens of these recently! A particular target_activate in my map doesn't seem to be working and I'm struggling to work out why before sleeping on it. I've two doors which open together into the main dojo. The key/value combinations are as follows:
angle 270 (and 90)classname func_doorsoundset impdoor1spawnflags 128 (inactive checkbox ticked)speed 60targetname arenaentranceteam duelwait 5I've then made a target_activate, the targetname of it is "arenaunlock", the "target" is "arenaentrance".Finally, I have a script which reads as follows://(BHVD) rem ( "The player can unlock the dojo if they bother to pick up a training saber." ); affect ( "player", /*@AFFECT_TYPE*/ FLUSH ) { set ( /*@SET_TYPES*/ "SET_WEAPON", /*@[member='weaponx']_NAMES*/ "WP_SABER" ); set ( /*@SET_TYPES*/ "SET_SABER1", "SINGLE_1" ); set ( /*@SET_TYPES*/ "SET_SABER1_COLOR1", "yellow" ); } use ( "arenaunlock" ); use ( "lockoff" );"lockoff" is a target_deactivate which disables a target_print and target_speaker informing the player why they can't open the door. This part of the script works completely fine, the doors just don't unlock and remain inactive.As stated above, I have plenty of other target_activates in the map, I'm not sure why this one in particular is being a problem. If anyone has any ideas/suggestions, please drop a note! -
I like it! I'm a little jealous of your terrain.


A simple Tattooine/ desert-planet-startport-type duel map?
in Mod Requests & Suggestions
Posted
It does look like a good map to begin learning on!
That's not intended to be sarky.