MagSul
-
Posts
1,087 -
Joined
Content Type
News Articles
Tutorials
Forums
Downloads
Everything posted by MagSul
-
But then if it works for that bot, why does it not it work when using it with the Mark1?
-
I should hope so seeing as we wouldn't have our lightsaber! Not a bad idea. /amsupport!
-
Once you hear him, you cannot un-hear him.
-
I got excited until I read "Padawan Anakin" Shameless self-advertisement: https://jkhub.org/files/file/539-alternate-rosh-penin-extras/
-
Those were fun to fight! I'm assuming that worked, but I'm still confused. I opened the weapons.dat in "assets0.pk3 -> ext_data" and found these entries: Then there's this: I wonder why it doesn't work, then!
-
Congratulations, you two!
-
Major Milestones Over the Past Decade
MagSul replied to Circa's topic in Jedi Knight General Discussions
*Cough* 24 August 2012 - JKHub opens to the public. *Cough* >.> -
I've known quite a few people who've played online but have never given single player a go. Y'could complete either of them in an afternoon! Although, you're not missing much as it is. If they do this "Gold Pack" thing in the other thread, play through at least so you can appreciate the differences.
-
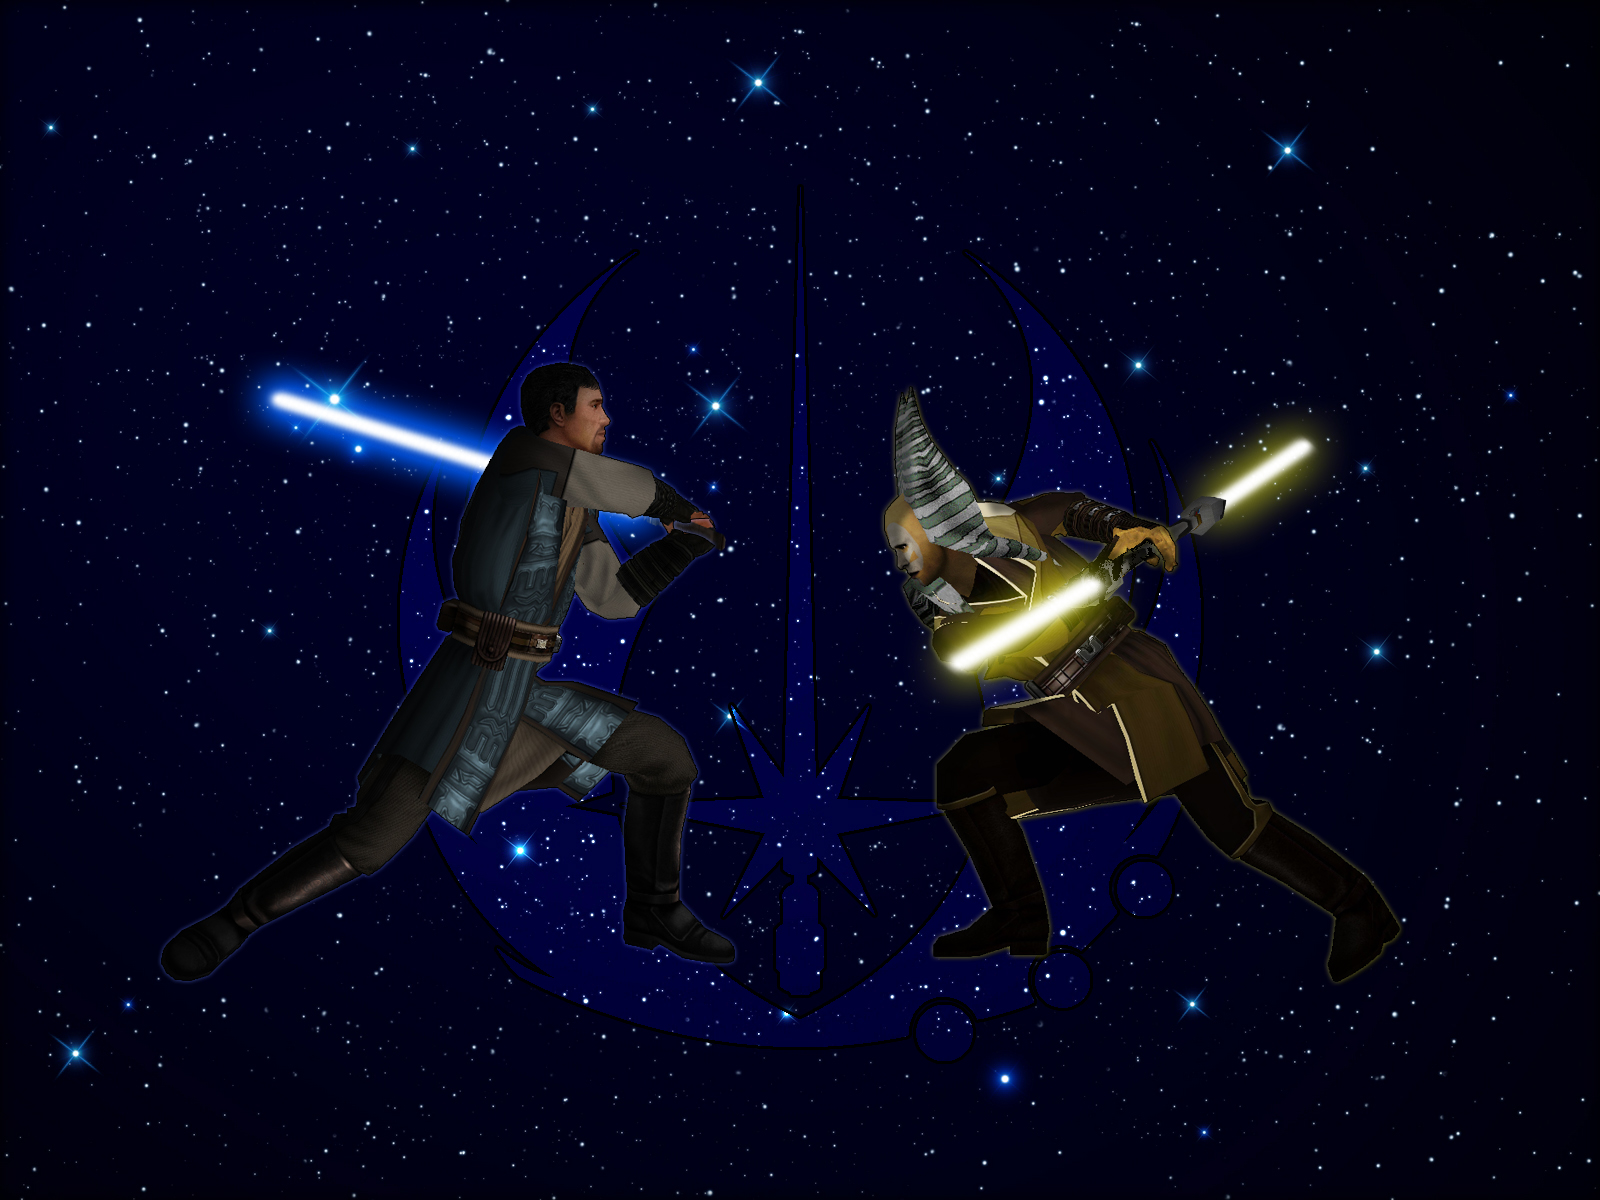
If you're looking for an idea on a replacement Force power, why not go back to Force Blinding from JK1? If you create an animation similar to what would happen if you were basically hit with a flashbang, you're mostly done! On the subject of Rosh, I agree with Therfiles. Rather than erase him completely and unlock him later, why not just replace his voice as is already planned for Jaden? With a new model and voice-over, he could be far less annoying. If anything, I'd say he needed to be featured more. I did once replace Chewbacca with Rosh, using some of his dialogue to explain him sneaking along during the intro cutscene. The only problem was the final cutscene of that mission where Chewie "strangles" Jaden. The animation looked... weird. It was pretty good to have Rosh following me slicing up people (he got an upgraded NPC and most of his taunts were replaced with silent mp3s). If we can change Rosh's attitude and make him more into an actual friend of Jaden's, I think we'd have a more interesting story. Though, here's a thought: We have no female Jedi other than (potentially) Jaden. Why not make Rosh female? Then, we replace Alora with a male character? I wonder if the Byss or Taspir 3 maps could be recycled into an extra mission or two? Show Rosh's arrival at Byss, attempting to break the tractor beam and getting captured by the end. Then play one of the Taspir levels backwards, perhaps? The objective being to send out the message Kyle receives. Other things for my own wishlist would be: Remove those Reborn accompanying Rosh, or at least replace their models and dialogue into something less cringe-worthy. Overhaul Tavion's appearance. Fix NPC's aim. EDIT: I'm not familiar with editing scripts or anything. But if we could get a Jan Ors cameo in there, it would be incredibly awesome. Perhaps replacing the anonymous Jedi Rosh whines to during t1_inter cutscene? Or, have her flying the Raven's Claw during T2_Rancor and T1_Rail (With the latter implying that you're "watching" both of them, before Kyle sets you down.) That, or just have Jan overwrite Kyle completely for that mission, and have Kyle mention Jan'll take you. Lastly, she could replace Wedge, but I don't really mind him. Depends on other people's thoughts. Can his X-Wing be replaced with the Raven's Claw?
-
so it's been one year since JKG was released..
MagSul replied to eezstreet's topic in Jedi Knight General Discussions
I haven't followed any updates regarding JKG in a long time. Is there an ETA on the new "standalone"-ish version? -
so it's been one year since JKG was released..
MagSul replied to eezstreet's topic in Jedi Knight General Discussions
It took me a very, very long time to get it to actually run. I've not had the chance to experience it with other players. I was fond of their UI, though! -
What I want to know is how Rosh got himself stuck on that rock at the beginning of the game in the first place. I mean, ignoring where they were both sat, and that they were somehow separated from the rest of the group and Jaden (with his lightsaber) was unable to carve through any debris to rejoin them all.
-
Hey there, welcome to JKHub! I think Circa's suggestion's not a bad one. We've had a few people interested in putting together their own machinimas lately. As a result, I'd understand if people were sceptic to get involved in another one until they'd seen some of the work first-hand. Welcome, again and good luck with your project!
-
Jedi Academy mod: Star Wars ~ Episode VII
MagSul replied to hka1894's topic in General Modding Discussions
Maps, skins, hilts and so on would be created as they always are in their respective modding programmes (E.g. You still map with GTKRadiant etc.). You upload that custom content to an online Jedi Academy game server. Then you and your actors (found at this site or elsewhere) connect to this server and act out the script you've written, and film it in Jedi Academy with software such as Fraps. (Fraps is video capture software that records your gameplay and saves it in a video format) -
Jedi Academy mod: Star Wars ~ Episode VII
MagSul replied to hka1894's topic in General Modding Discussions
Machinima isn't software, it's "the use of real-time computer graphics engines to create a cinematic production." In other words, you are literally filming the gameplay. This means that you're supposed/encouraged to use custom maps, skins, lightsaber hilts and so on. Volunteers will join a private, online server with you and follow the script you've put together whilst one of you films it. When you're done, you'll later edit that footage together into a watchable film to upload to a place like Youtube. -
 I agree with Circa. Great job!
- 6 comments
-
- 1
-

-
- Star Wars Related
- Alien
- (and 2 more)
-
Jedi Academy mod: Star Wars ~ Episode VII
MagSul replied to hka1894's topic in General Modding Discussions
Basically, you get a bunch of players together with custom maps, models, skins and such and film the story in multiplayer. He's suggesting turn the project into a movie rather than a playable mod. Once you get some decent footage, you can start to add voice-overs and other special effects whilst you edit the scenes together. I have to agree that it would be substantially less work than creating an entire mod. On top of that, from what I've read so far (and this isn't a bad thing!) you've been more focused on the story you want to tell as opposed to how we'd play through it if the idea were a playable mod instead. You're thinking in terms of story-telling and not game development. Machinima's more or less just a term used for films created using gameplay footage. If you are interested in Eezstreet's idea, then you want to get started on a more structured script, and outline exactly what you'll need for each individual scene when you're done. You'd have to be very specific and descriptive when requesting skins/models or whatever else so that those willing to volunteer would be able to help without constantly asking "is this what you want?" Hope that helps. -
Hey there, Nolaan. Welcome to JKHub!
-
The best mod request of all.
MagSul replied to Rosh is my favorite's topic in Mod Requests & Suggestions
Y'know, it wouldn't be too difficult to do yourself with an audio editor. Just play with the voice files in any way you want and place them in a new pk3 with matching file directories! -
@@eezstreet, didn't you say "playing JO in JA, u mad?" This seems right up your alley.
-
Help with making a mod that I'll call Star Wars 7-10? :)
MagSul replied to hka1894's topic in Modding Assistance
That's a tall order! Things such as that are incredibly complex and would take experienced modders a pretty long time to put together, let alone one with no experience under his belt yet! If you're up to it, I'd suggest starting small. Why not try your hand at skinning, first? Or, put together a map! We have loads of tutorials on the site to help you get started with modding. -
Replace Tavion with a skin of Starkiller?
MagSul replied to hka1894's topic in Mod Requests & Suggestions
What he said. If you want to completely overwrite Tavion in single player, there's a bit more work involved with the dialogue. Unless you want Tavion's voice spouting out of Starkiller during the cutscenes. -
Request for a skin and lightsaber of my SWTOR character :)
MagSul replied to hka1894's topic in Mod Requests & Suggestions
Damnit, Ninja'd! I was going to link a different one: http://jediknight3.filefront.com/file/Saber_Selection;55835 I can't actually model. I reskinned an existing one just to give you an idea as to how it "might" look. You'll still need to bribe @AshuraDX if you want a unique hilt. -
Request for a skin and lightsaber of my SWTOR character :)
MagSul replied to hka1894's topic in Mod Requests & Suggestions
Had a play today. Took a while to find a suitable existing model. -
I was making the assumption that someone with knowledge on the subject would recognise immediately what I was referring to. To be specific, I've created two target_speakers which trigger when I "use" the switch in multiplayer. When I try this in single player however, I cannot interact with the trigger. On top of that, I have a func_breakable that works in multiplayer, but the whole brush is invisible in single player.