MagSul
-
Posts
1,087 -
Joined
Content Type
News Articles
Tutorials
Forums
Downloads
Everything posted by MagSul
-
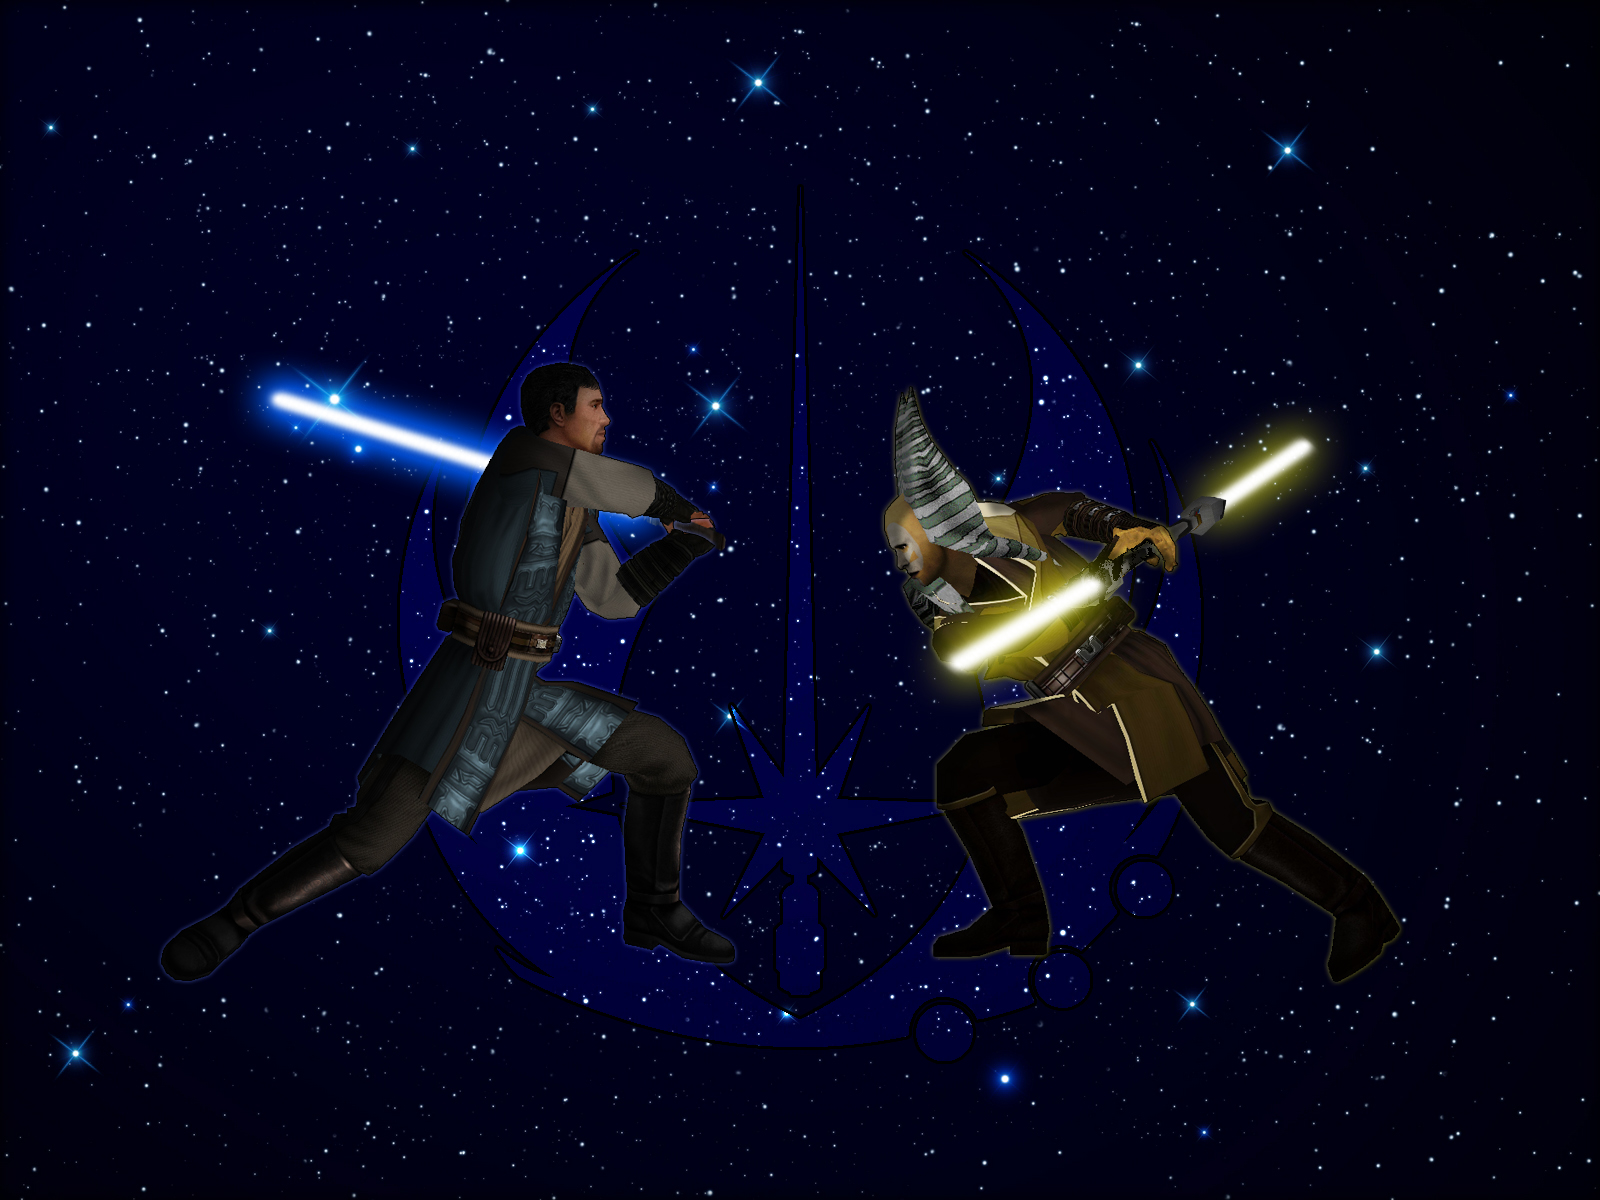
You take that one, I'll take these two!
-
Mesa no think so.
-
I will do what I must.
-
Jedi Academy mod: Star Wars ~ Episode VII
MagSul replied to hka1894's topic in General Modding Discussions
Not a bad start! Personally, I'd have de-saturated the colour a bit more on the face. (Whilst in "Colors" "Colorize", drag the "Saturation" bar to the left a bit more.) I was feeling generous. Here's a head-start. (Get it? Head start?) Lekku could use a little more work. I totally didn't do this just so I could make a pun. -
The other he spoke of is your twin sister.
-
Not to bad that guy, I'm only suggesting this because I don't know shaders off by heart. Do you know of any example skins with the shaders you're after? You could just compare yours with what you find, maybe!
-
She is more foolish than I thought.
-
Agreed. Improving the NPCs wouldn't be a bad decision, either. Particularly where their aim is concerned...
-
Might be a tiny bit too ambitious there, Onysfx. ...Eventually I'll be able to spell your name without scrolling back up.
-
That's the one!
-
Sweet, looking forward to the preview!
-
Jedi Academy mod: Star Wars ~ Episode VII
MagSul replied to hka1894's topic in General Modding Discussions
Ah, understood! In that case: copy the original image and save it as a backup in case you ever need to go back. Cut out those white bits, then paste it as a new layer above the original image in GIMP. Export that, done! -
You could use the "Real Jedi Academy" map that's lurking around somewhere. (I'd link it, but net's crawling right now.) It's more or less the full academy as featured in JK2, only with a bit more.
-
Use your feelings, something is out of place!
-
I dread to imagine what an accurate assessment of my JA game time would tally up to.
-
Yavin2 would definitely be a good choice for that. (The one you mentioned where Kyle trains Jaden and Rosh.) Alternatively, perhaps Yavin1b, the map you and Rosh explore after the Yavin Runner 2 plummets.
-
Jedi Academy mod: Star Wars ~ Episode VII
MagSul replied to hka1894's topic in General Modding Discussions
Yeah, I can safely say that they are. You've cut out the right bits, but that layer isn't transparent. Select that layer in the layers window, then, at the top of the image: go to "Layer", then "Transparency" and click "Add Alpha Channel". Select the white section and Ctrl+X if it's still there. -
Jedi Academy mod: Star Wars ~ Episode VII
MagSul replied to hka1894's topic in General Modding Discussions
Ctrl+L will open the layers box. Or, click "Windows" "Dockable Dialogs" "Layers" When the window pops up, just right-click the layer and continue as described earlier! -
I'm afraid, that the deflector shield will be quite operational when your friends arrive...
-
Jedi Academy mod: Star Wars ~ Episode VII
MagSul replied to hka1894's topic in General Modding Discussions
Last point. This is only relevant if you're saving any images as .jpg files, by the way: When you click "File -> Export" to create the .jpg or to overwrite the old file, make sure "Optimize" and "Progressive" are un-ticked as they are in the image below. If you don't do this, JKA will fall out with you. -
Very swish! Reminds me a lot of the original source, which is very good!
-
I don't believe you! I can't...
-
Jedi Academy mod: Star Wars ~ Episode VII
MagSul replied to hka1894's topic in General Modding Discussions
No-no-no! I actually prefer GIMP. I'm just asking so I know how to help. Right-click the bottom layer, select "Duplicate Layer". When you've done, go to "Layer", then "Transparency" and click "Add Alpha Channel". What that does it make it so that when you cut bits out of the layer, the gap left behind will show the layer beneath it. If you didn't do this, it'd just show white. Next, click "Colors" at the top, then "Colorize". Play with it until you've found a color you like. Hit OK. Use the selection tools to select parts of the newly-coloured layer, then hit "Ctrl+X" to cut them (or click "Edit" then "Cut".) Only do this for bits you don't want to have been coloured. E.g. Perhaps the eyes, or teeth. Done, new skin color! -
What have you done with those plans?
-
Jedi Academy mod: Star Wars ~ Episode VII
MagSul replied to hka1894's topic in General Modding Discussions
Is that GIMP or Photoshop? I ask so I can help with instructions.
