
The Punisher
-
Posts
823 -
Joined
Content Type
News Articles
Tutorials
Forums
Downloads
Posts posted by The Punisher
-
-
-
Is there any chance to see your stuff as a part of MD2-Remastered?
If sweg is still in charge and he is interested, he can PM me any time.
-
-
-
There are a couple of ways to do this. The easiest would be using an NPC file.
- Open assets1.pk3 and extract the alora.npc file somewhere in your computer (be careful not make any changes to the assets1.pk3).
- open the alora.npc file and change "playerModel alora" with "playerModel NameOfYourModel" (all without quotes).
- Add the NPC file to your model (not to assets1.pk3)
- make sure your model loads after assets1.pk3 (just add a bunch of "z" to the name of your model, like zzz_YourModelName.pk3)
Note: Usually the NPC files extracted from assets1.pk3 are read only so you might need to set the file properties to write.
https://jkhub.org/topic/10139-the-basics-of-npc-files/
Jeff and Captain Leeroy like this -
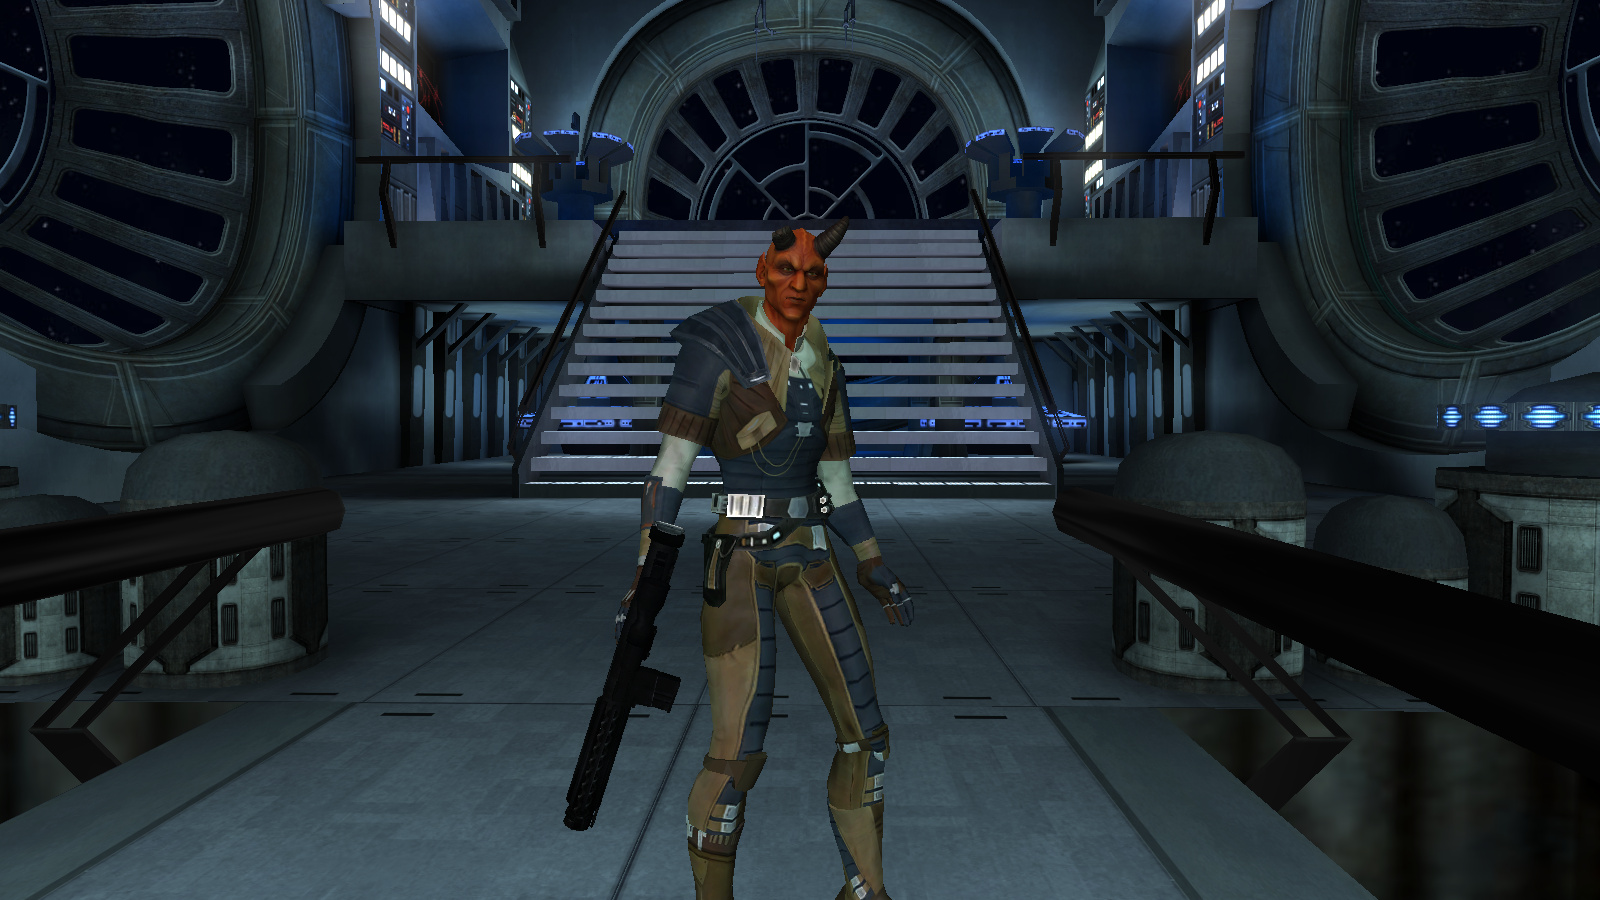
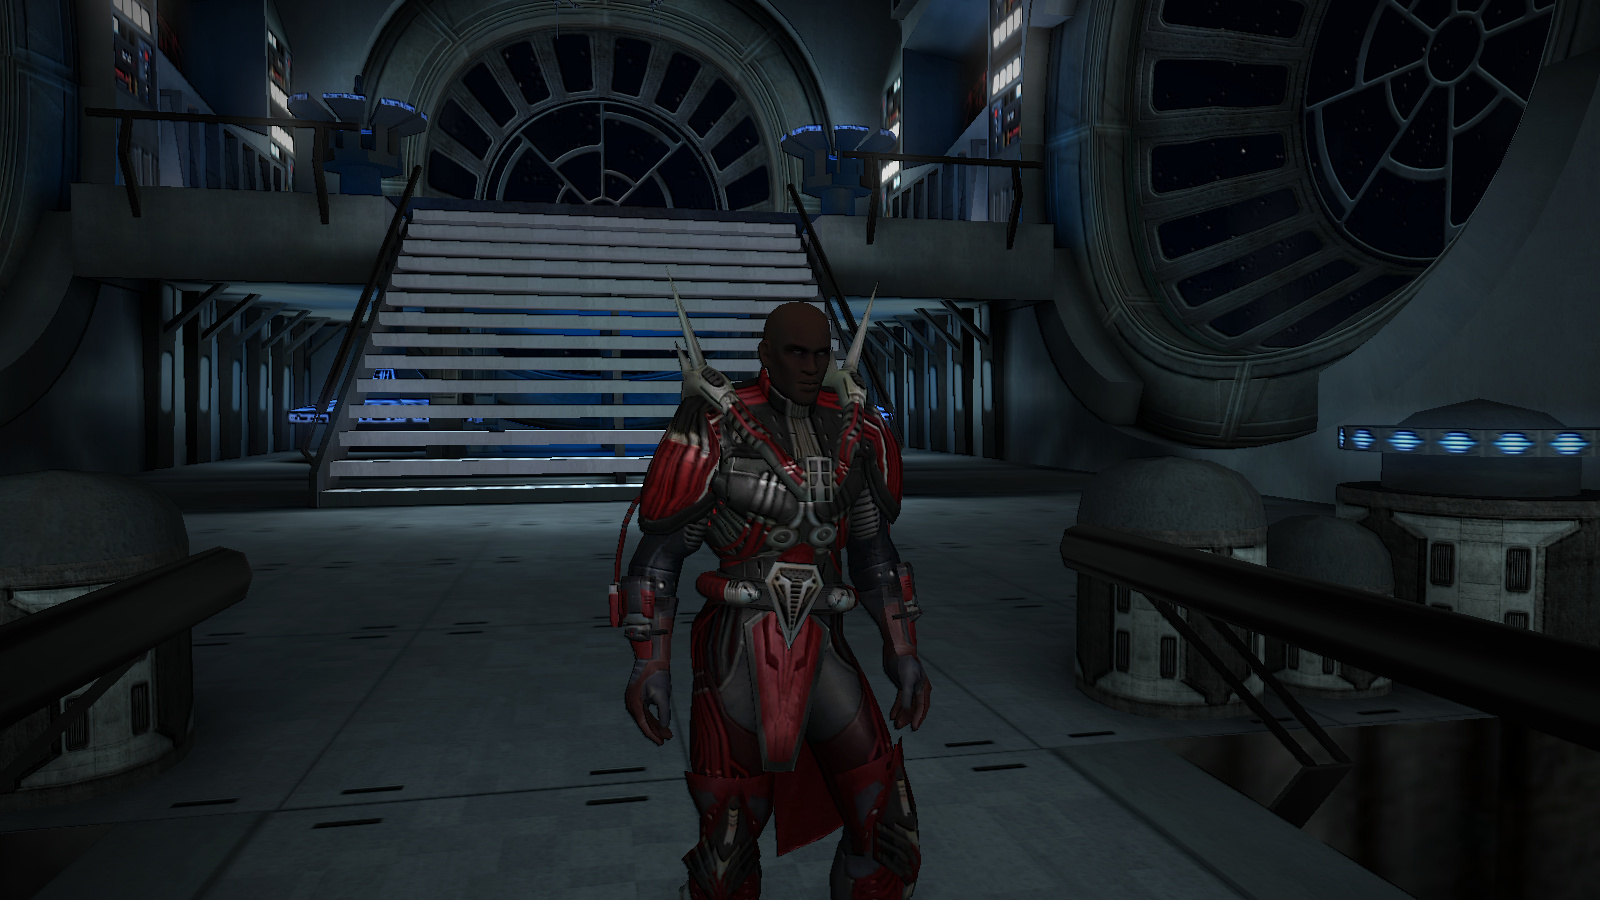
Sith from Kinect
Horns from DT's Savage Opress

https://mega.nz/#!WIY2jQjL!McMelUE0OEJhKjN445jdOzq_0uH7eepoaxCmfUy3eok
DarthStiv, Torki, Captain Leeroy and 6 others like this -
@@The Punisher Any chance of that R2-D2 being made available, dude? There's no download link for it, currently. Great work with all the models, by the way
Fixed, not sure what happened with the original link.
General Howard likes this -
-
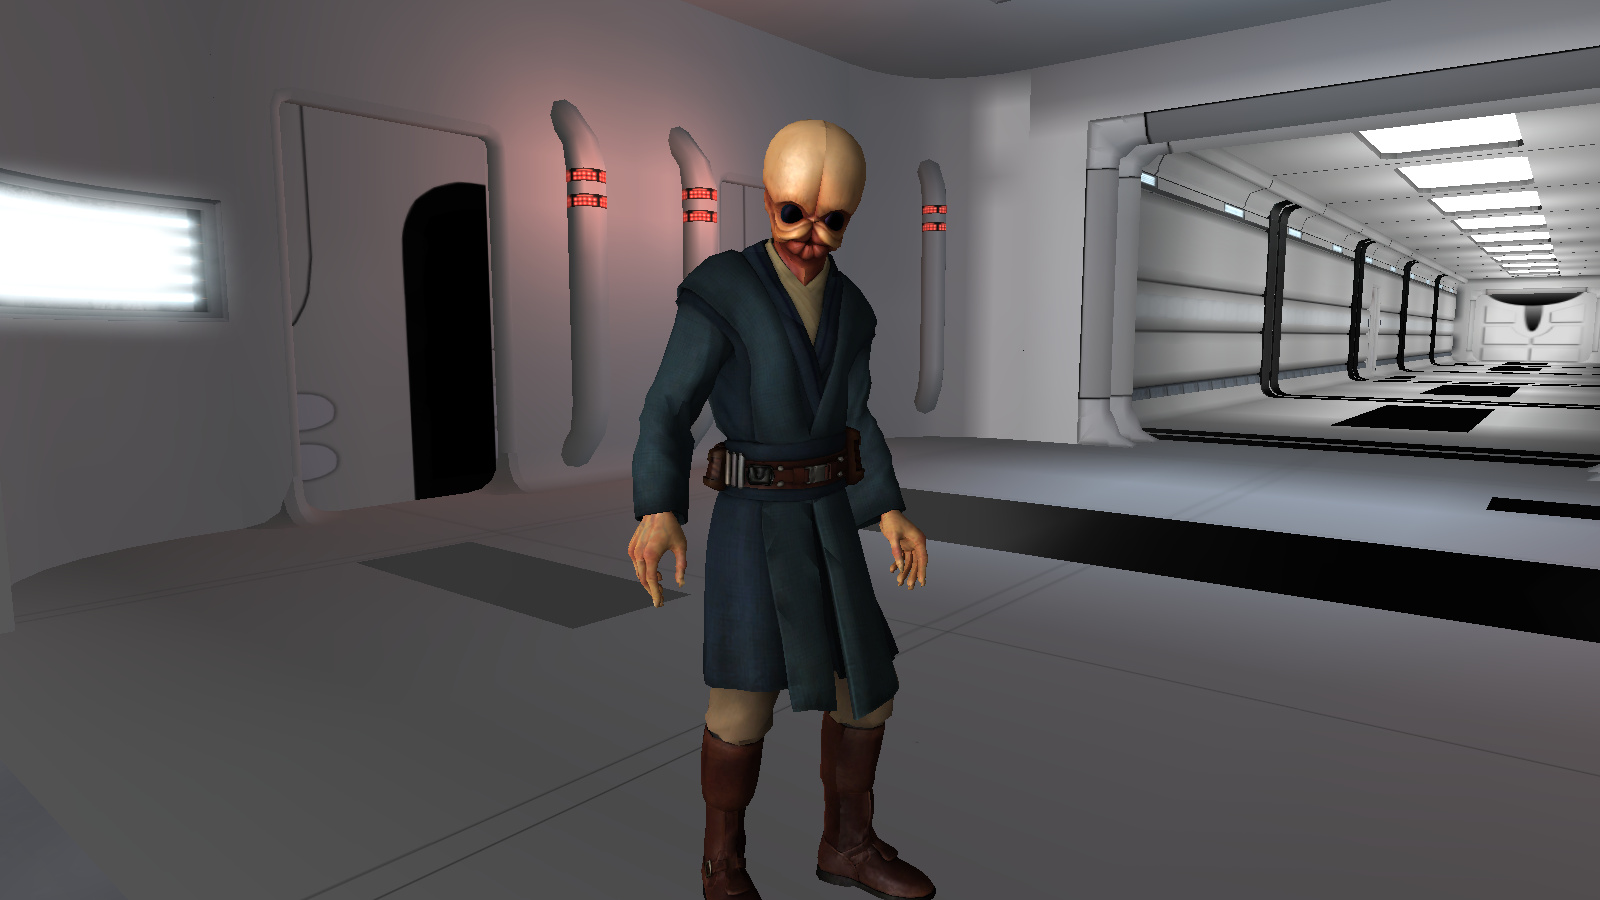
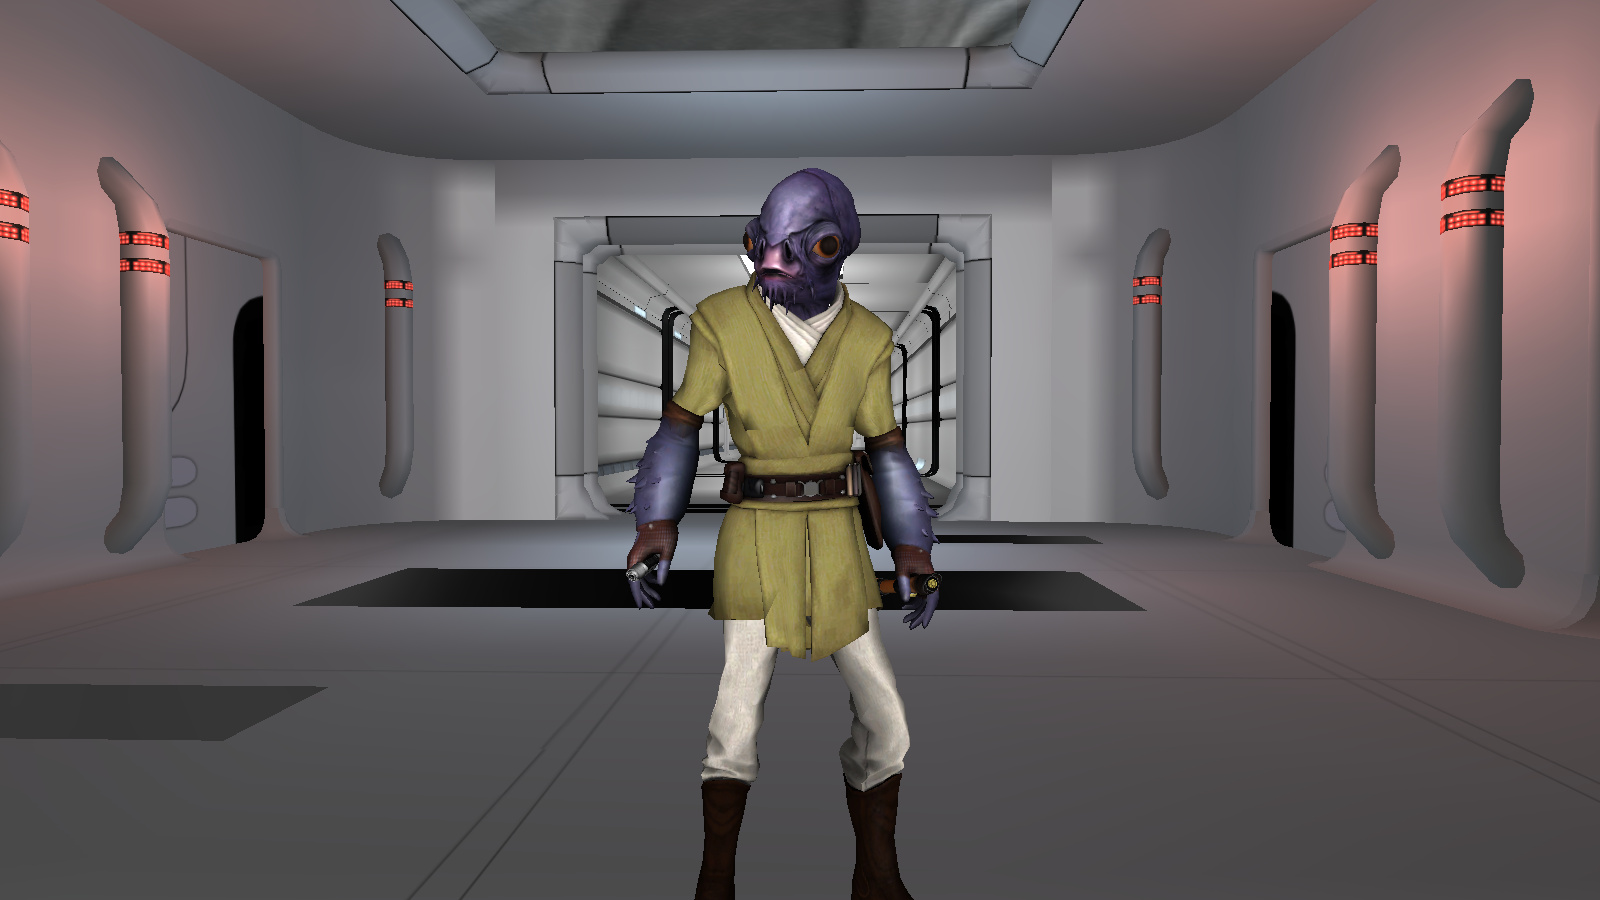
Jedi Mon Calamari from Kinect
https://mega.nz/#!GMh22IaD!z6SL--ZyJiXuQ8aeAXM8F4ielR7U1otxPBVs_XUNSzQ
Ivanael, TheWhitePhoenix, Torki and 6 others like this -
I've changed the size, but what about re-aligning the legs to be perfectly parallel like the Rockettrooper?
Getting closer lol
That is a little bit more tricky at first. Go into edit mode, select the part of the left you want and rotate bit with the mouse. It takes some practice until you get it right (might be intimidating and frustrating too). Once you get the hang of it, it's not that hard.
-
What do I use to re-size the aligning of meshes?
There are options like in the properties, you can re-size the x, y and z dimensions. I prefer the resize option on the left side menu (once you select the mesh, select re-size on the left menu and drag the mouse up or down).
McGroose likes this -
Select the "main mesh" (usually the hips). Re-size it to cover the skeleton until is fully aligned (you can use the fingers as a guide).
By using the "main mesh", it will automatically re-size any "child" mesh.
You will also need to make sure you weigth the meshes with the correct bones (I think the rocket trooper uses different bones than the standard model skeleton).
Also, the legs of that skeleton are pointing straight down while the standard model has the legs spread like an "X", so you will need to do some editing to align the legs too.
Sounds complicated at first (and might be frustrating too) but once you work on it, you will feel comfortable with it.
McGroose likes this -
..Well, interesting, is it done on purpose that all the models
are sort of gunners & heroes but not jedi and sith?)
yes...and....no....
I don't play MP or any other type of "conversion" mods but I've watched some MBII videos and seems people like to play more with "soldier types". Might be wrong but that was my impression, so I started with those first...but there are Jedi and Sith also. Some will be uploaded soon, just had to start somewhere....
Let me know what do you think.
DarthStiv likes this -
The angle doesn't shows it too well but yes, it includes the cape.
https://mega.nz/#!nYQSzAqB!AAgGKqpGGHnCPGfBpuEtY86EPJHIJBosLbG_qKZQDlA
-
-
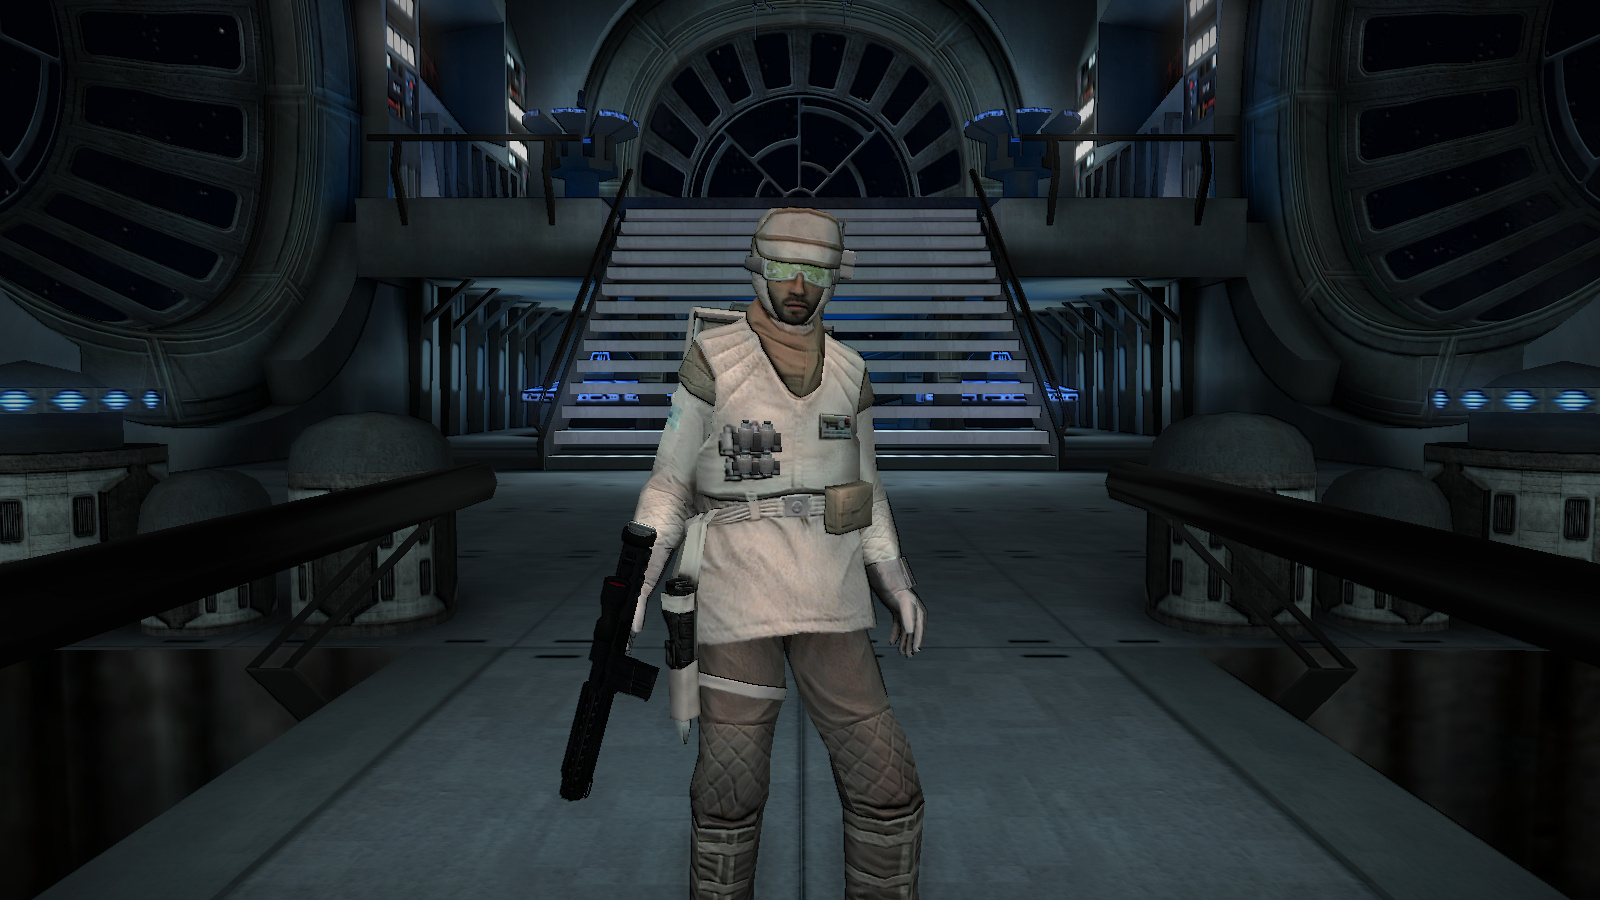
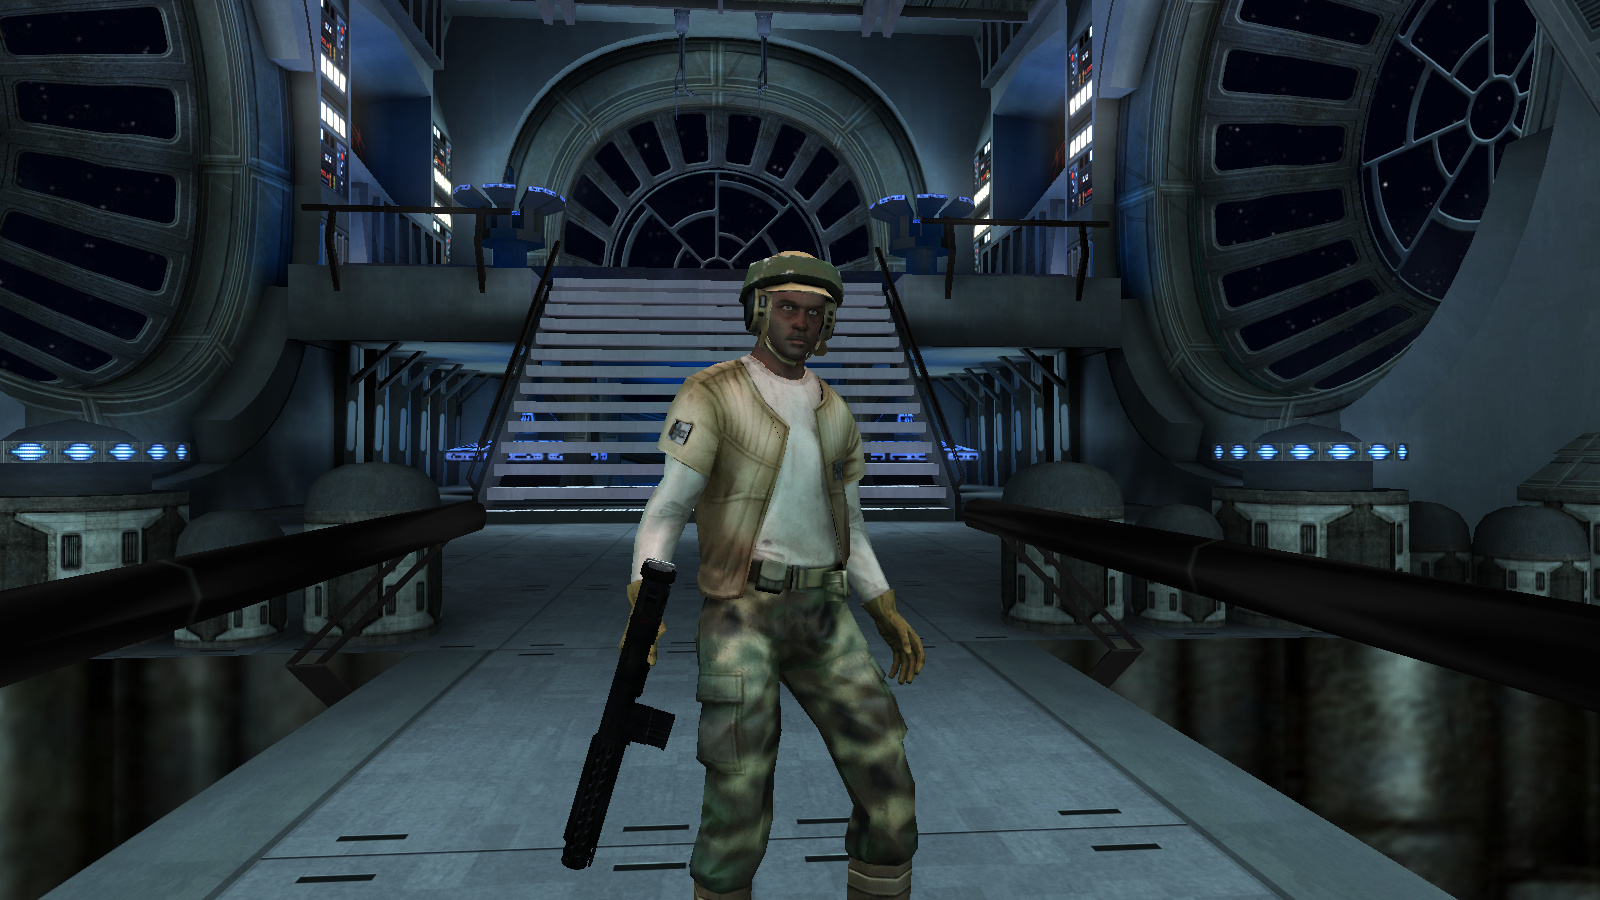
Some old ports
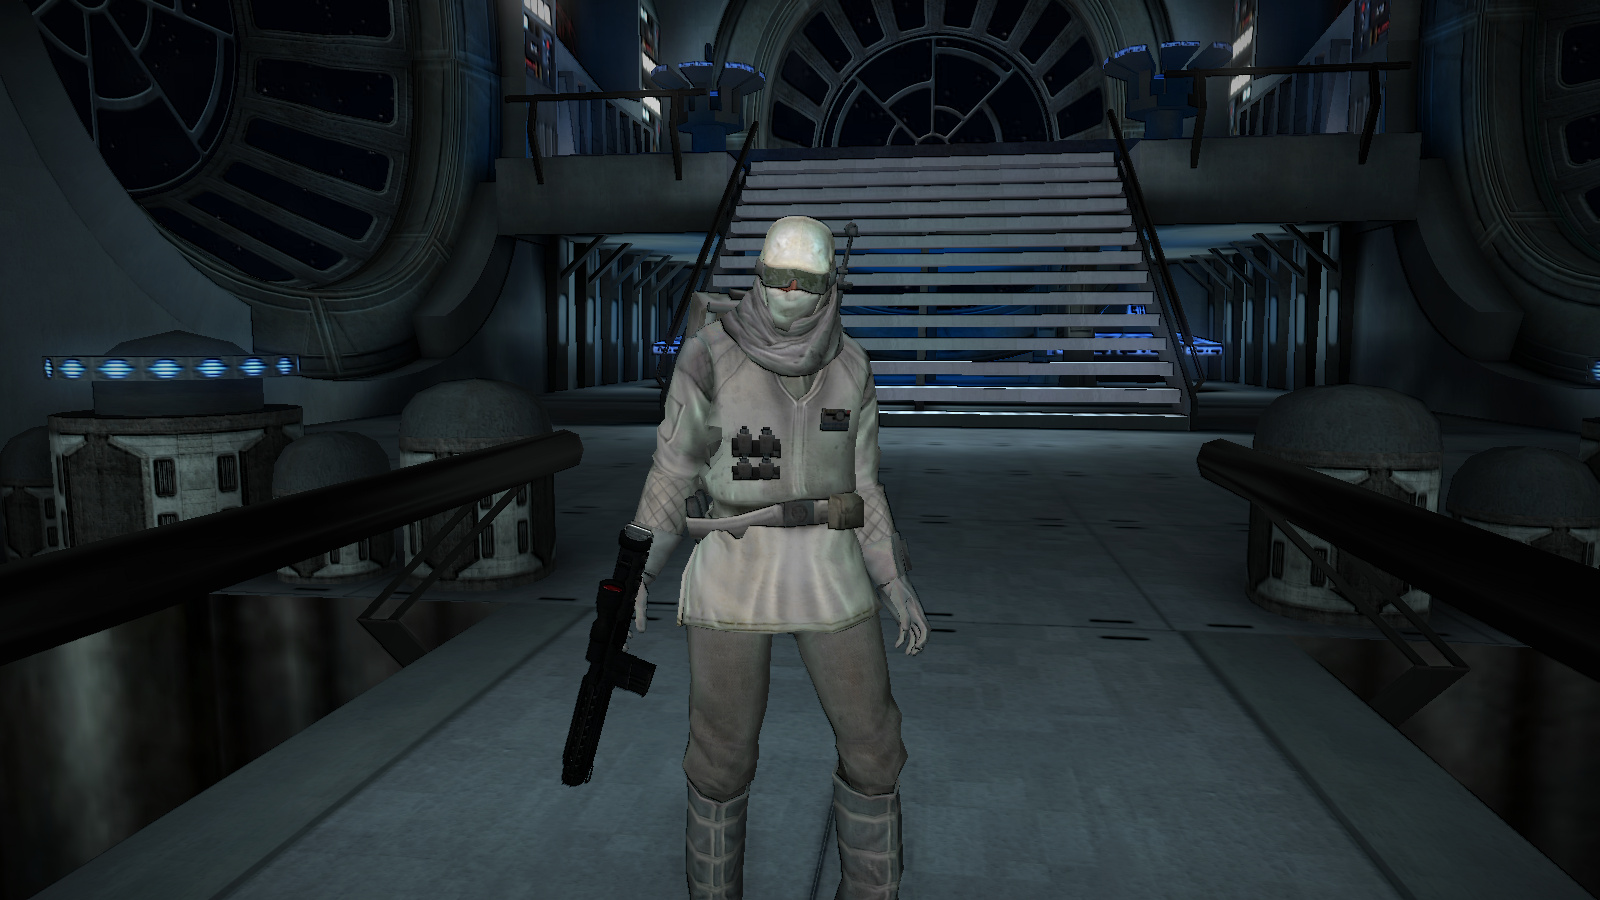
Hoth Rebel (TFU Version, head from CODBO2)
Hands still need some tweaking. Will work on them when I have a chance.
https://mega.nz/#!jJ4QDQoB!KP7hXbwOJxS2BnMYxh26qbdoo6sbJ6C46xzfijY2lKc
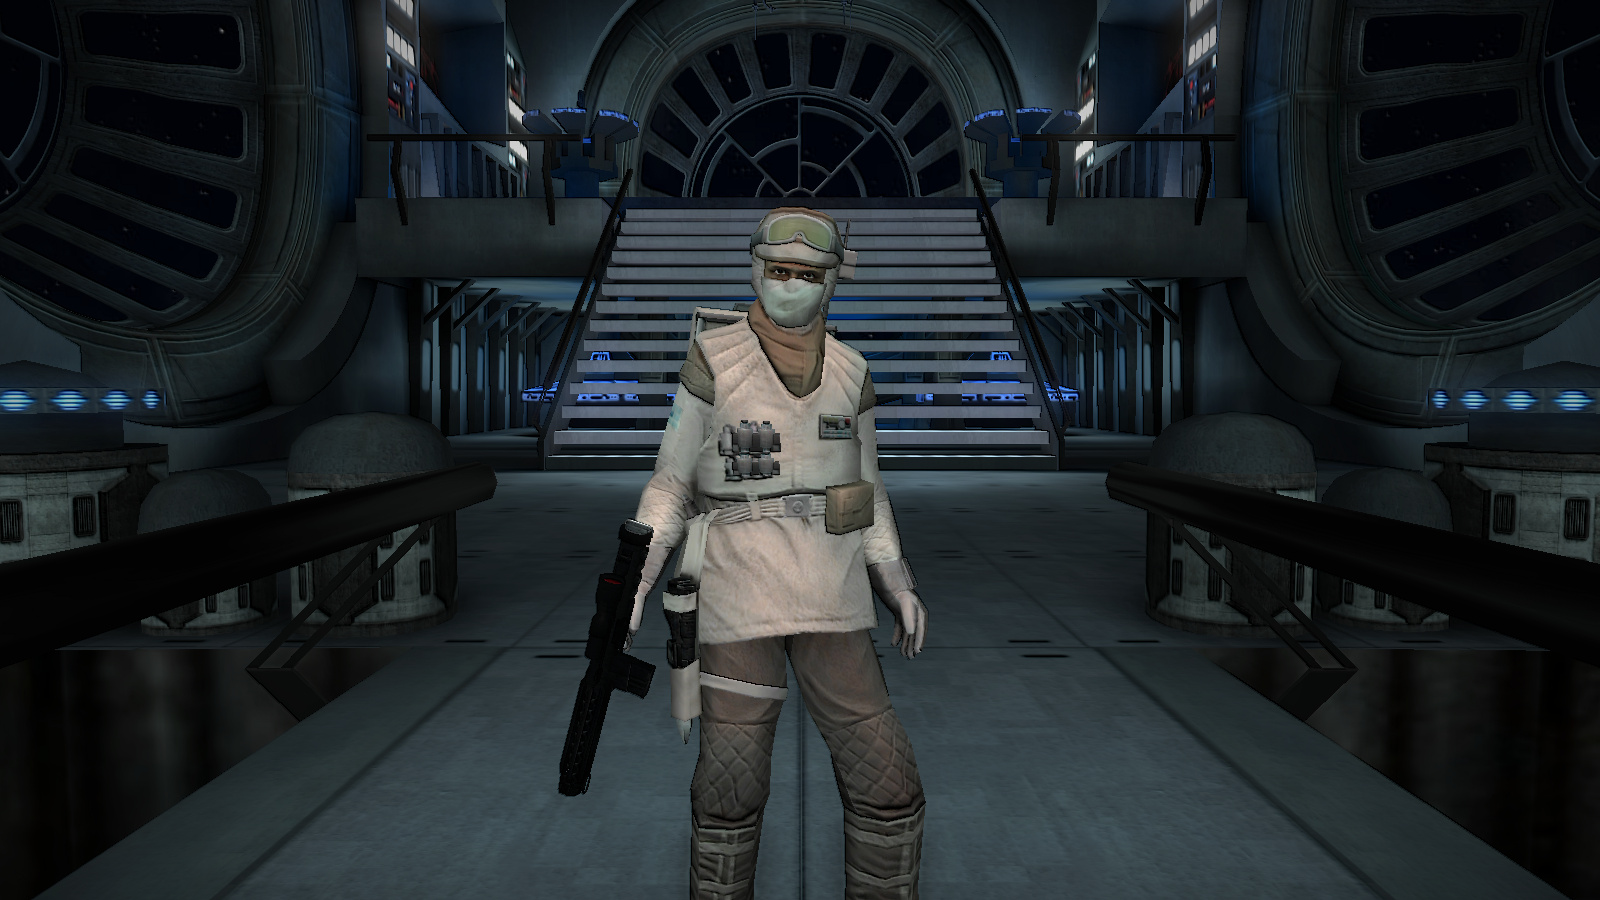
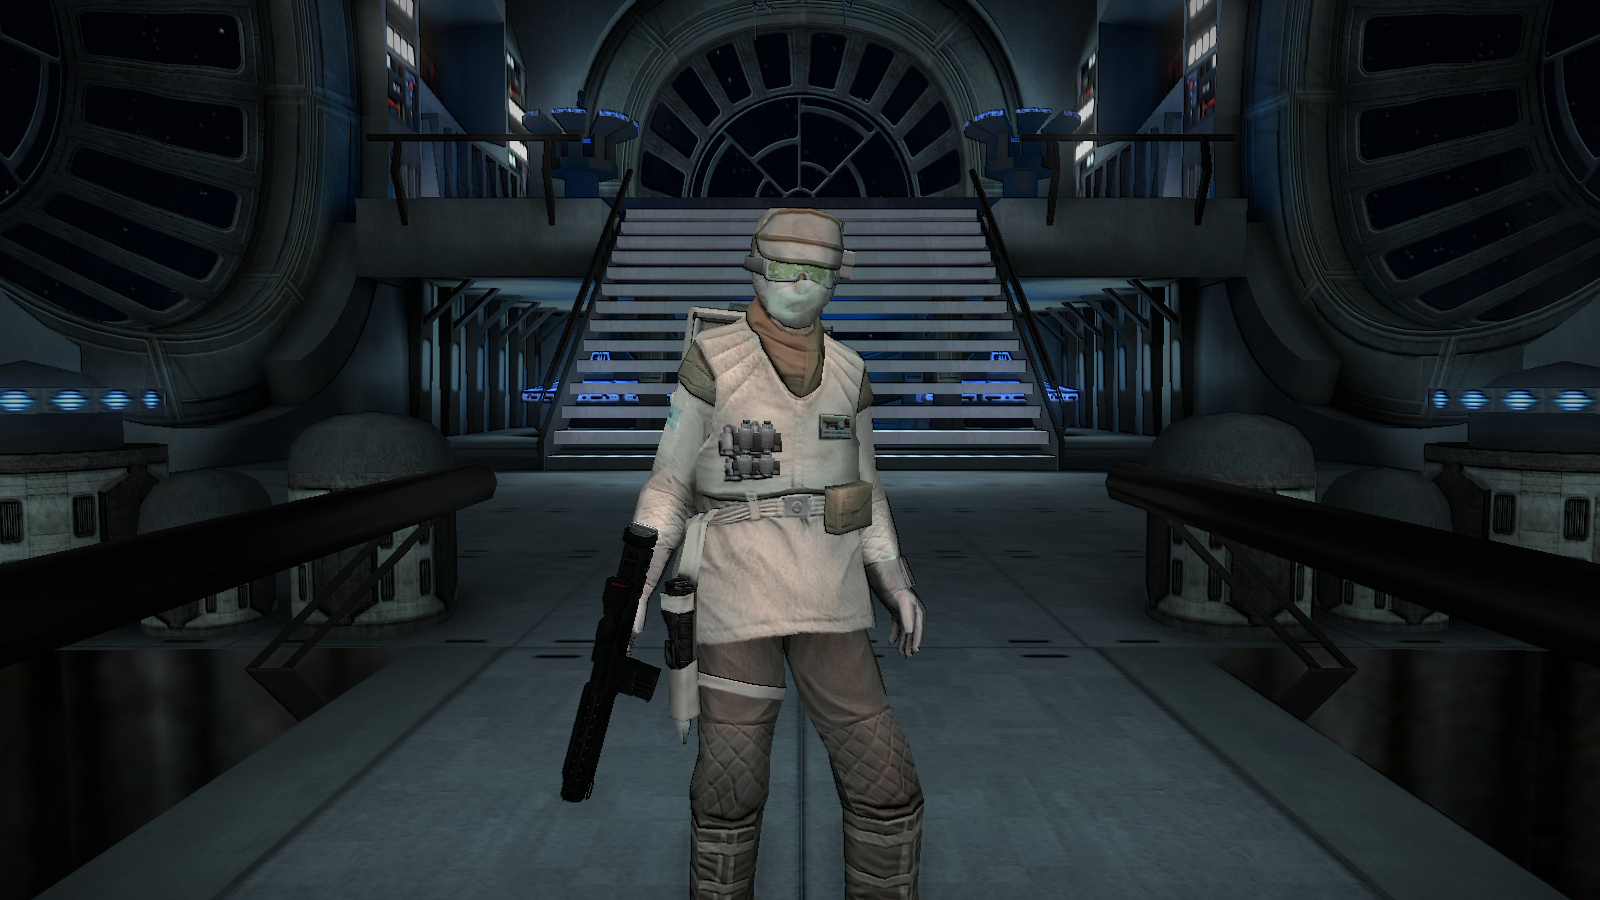
Hoth Rebel (Free Radicals version, head from CODBO2)
https://mega.nz/#!7F5gAYpS!au1BbVEHizxTNmXAMNshsWcrjWSqGqip8JBtCB0RYhg
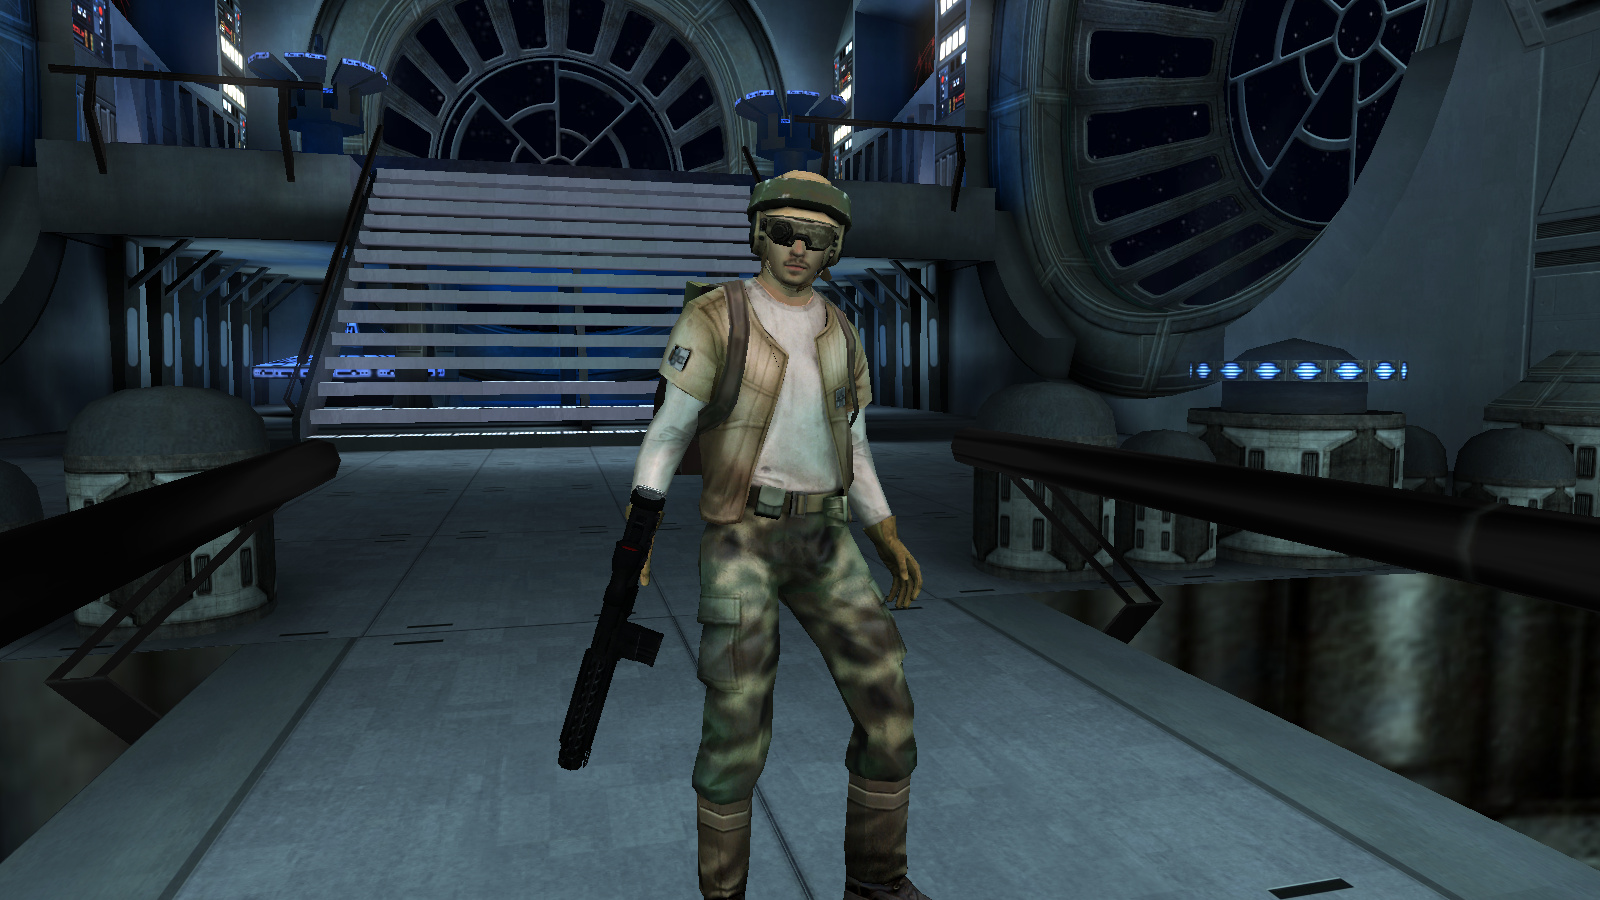
Endor Rebel (Free Radical version)
- head from CODBO2
- backpack/grenades from GoH
- additional "head gear" from Ghost in the shell
- "classic helmet" from Toshi's ROTJ Luke Skywalker
https://mega.nz/#!7dZU2SIR!Wlb_A9wub5J2FTopsVN03Q8lVuyvZ4eSE_hJhh43Iog
General Howard, yeyo JK, Jeff and 5 others like this -
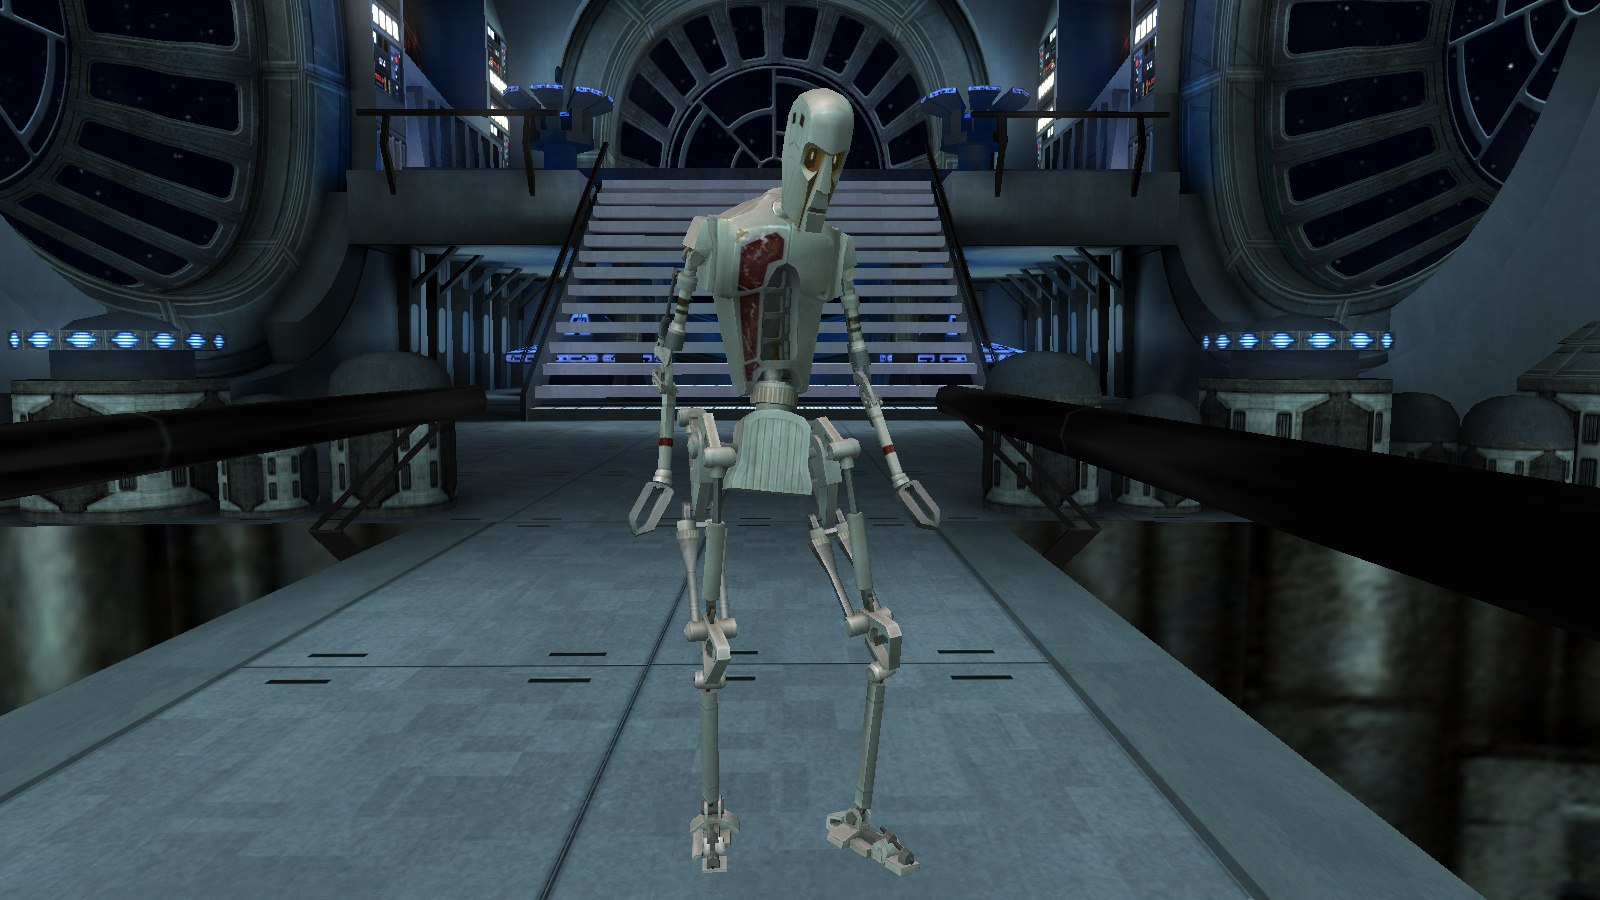
Oh, such quality & details!
Thanks. I am not sure where the models of 8D8 and EV9D9 originally came from, just got them on FP before it was shut down.
TheWhitePhoenix and Omega like this -
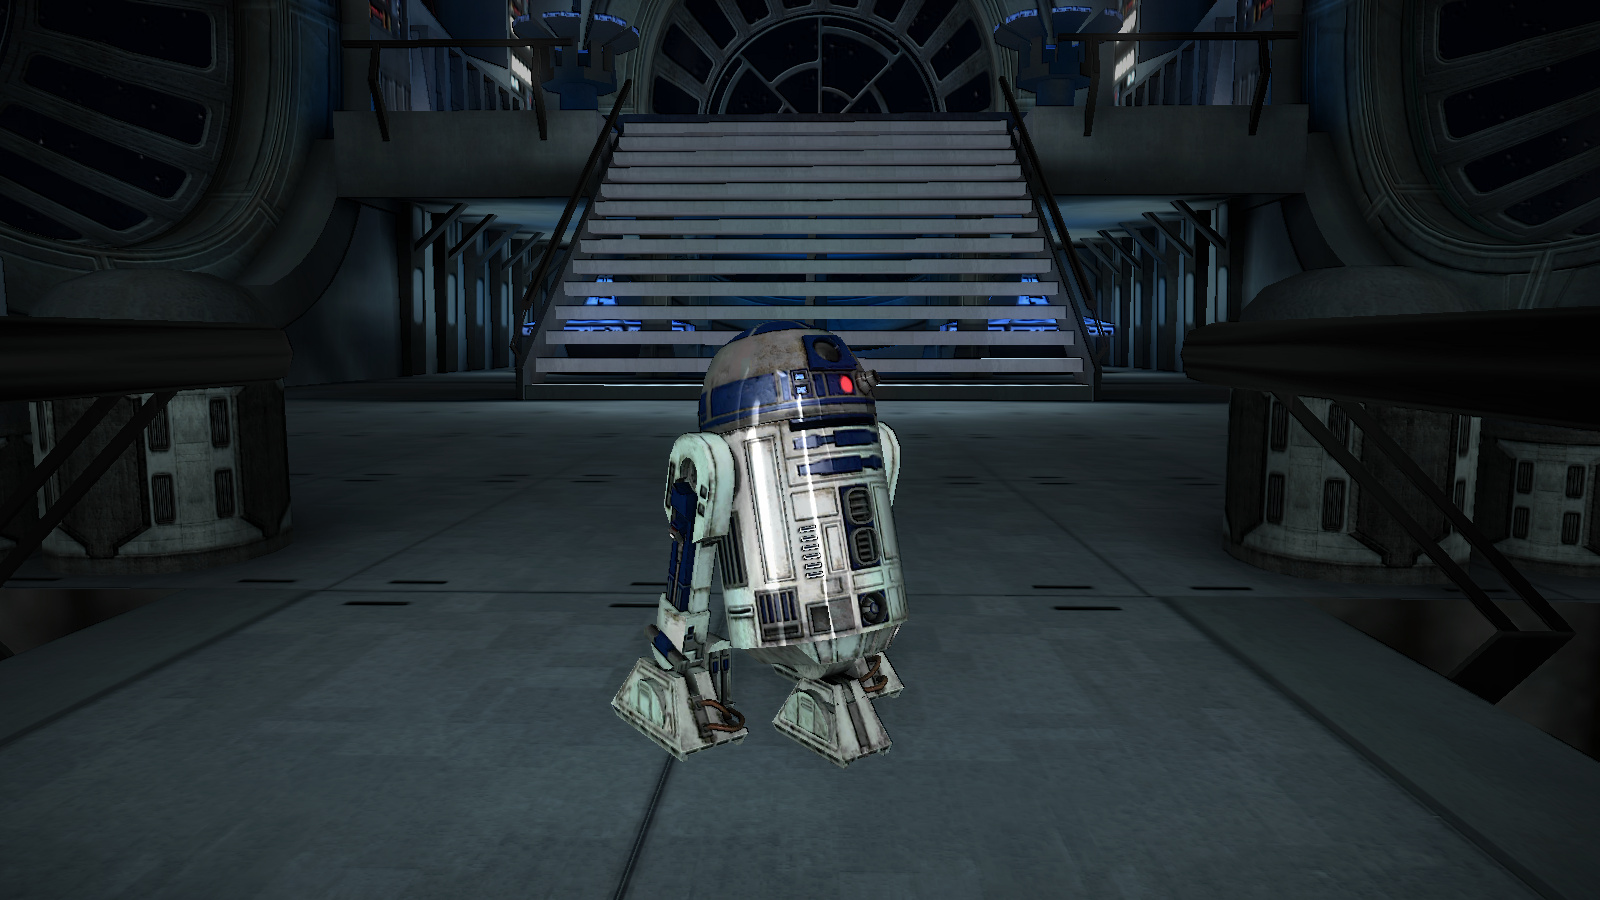
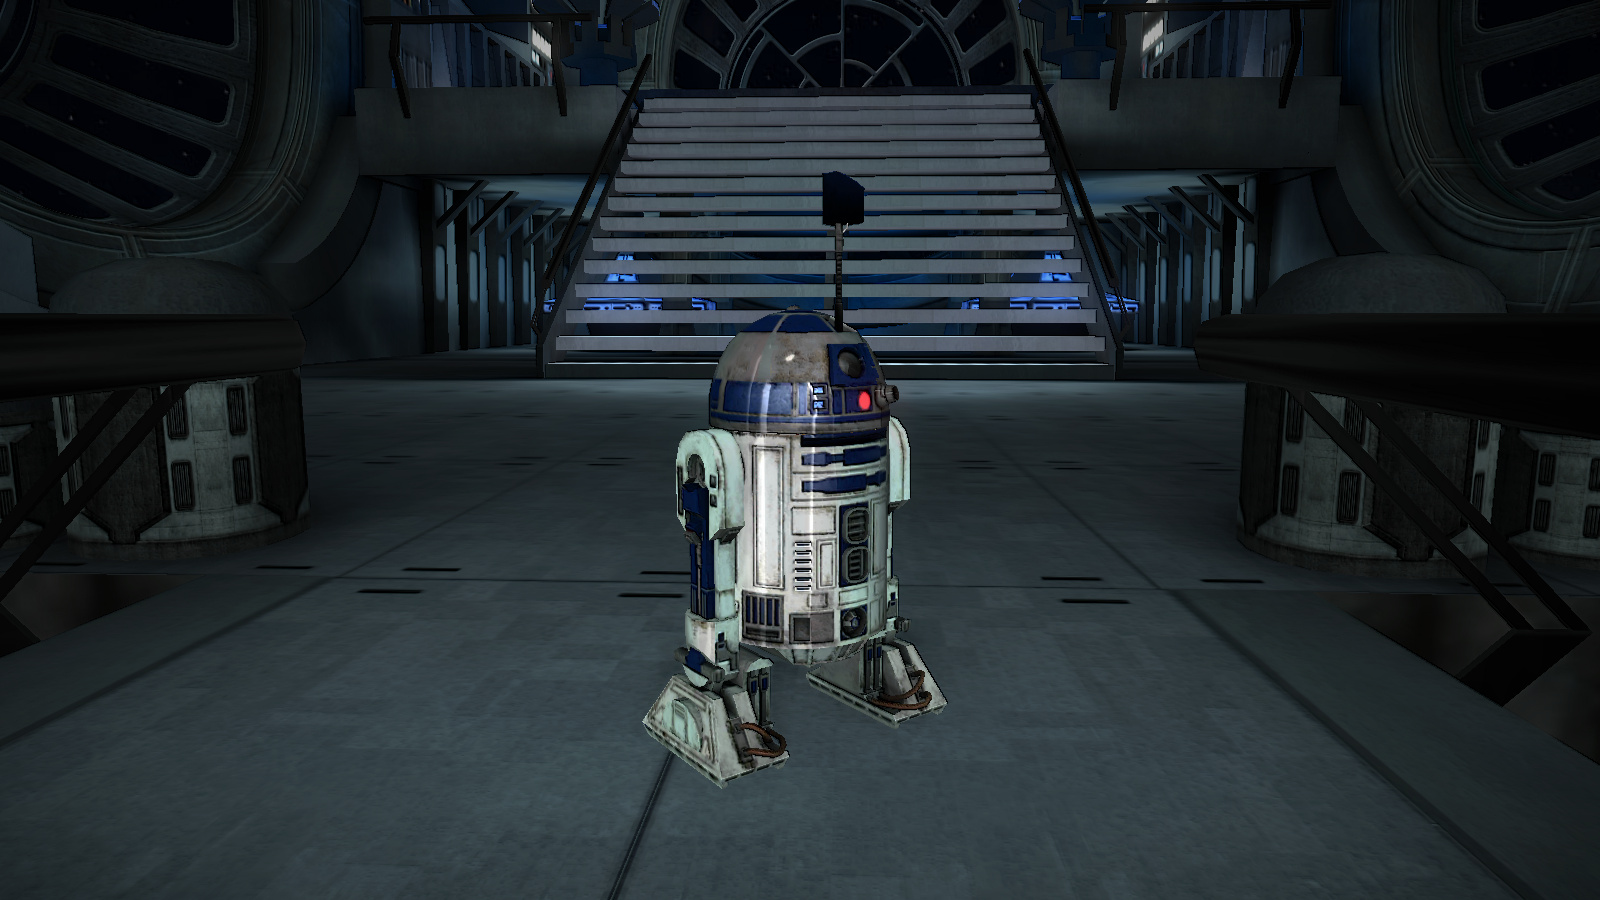
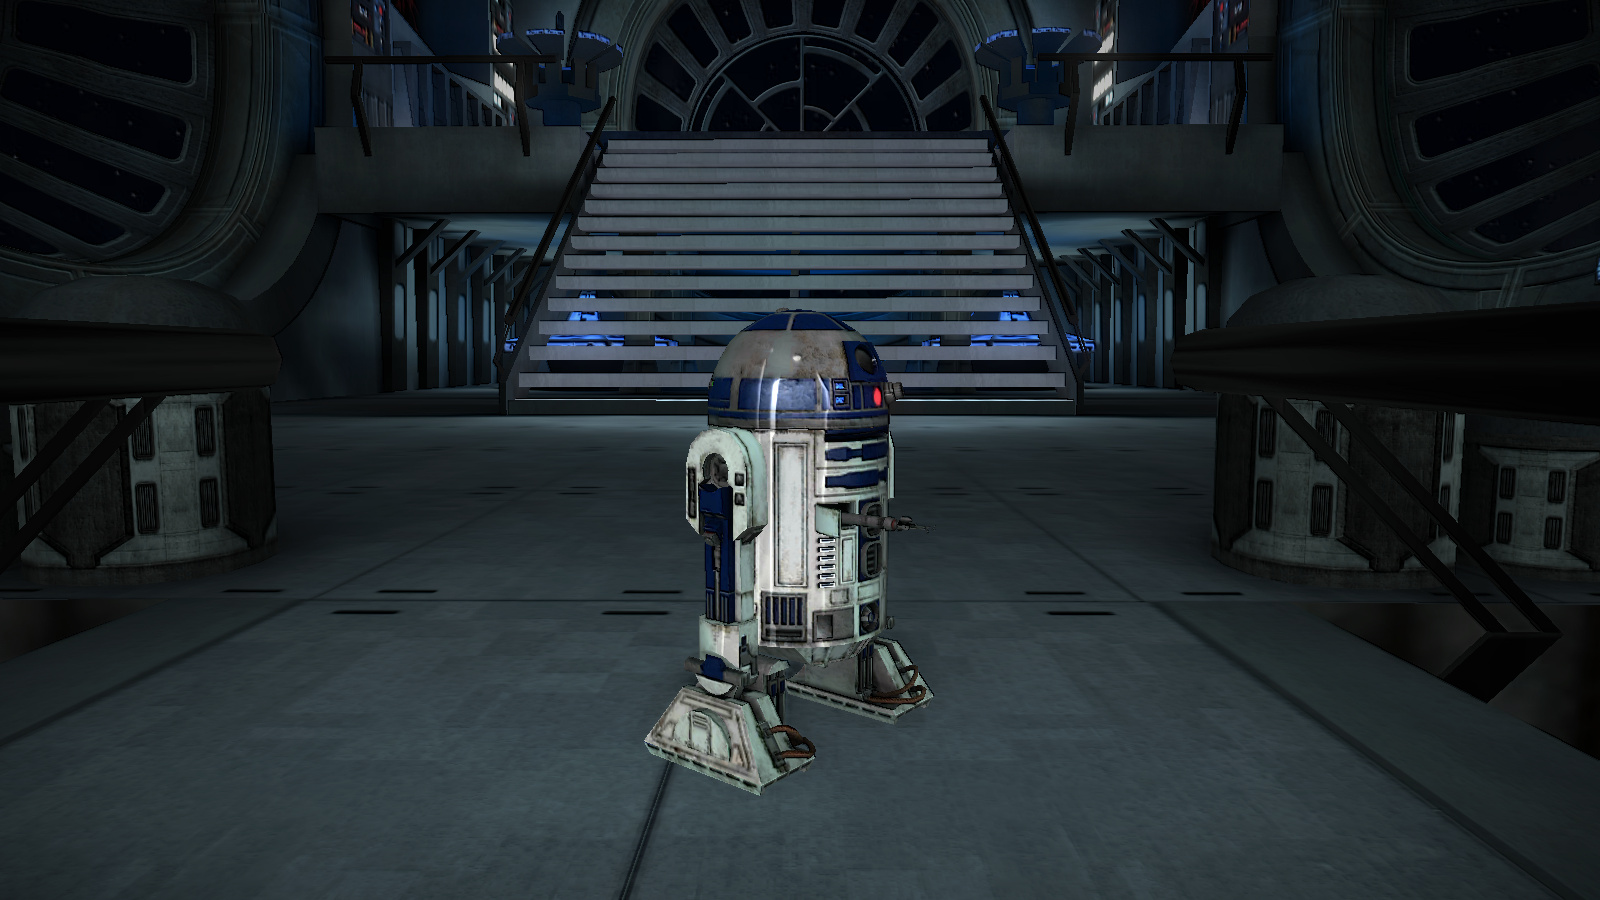
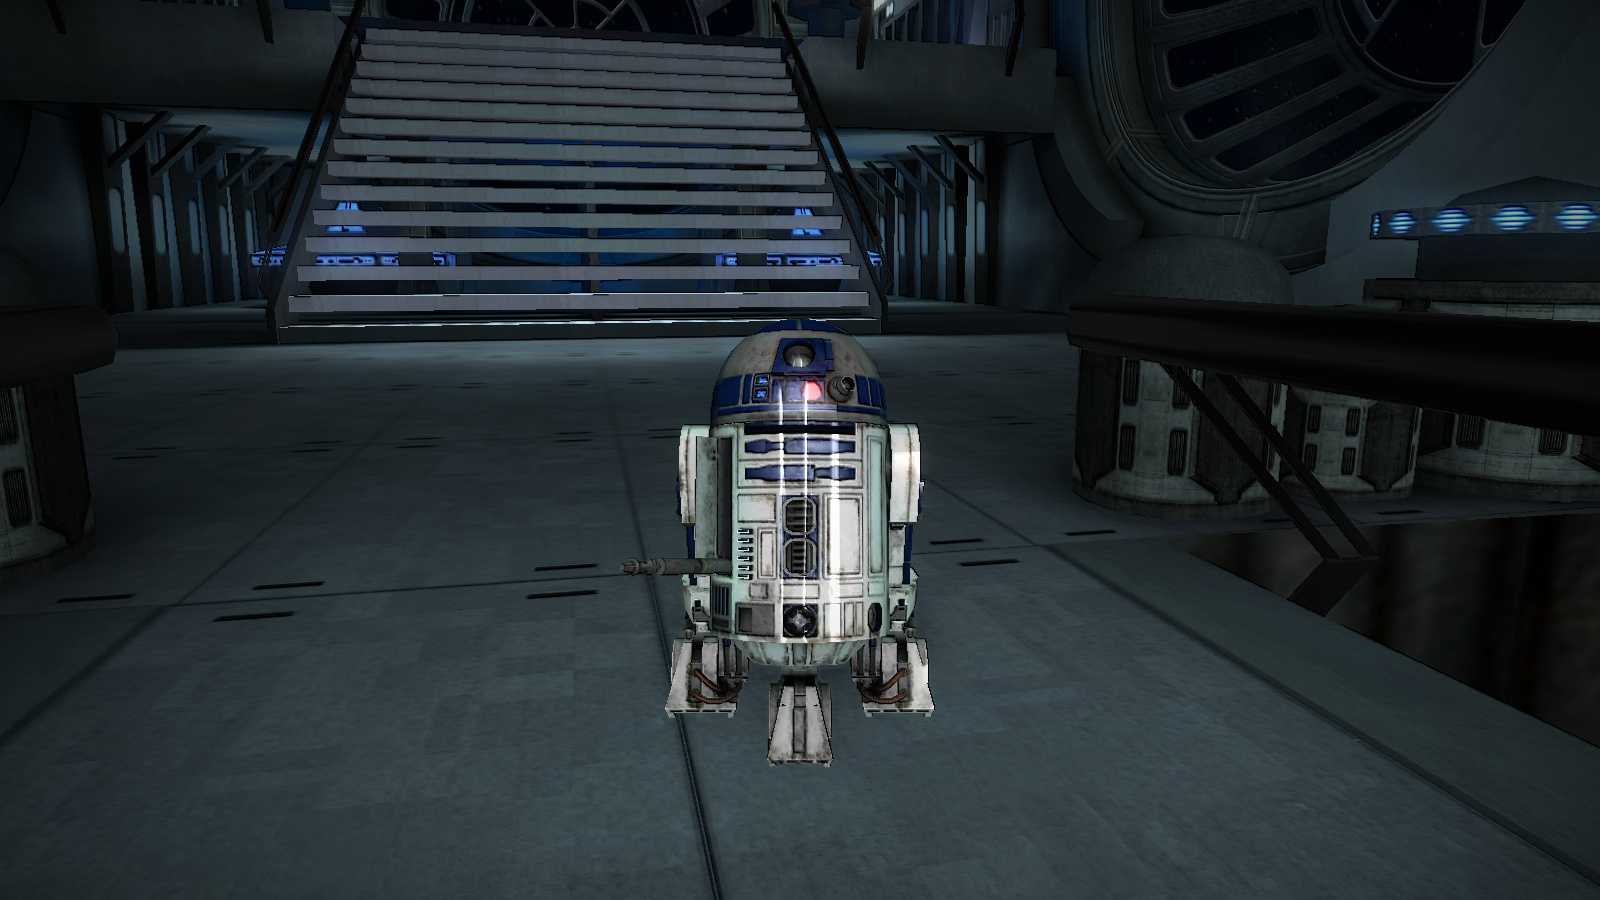
Force Arena R2D2 (with extra "gadgets" from TFU R2D2)
NPC: r2d2
NPC: r2d2_antena
NPC: r2d2_baton
NPC: r2d2_arm
https://mega.nz/#!KYoQFQKa!SraW-a47VeVZKcde0EPeiJsx8ws5ggr1XKtDgq7cRD8
Daniel, scp_chaos1, TheWhitePhoenix and 12 others like this -
-
Haven't looked at the model but seems you don't have any head tags (*head_front, *head_back, *head_right, *head_left, *head_top, *head_eyes). Maybe when you swapped the head you forgot to re-parent the tags and when exported the model, they went missing.
KyleRendar likes this -
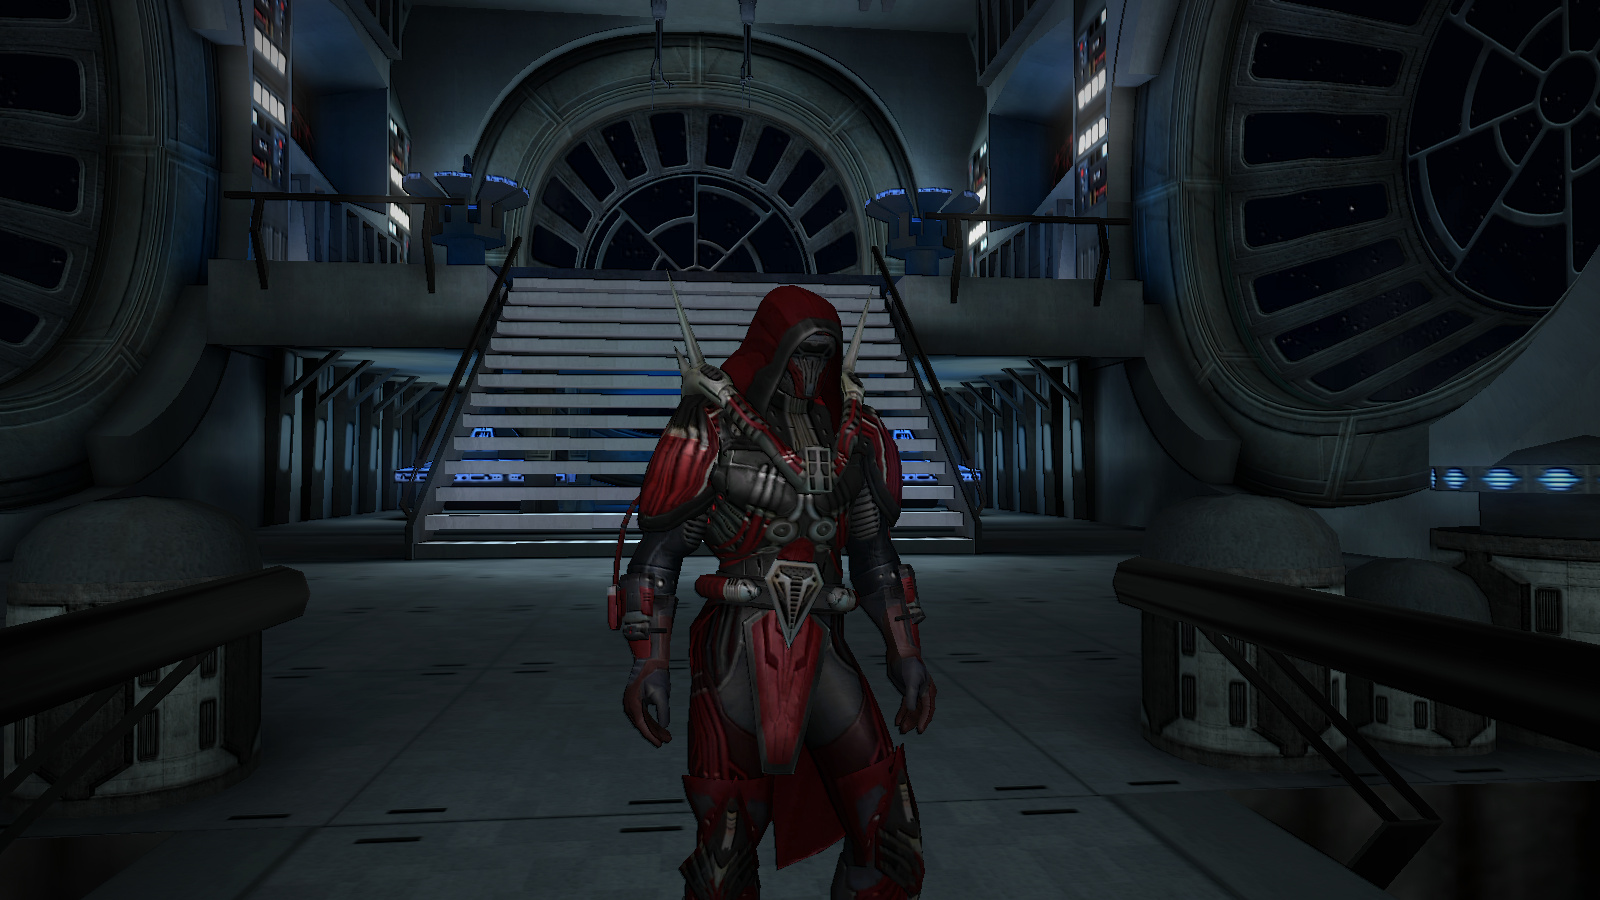
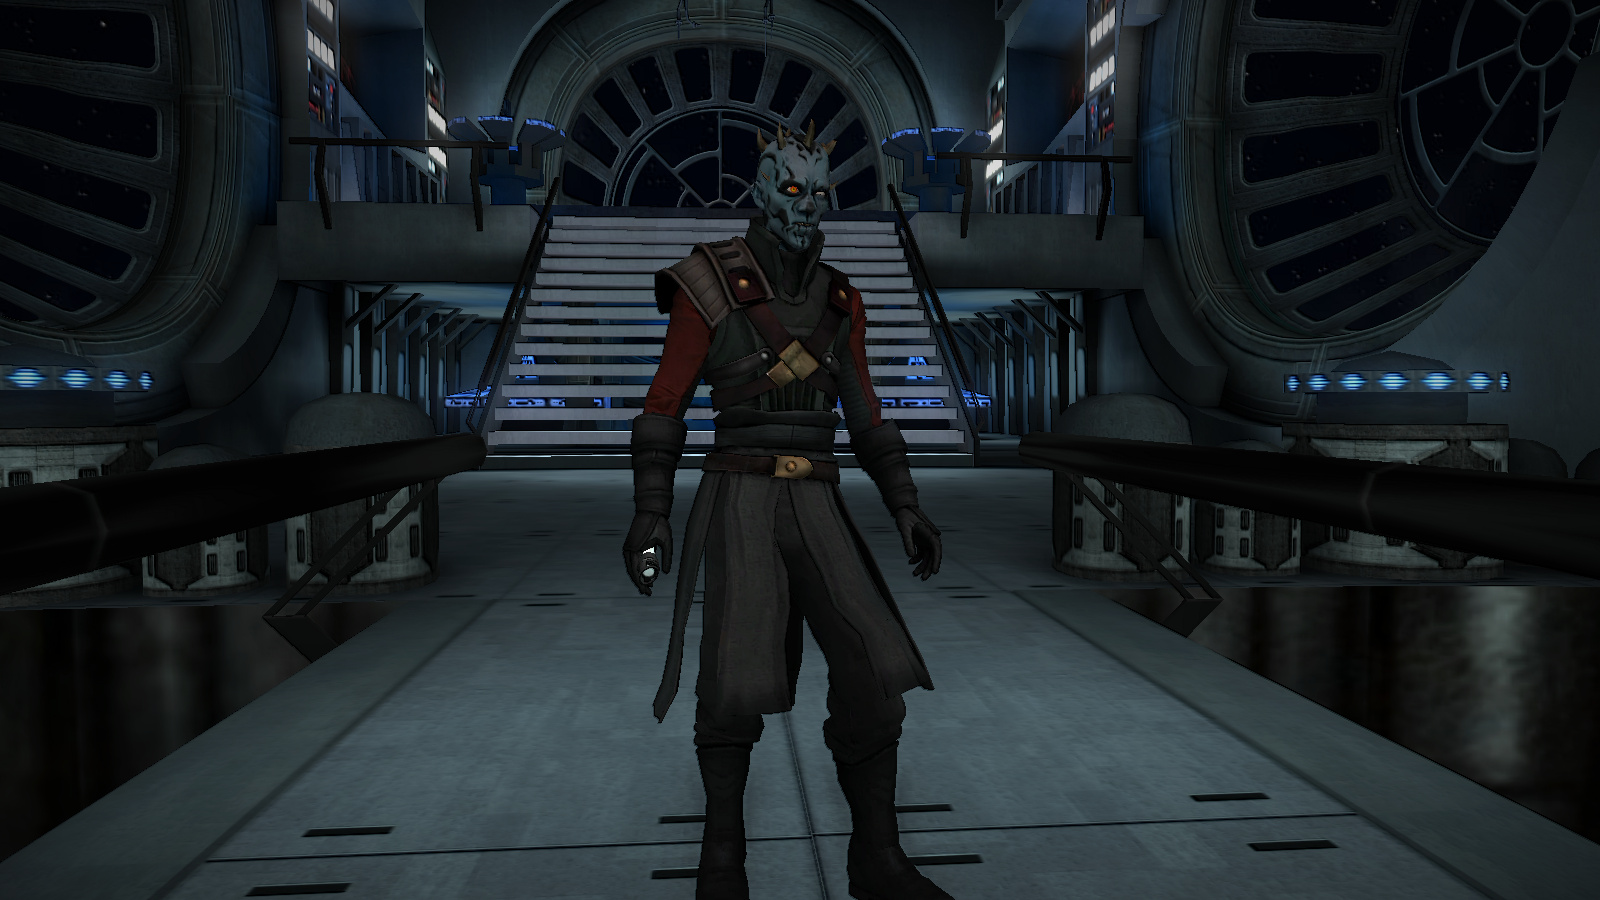
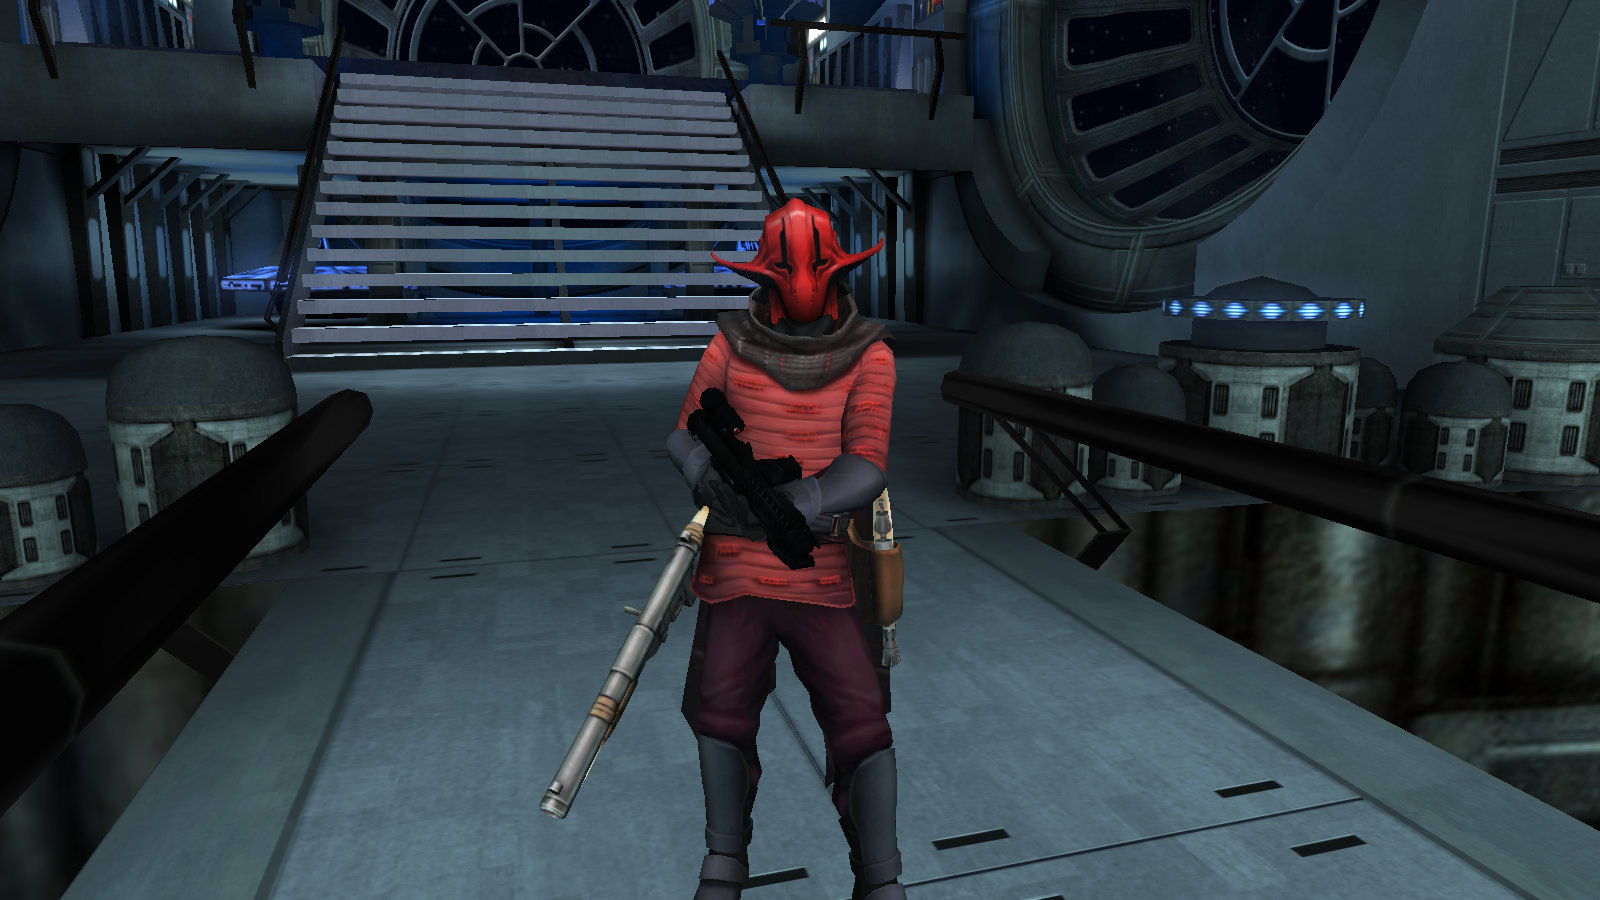
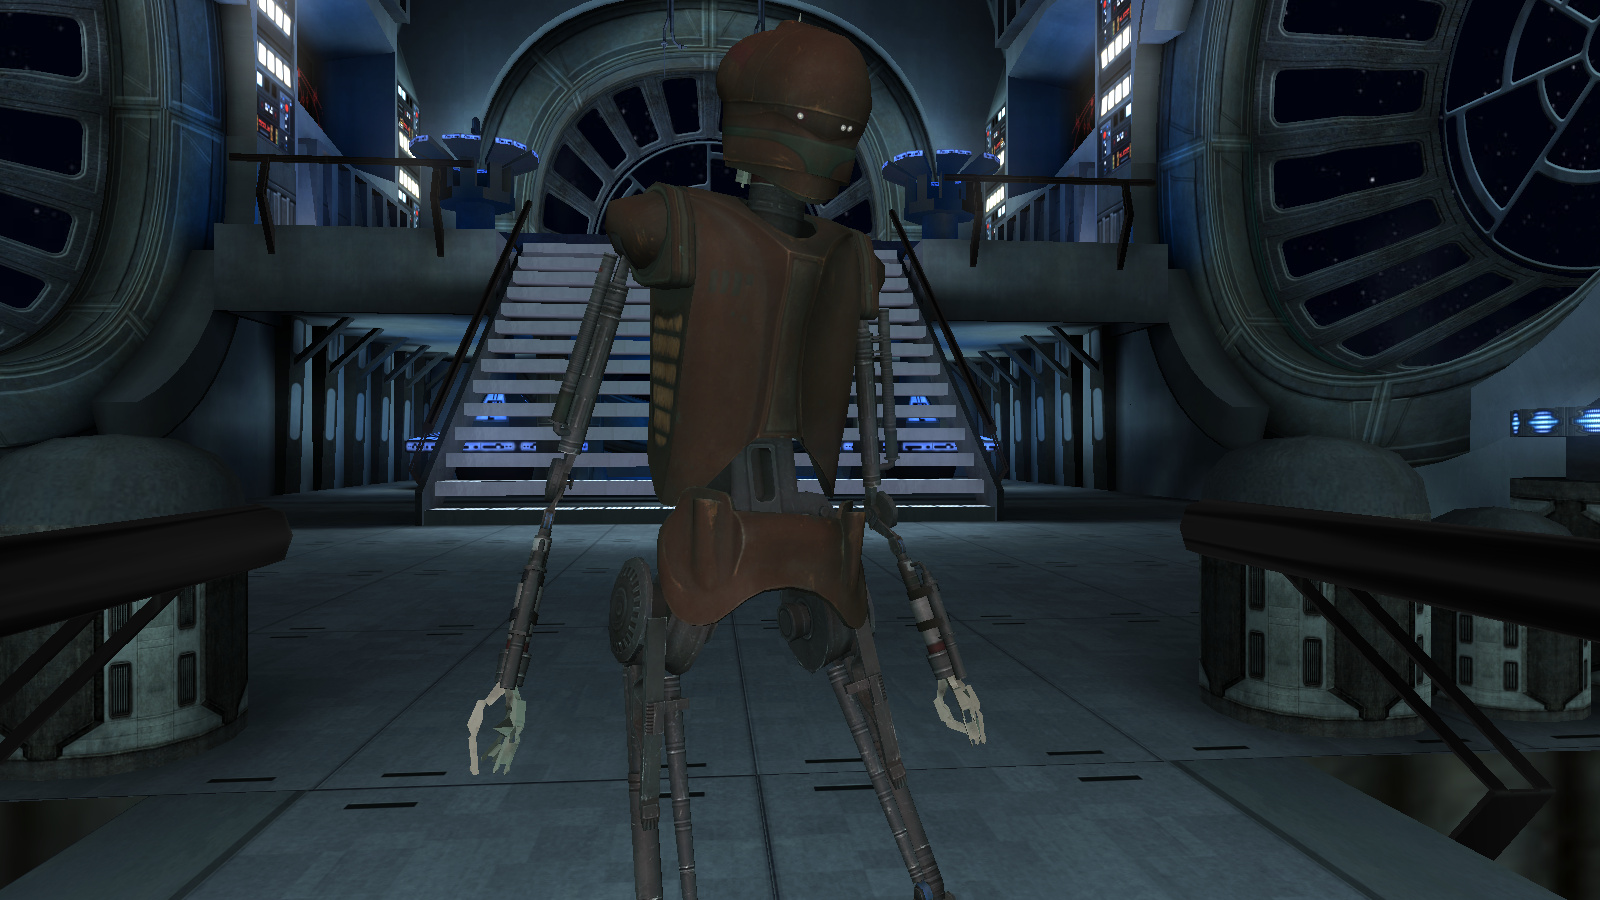
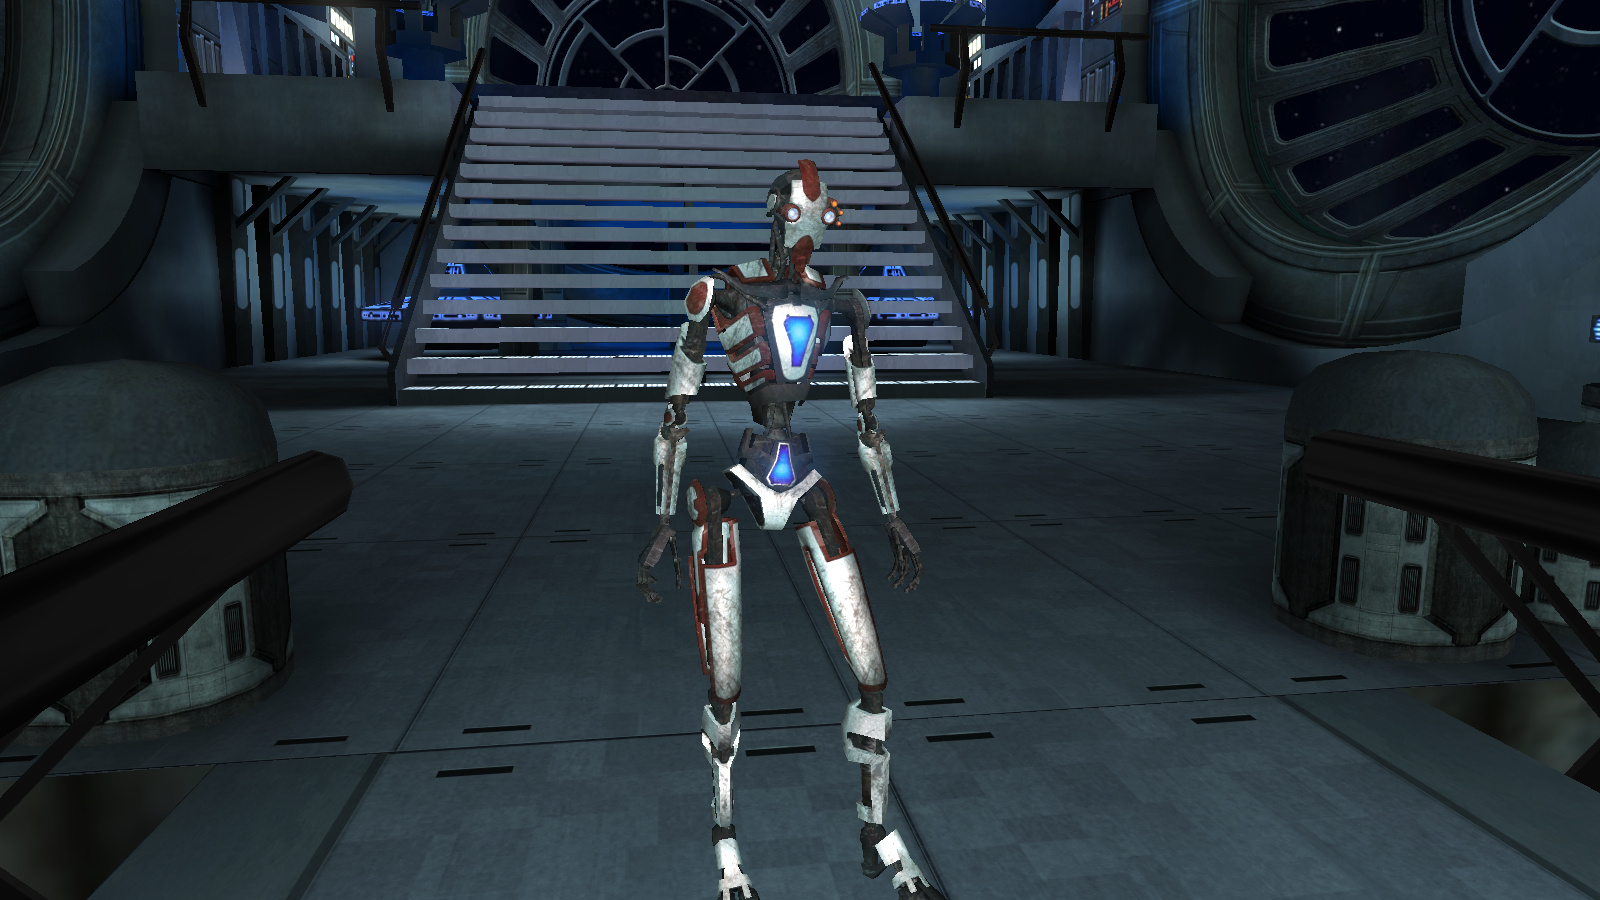
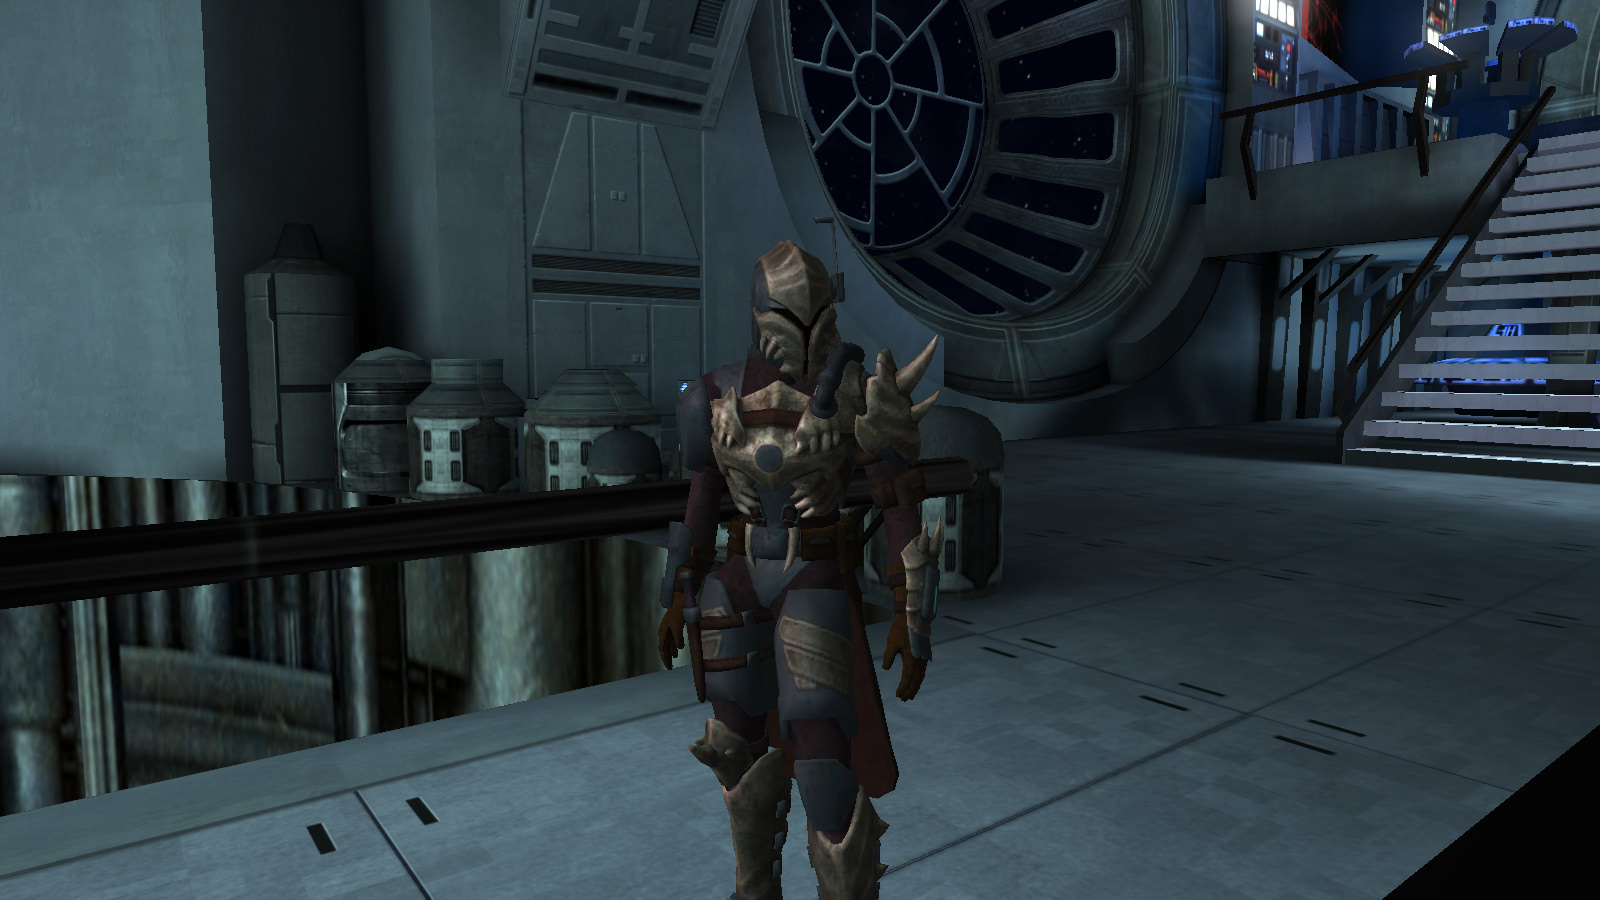
Here is another one
https://mega.nz/#!jEo33YiD!bFaPpquUVCkWzBet-PE2kRfisaLoO3eI0oevEmNpg9c
NPC: MercilessSeeker
Notes:
Just like the previous one, is not perfect, we put it together to have some fun and it served its purpose.
DarthStiv, TheWhitePhoenix, Lancelot and 4 others like this -
given that the tags have the same character length.
You can modify the length of the name as long as the file size and length is not altered. Check this for details:
https://jkhub.org/topic/10237-humanoid-custom-folder-help/?do=findComment&comment=143042
-
Yet another masterpiece by you, that's damn great!
Thanks!
-
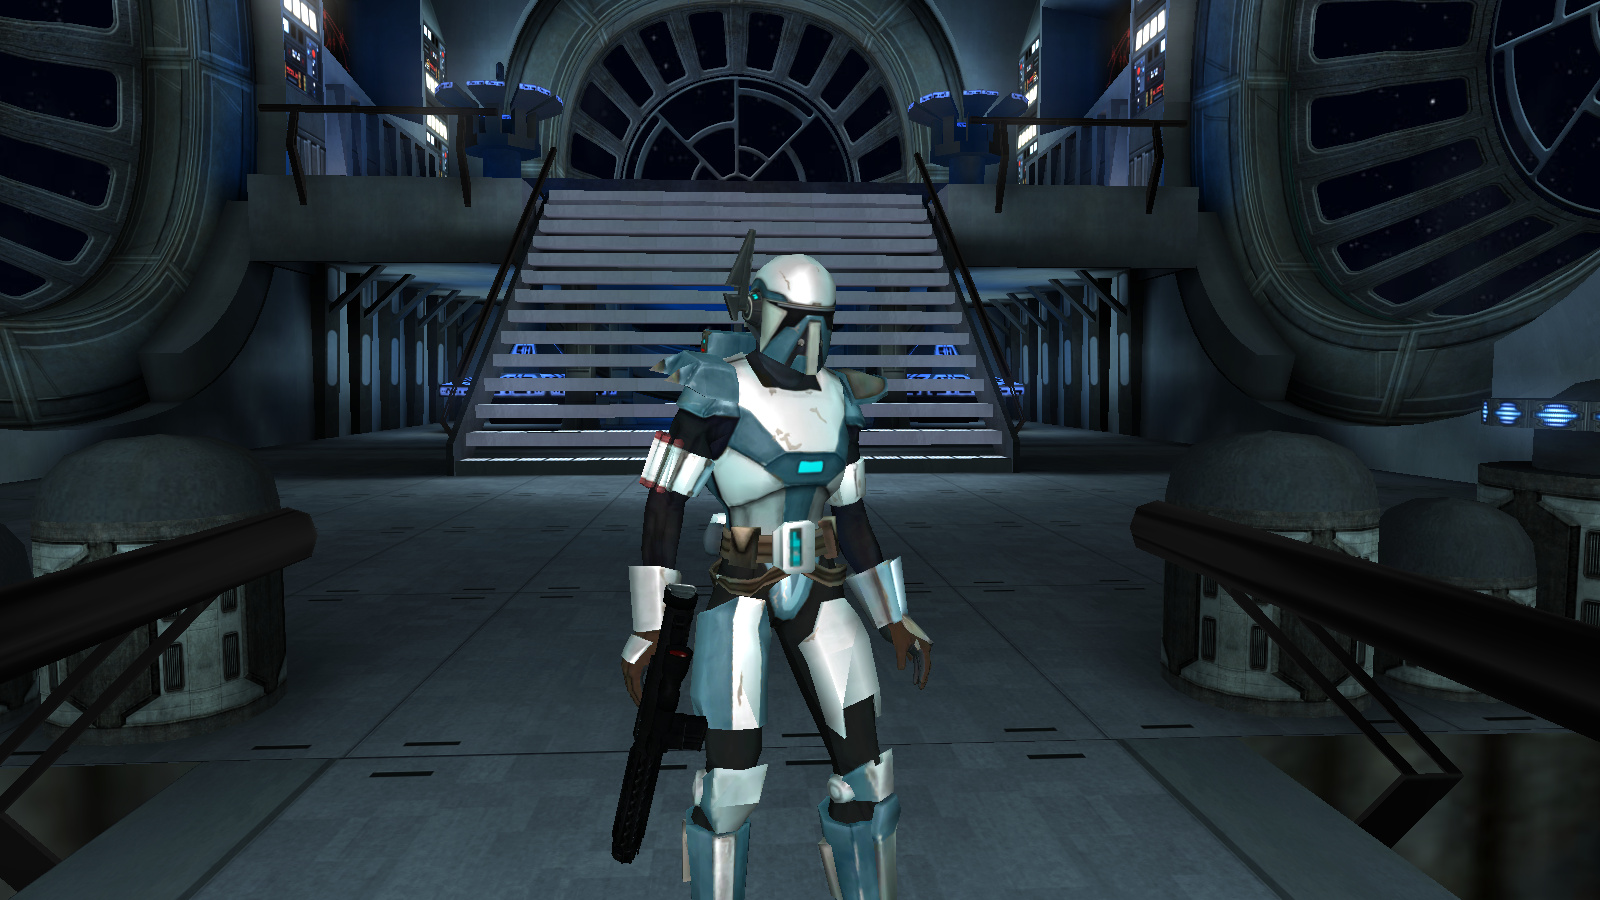
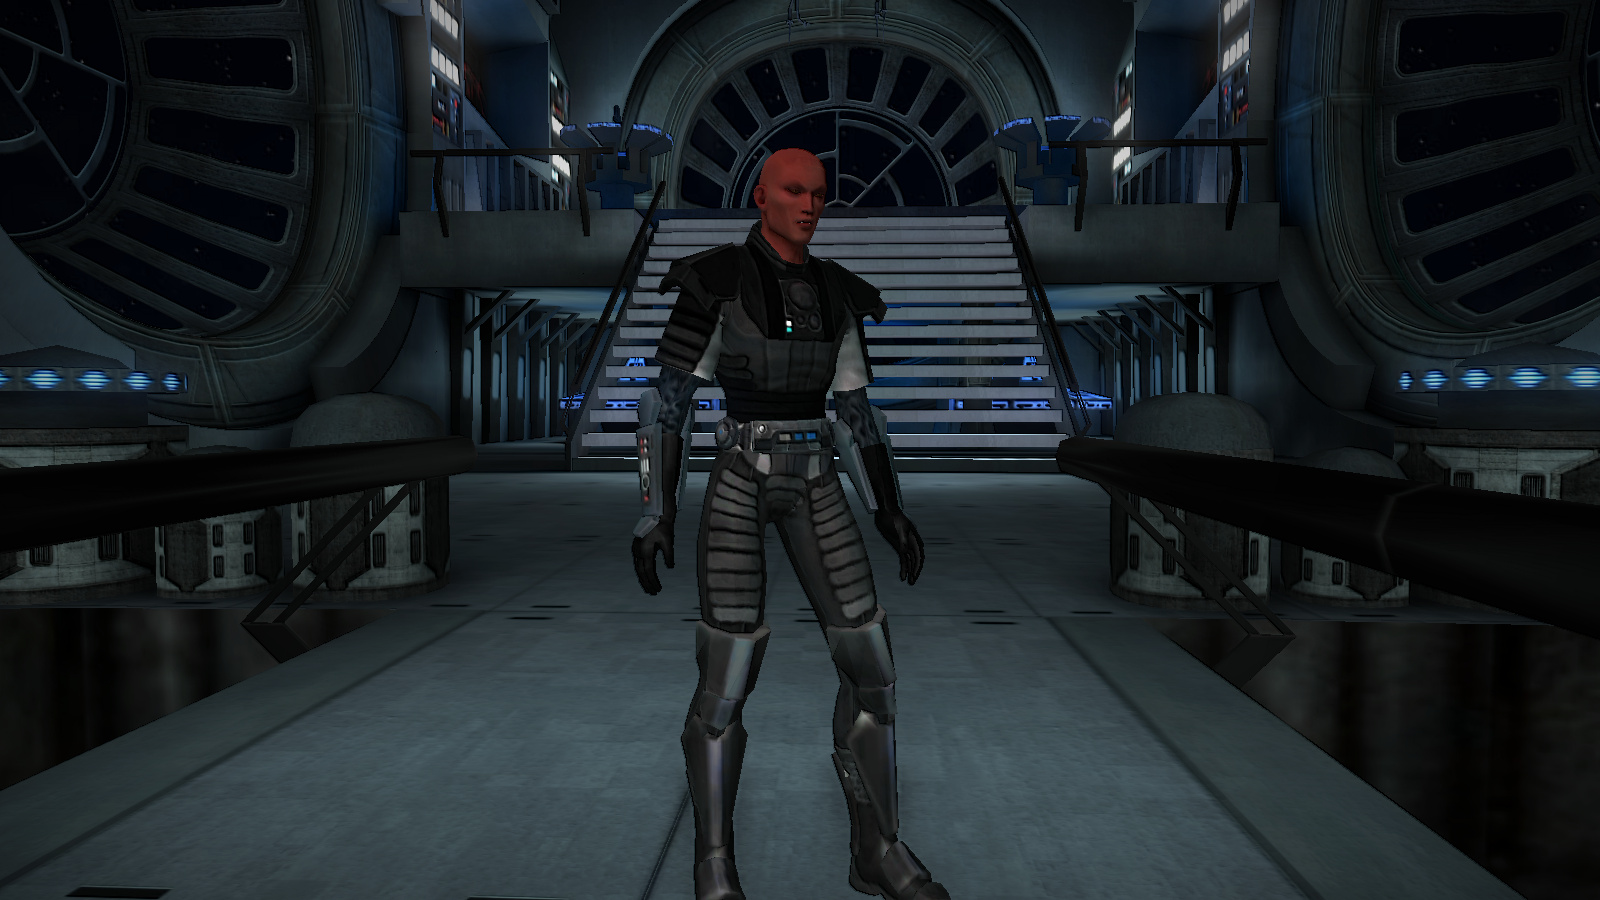
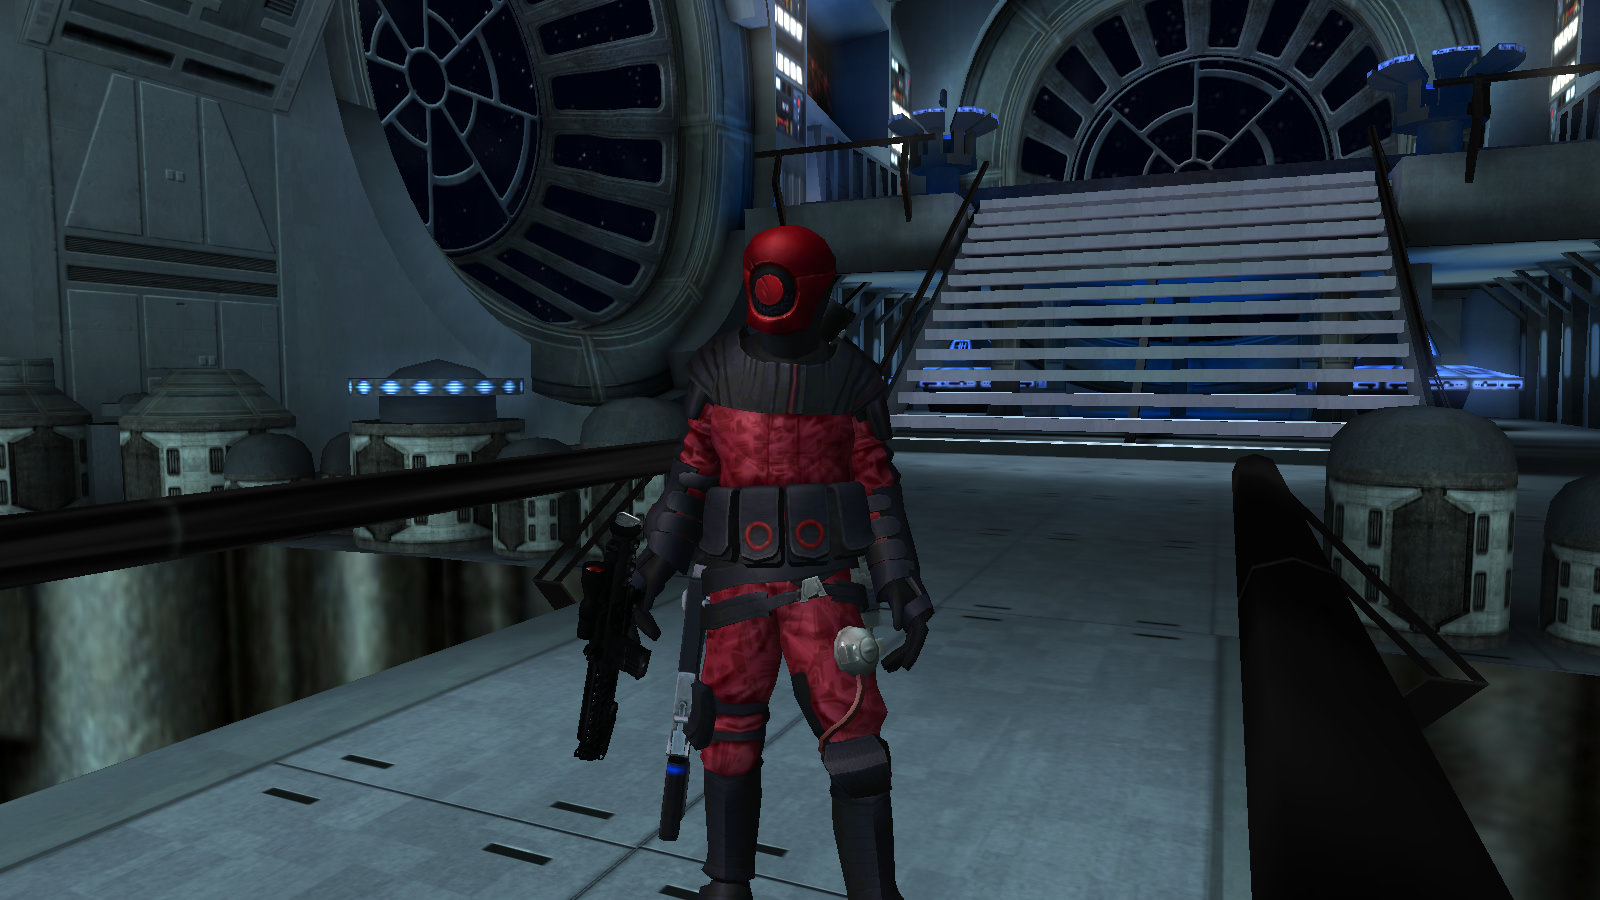
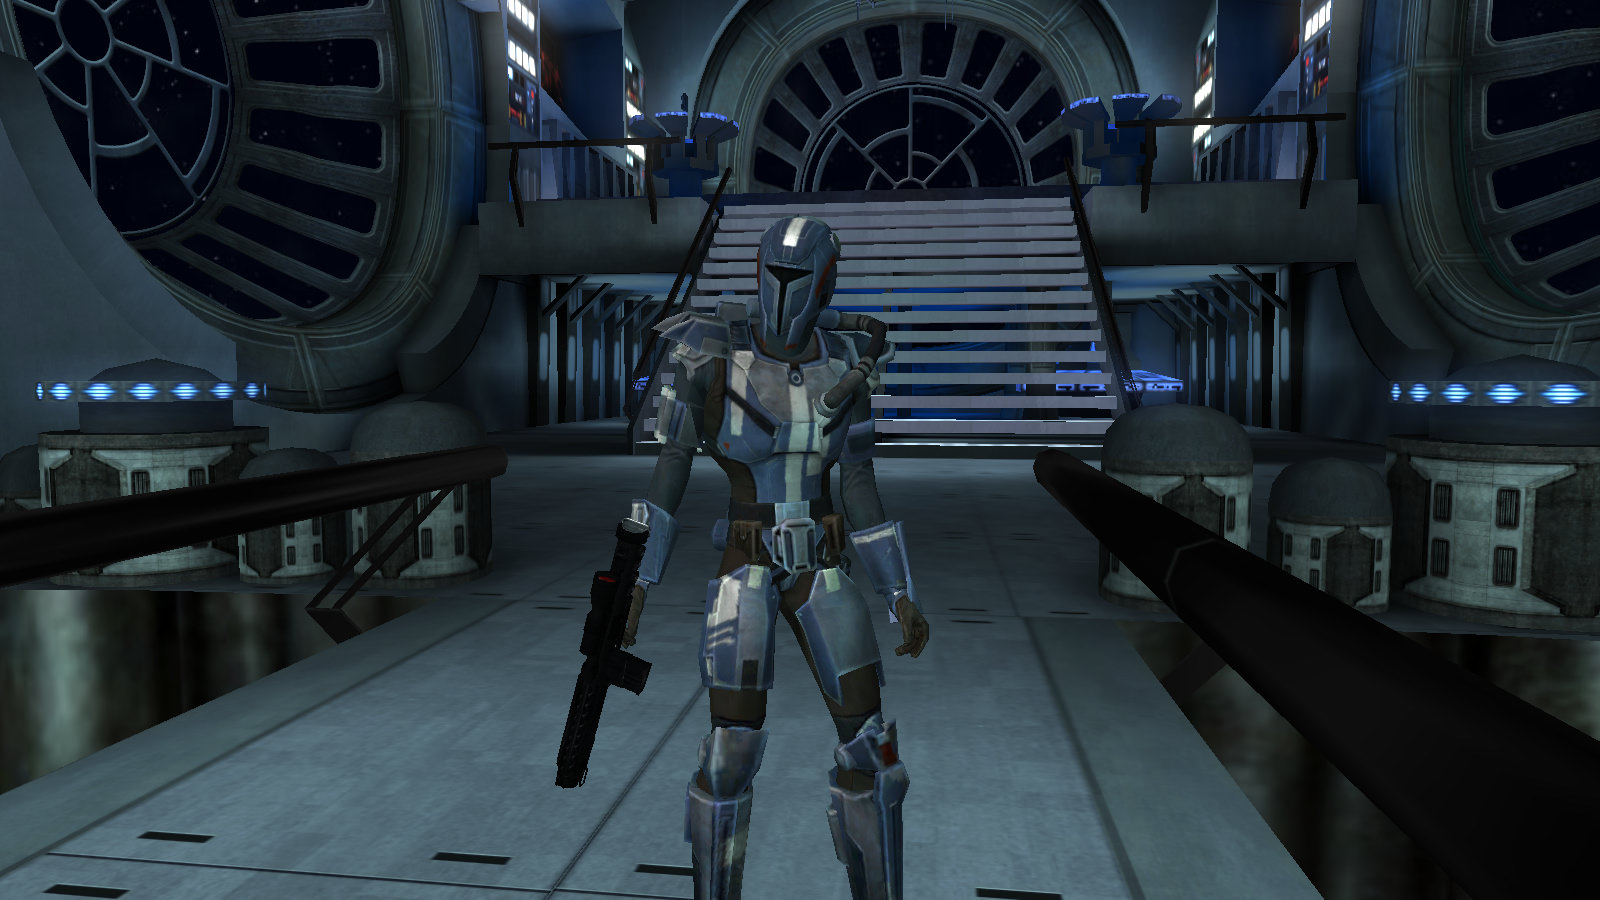
Made a promise to an old friend, so here it is:
https://mega.nz/#!OUA1hAYY!rEr_uG3jX89NyiNqg-dBUAvIKWcJpuJyPCAfWa_C3Es
NPC: Mando_Warriror
Notes:
Is not perfect, we put it together to have some fun and it served its purpose.
Jeff, Dark_Reaper, TheWhitePhoenix and 7 others like this


Diary of a mad man
in WIPs, Teasers & Releases
Posted
It looks horrible in JKA