

Ramikad
-
Posts
1,317 -
Joined
-
Last visited
Content Type
News Articles
Tutorials
Forums
Downloads
Posts posted by Ramikad
-
-
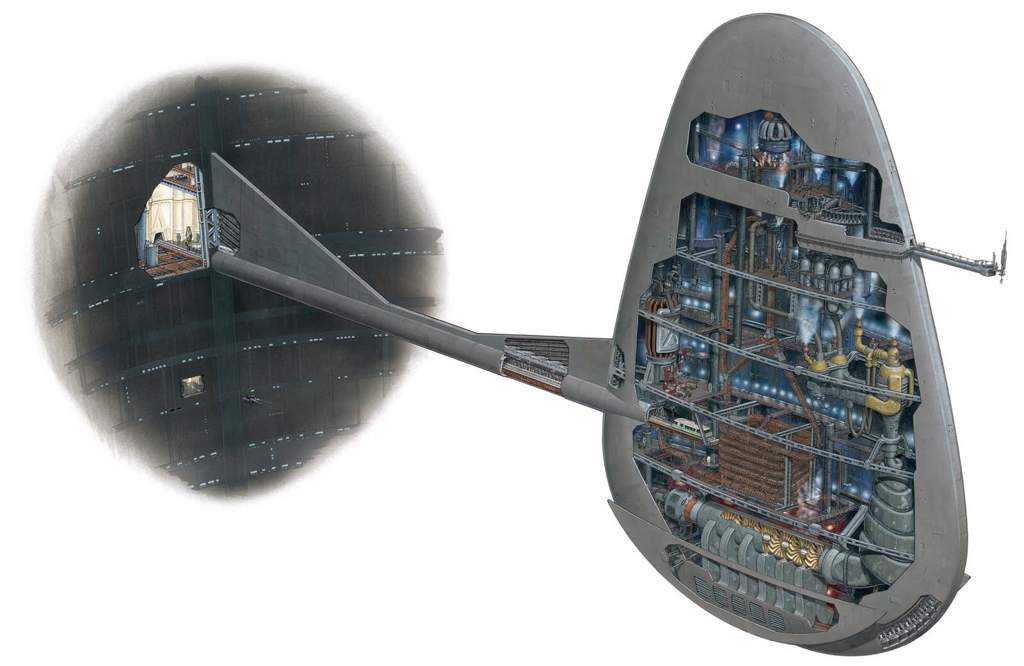
I think this picture tries to explain the mysteries of going up and down Cloud City:
 NumberWan and minilogoguy18 like this
 -
Aegis Defenders is free on Humble Bundle until May 17, 2020 at 10:00:00 AM PDT.
-
-
Maybe that server was set to sv_pure 1. I'm not sure.
-
My guess is that you didn't split the mesh at UV seams, and the exporter did so automatically. Whatever the cause was, the only way now is to separate the mesh into multiple objects, each one with less than 1000 vertexes - so at least 3 parts.
-
Ashes of the Singularity: Escalation is free on Humble Bundle while supplies last or until May 10, 2020 at 10:00:00 AM PDT.
Circa likes this -
Make sure that Force Player Models and Defer Player Models are set to Off in Setup -> Game Options. As for lightsabers, from what I remember, if the server itself doesn't have those sabers you'll just see the base "sith" hilt, so not much that can be done, other than asking the server owner to download those saber hilts.
-
-
This should probably go into Modding Assistance, but anyway, make sure both the model and the animations folders are unpacked into GameData/Base - you should have GameData/Base/models/players/_humanoid/_humanoid.gla (the animation file) and GameData/Base/models/players/<model>/<model>.glm (the model itself). Also make sure that when importing the model you point the animations to the correct file, especially true if you're trying to import a weapon or lightsaber model or a non-humanoid model.
-
It is possible, technically speaking. More or less every feature you listed is doable, except for maybe the droid followers (at least if we're talking MP). It's certainly going to be difficult if you say you have no experience with mapping, so to prevent possible frustration I'd suggest you this tutorial section to give you a basic knowledge of how mapping works in Jedi Academy. In particular, redsaurus' tutorial seems to cover most of what you want to do.
As for how much time it would take, there's no way to know until you start mapping. It also depends on the level of detail you want to have in the map.
Also, I feel like having the ship seal up, take off, exit the hangar and fly around the station would look and feel much better than being teleported out - and it's doable.
-
-
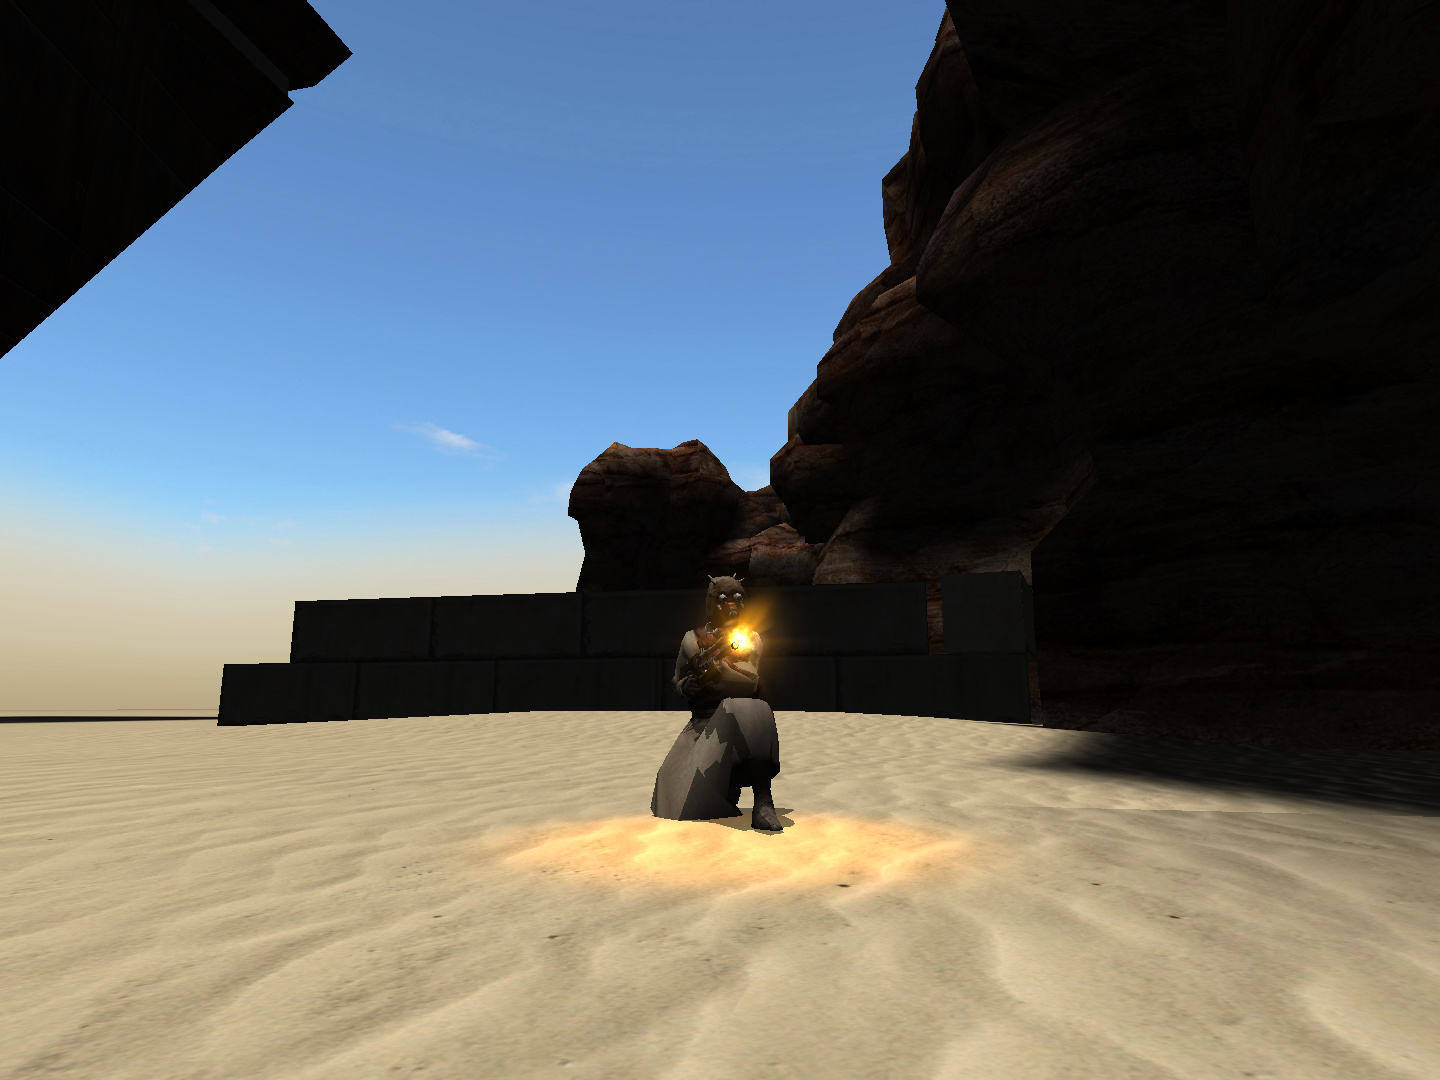
The "Electric Blaster" you mention is the pistol type used by an ARC trooper in the old Clone Wars cartoon series.
Spoiler -
4 hours ago, TheWhitePhoenix said:
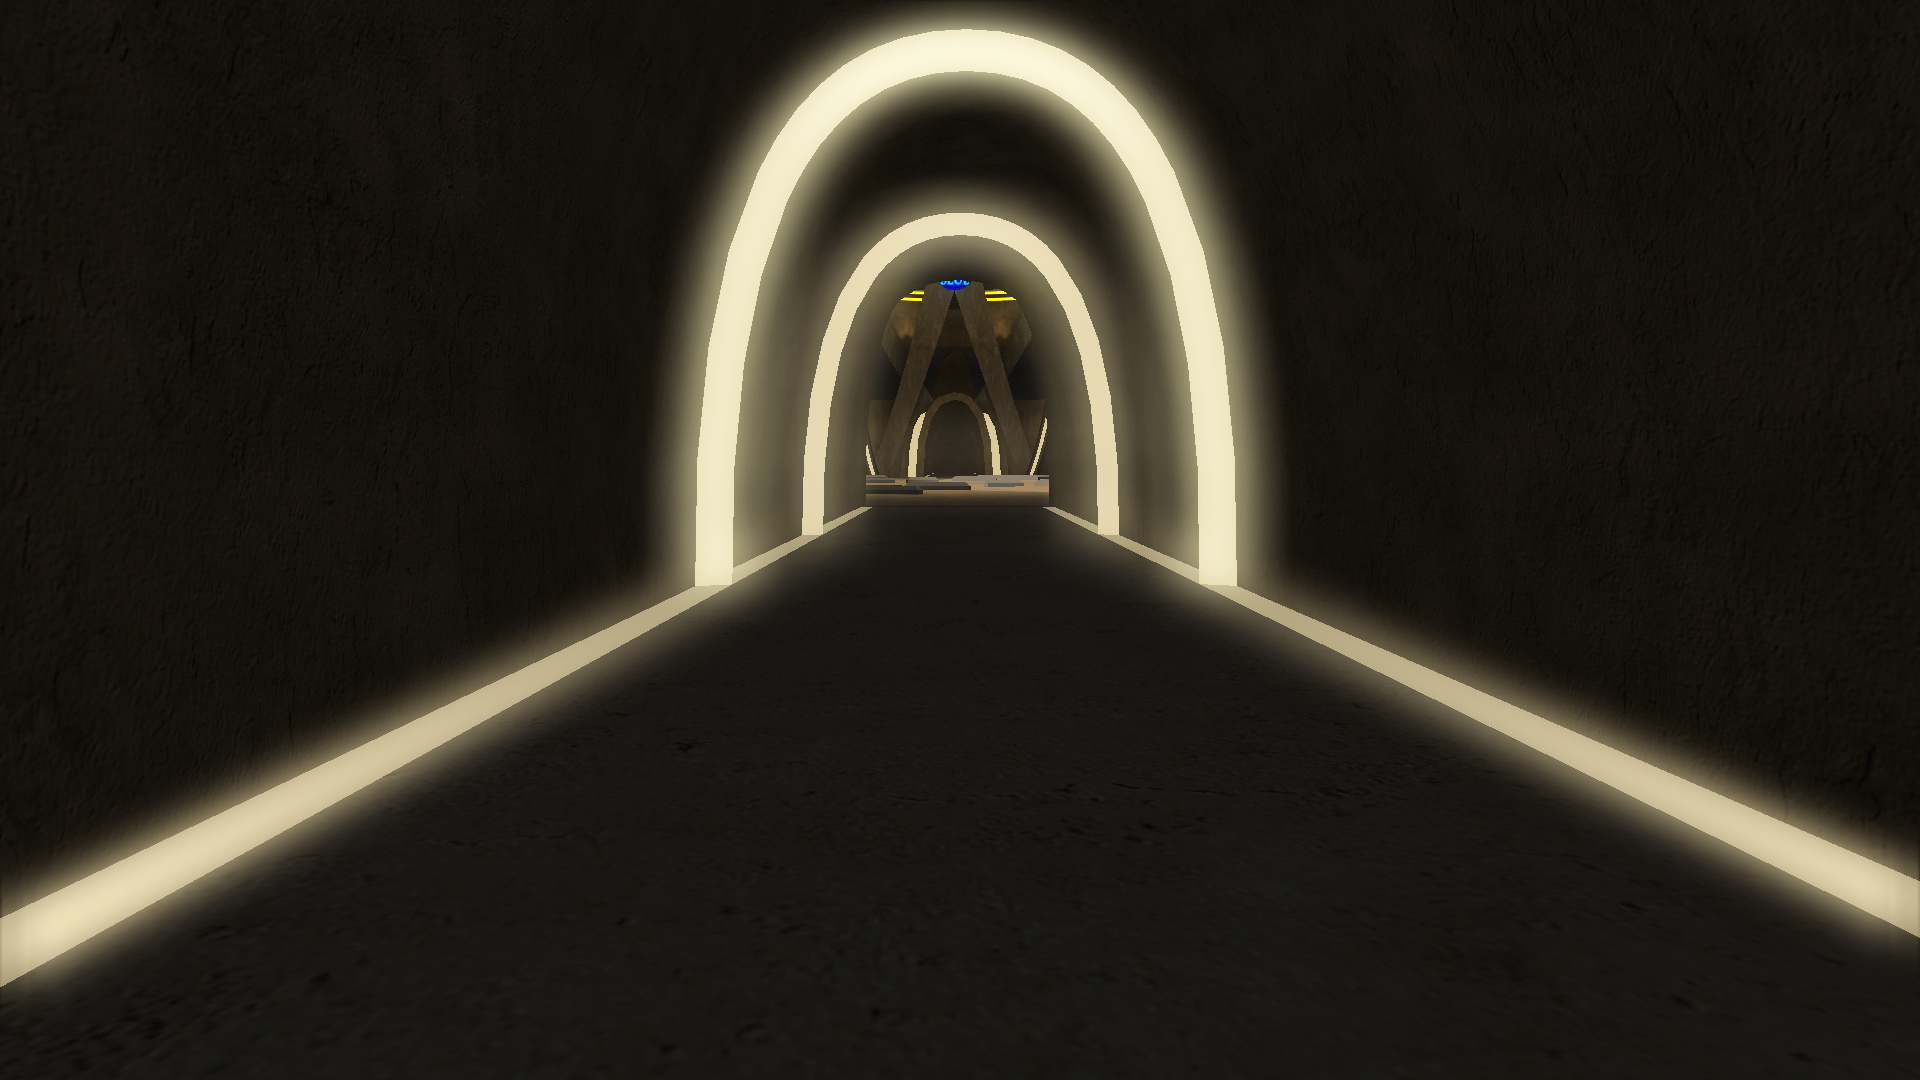
GP managed to finish that map?

Doesn't seem likely to me. The egg dome and the wall seem to have normal maps, which Jedi Academy only vaguely supports, unless the textures have Rend2 shaders.
-
-
I meant the former. As in, you finally acquire the blueprint for an E-11 Blaster Rifle, and now that you "know how" you can create a blueprint schema for that E-11 rifle which then you can give or sell to other players (or vendors, why not).
The blueprint system kind of reminds me of Rust.
-
I like it, maybe the minigame part not so much.
Another thing I feel will have to be considered is the possibility to create blueprint schemas based on the already known blueprints, unless you already pointed it out in the post and I somehow missed it.
-
-
Yes, I forgot to mention it - you'll have to rinse and repeat for all the head and face meshes the model has. Basically the _1 at the end of head_face means it's the first lower level of detail compared to the original, higher poly mesh (head_face_0). Those are lower poly meshes loaded when the model is relatively away from the player camera - you could probably skip the LODs if you don't care about the lips and eyes animating on the distance. Otherwise you'll have to weight them too. Usually Jedi Academy meshes (but not always) have up to three level of details along with the base geometry, so it means you might have to deal with up to head_face_3.
As for your last question, the answer is "probably yes": that's essentially what I meant when I said it would take a lot of fine-tuning. Without nearly perfect weight, the animations will look weird. Something that could help you in this case would be to actually pose the mouth and lips in Blender to help you see how the face deforms, if it deforms correctly, and give you a better idea of what needs to be improved. Simply select the skeleton (skeleton_root), then enter Pose Mode, select the lip, mouth, jaw bones and rotate them slightly (5-10 degrees should do, that's how much I generally rotate bones). Press R when you have selected a bone to rotate it, then X, Y or Z to rotate them around a specific axis. Press X, Y or Z twice to rotate them on their local axis as opposed to global X Y Z axis. Then use the mouse to rotate the bone itself (keeping CTRL pressed will rotate the bones in steps of 5 degrees each), or input a number of degrees to rotate. For example, R -> X -> -22 will rotate the selected bone of -22 degrees on the global X axis.
-
Yes, you have to select the mesh with the lip vertexes, so if face_0 is the one you'll have to select that and not head_0. Basically select the mesh that has the parts you want to affect.
-
It's simply a matter of importing the whole model in Blender, along with the skeleton (which is imported automatically with the model), then carefully weight the lip vertexes to the four lip bones.
In short, make sure you unpack the model from the .pk3 into gamedata/base/models/players/<modelname>/model.glm. Also make sure that you unpack from the original game assets the humanoid skeleton in gamedata/base/models/players/_humanoid/_humanoid.gla. Provided that you installed the correct Blender JA tools (for Blender 2.79 or 2.80), simply Import -> JA Ghoul 2 model (.glm), and select the aforementioned unpacked Lando .glm model file that will then be imported.
For the record, I did try something like that some time ago, and I remember that Lando's head is a bit off - too high or too low to sync with the lip and eye bones. It's simply a matter of selecting the head mesh, entering Edit Mode and adjust its height correctly - from what I remember it was a very small value, like 0.1.
Still in Edit Mode, you should accurately select the lip vertexes - there are four bones that contribute to lip animations, plus the jaw obviously - and, under Data (the triangle shape on the right of the screen menu), select the corresponding bone data under Vertex Groups (if it's not there, you can simply add it to the list using the + symbol and name it after the specific bone) and Assign it (or Remove it in case you picked the wrong vertexes) to the selected vertexes. Rinse and repeat for every single one of the four lip bones, plus the jaw bone, and dulcis in fundo the eye and eyelid bones (I don't think those are weighted on that Lando model either).
Another option is to select the head mesh, enter Weight Paint Mode, then select the appropriate bone data under Vertex Groups and paint the model directly.
None of these two methods grant you a perfect result: that only comes after a lot of fine-tuning, especially having to weight such a complex face area to multiple close-by bones. For more informations on which vertexes need to be animated by which bones, you can import and examine another base model, like Kyle or a Prisoner model.
If you need any more help feel free to ask.
And I dare say that even though you want to keep them for personal use, lip sync and eye movement would make a neat update for the existing Lando model. Not sure if it would be acceptable to update it though, given the rules about ports.
-
Desann's bounding box (from what I understand) is 78 in-game units tall. It means he won't be able to walk through a door smaller than 78 (or maybe even more) in-game units. His scale, however, as you can see, is 135. The height value as far as I know doesn't affect his visual size - increasing it to 300 won't make it look that big - but it's only useful for gameplay calculations, as in, how much game space that entity occupies. If you were to change his scale to 400, on the other hand, the visual difference will be noticeable - but given that it has a set height and width value, you probably won't be able to shoot him in the head, as a scale 400 would put it way beyond the 78 in-game units height. At least that's how I understand it is - I may be mistaken, but having played around with scale values in the past I think it's correct.
-
No, 100 is the average scale value you can modify in the .npc file of the NPC you want to modify. An NPC's scale 100 equals to 64 in-game units, which in turn equals to 6 feet (~1.80 m).
-
Evidential experiments seem to demonstrate this, as well as this topic. If you want to nitpick, a scale 100 is exactly 6 foot, so 1.80 meters and about an inch. You can probably easily ignore that inch - 2.5 centimeters over 180+ total isn't a much relevant difference.
-
You can try, I just pointed out to you the problems I encountered when trying to achieve a different player size. A good starting point would be to change the player.npc scale and see how it goes, then you can think of making race-specific sizes, though I'm not sure that's achievable.


Problems with skeleton in blender?
in Modding Assistance
Posted
Most likely, the parented objects don't disappear, but are moved and scaled around the place: one way you could minimize the issue is to apply location, rotation and scale of the object (CTRL + A that way, when you parent it to another object, for example a part of a base model, it will take on the location, rotation and scale of the parent object - in the aforementioned case of the base model part, it will be scaled to 1/10th of its size. You can then just scale it back (S 10) and apply object scale (CTRL + A).
As for the other problem, make sure that the newly added objects all have a name under Ghoul 2 Properties (in the Object menu), that they all have an Armature Modifier (in the Modifiers menu) named skin and with the skeleton_root armature set as Object, and that the object is properly weighted (which you can verify in Vertex Groups under Data). Basically, the gist of weighting is that you want to link each vertex of the added model part to the bone you want it to move with. You can either do it manually, by entering Edit Mode, selecting the vertexes and assigning them to a specific vertex group (which you can do in Vertex Groups under Data), or you can select the object, enter Weight Paint mode, select a specific vertex group and paint over the object. Vertex groups are named after the bones of the model skeleton: if there isn't any in Vertex Groups, you can simply add them, making sure that the names are correct.
When exporting you want to make sure that every vertex is weighted - a good test of this would be to select the skeleton_root, enter Pose Mode, then select all the bones (A) and move them around. If everything is weighted there will be no vertexes warped towards the origin. Also make sure that you're in Object Mode, not Edit Mode, I seem to remember it turned up a lot of errors when I tried it once.