
Ramikad
-
Posts
1,316 -
Joined
-
Last visited
Content Type
Profiles
News Articles
Tutorials
Forums
Downloads
Posts posted by Ramikad
-
-
That's one big can of worms, as they say. It's problematic because when you select any species in the singleplayer menu, as far as I know you will still spawn as NPC player, with that specific model and skin. That, in turns, means that you can't easily set a height for each possible playermodel you can select, only a "global" player size (scale in the .npc file, 100 default for 1.80m height) which will more or less affect the player entity both when playing and during the cutscenes, which will be even more problematic in case they require synchronization with another NPC - Kyle helping Jaden up in the first level being a prime example. I remember scaling down the player and Rosh a little bit in the past (because they're supposedly kids, and supposedly not so big), and it caused this plethora of problems. Maybe there are workarounds and solutions, but these issues didn't prompt me to go ahead with that attempt.
-
38 minutes ago, LusoJedi said:
You mean the IBI files? Shouldn't there be STR files?
The path should be assets0.pk3 -> strings -> English. .IBI files are in assets0.pk3 -> scripts, not strings.
-
9 hours ago, Noodle said:
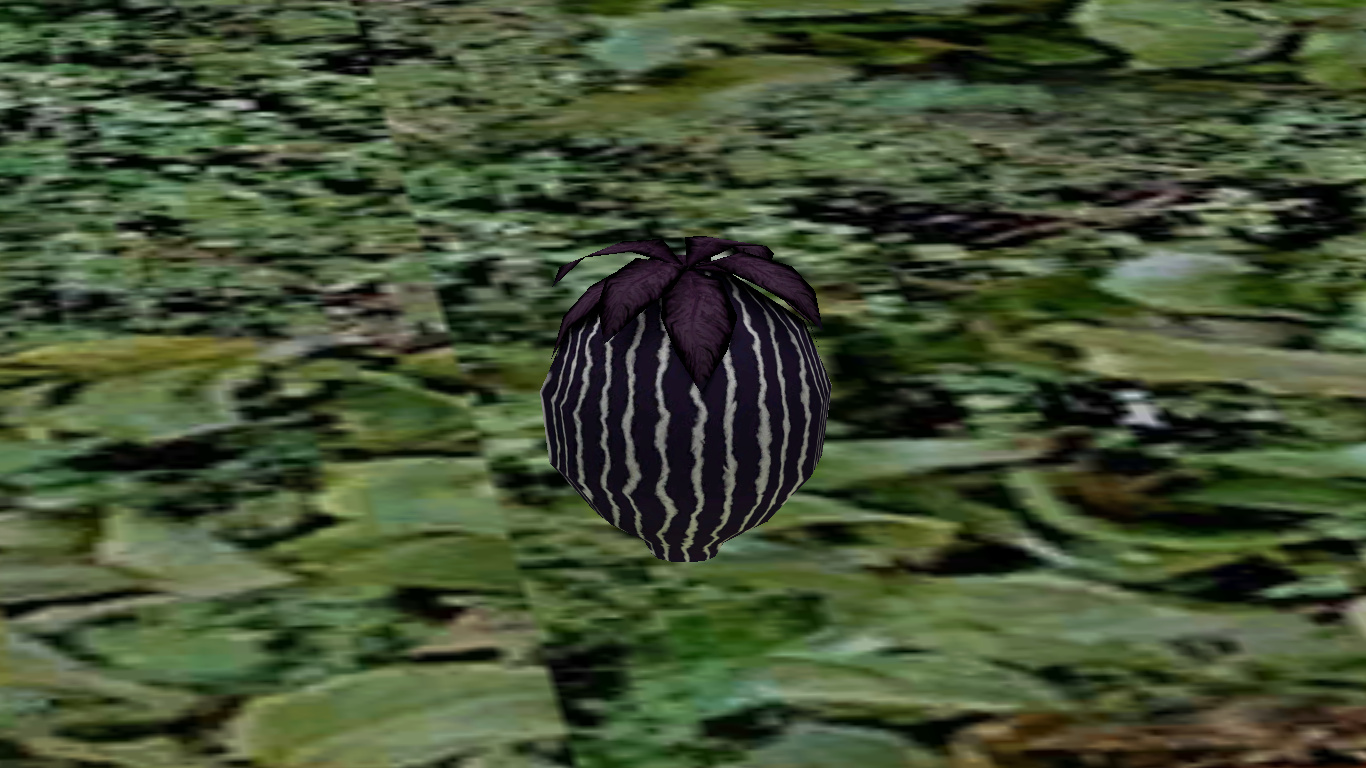
It took me an entire day to learn to do something so simple and the end-result isn't that good (after all the modeling learning the one thing that failed is the transparency on the leaf shader), but I have the need to share my latest accomplishment with you guys.
Download link: https://www.dropbox.com/s/h87pivk6nqziv59/jogan.pk3?dl=0
p.s: if anyone can teach me how to post pics here now, I'd appreciate it.
This is the shader you're looking for (I think):
    {
        map <path>/<name>
        alphaFunc GT0
        blendFunc GL_ONE GL_ONE
    }
For the record, it's the same shader as common/gradient, which also has a black background used as transparent alpha channel.
-
It is: just select the mesh, enter Edit Mode and play around with the parts you want to modify. Just a note though: while removing part of the geometry of a mesh (like the antenna you mentioned) generally has no dire consequences, if you want to add to an existing mesh you'll also have to UV unwrap the added geometry and make sure it doesn't interfere with the rest of the UV map.
AuriusPheonix and ooeJack like this -
4 hours ago, Nerdman3000 said:
You know, I always wondered if a lightwhip would be possible to code/mod into JK3. It’d probably take a lot of work.
Not a coder, but maybe it could be done adding code for animated weapon models, and having an animated whip, or even just a ragdoll whip with several bones that move with the attack animations.
-
Wonderful!
-
6 hours ago, C4N said:
Is using a software that is no longer available the only way to create vehicles on JKA?
Blender is the most common alternative nowadays as far as I know.
-
It could be a lot of things, but it looks like a normals problem, at least in the screenshot you posted. Basically the inside of the helmet isn't invisible, but flipped - thus you can only see it from inside the small sides of the helmet. You could easily "fix" that by modifying the shader and adding the line cull twosided, which will basically render both surfaces of the polygons the texture is applied on, but a better solution would be to fix the normals in Blender or 3DS Max and re-export the model - if that's actually the culprit.
ooeJack likes this -
A couple of things you may or may not know:
- Renaming a mesh to <something>_1 kind of suggests the .glm exporter that <something>_1 is a LOD (Level of detail) of <something>_0, and if the model doesn't have a model_root_1 (the model_root which specifically deals with the first lower level of detail) it might mess stuff up. A better idea would be to rename it to <something else>_0.
- Check out the Ghoul 2 Properties under Object Data, in the specific the name: exporting two meshes with the same Ghoul 2 Property name will cause conflicts because the game wouldn't know which one to display.
As for your question I'm not exactly sure what you want to do with the two meshes. From your last sentence, I'd suggest selecting the mesh, enter Edit Mode, delete the entire upper torso and belt geometry, leaving the lower part intact (if that's what you mean) and rename it however you want (for example hips_lower_0 as Object name and hips_lower as the Ghoul 2 Property name). Then back in Object Mode (if that mesh doesn't come with them) you can simply add an Armature modifier, which will allow it to move in-game (if you port it from another JA-working model you can skip it) and weight it, which will allow you to define how it moves in-game and what bones move that piece, and once it's done you can Parent it to whatever you want; typically hips details are parented to a "base" hips_0 or in case of hips_0 itself to stupidtriangle_off_0, but you can parent the new mesh to any other mesh really.
I realize this brief tutorial may come off as a bit generic, so if you have any more questions feel free to ask them.
Ivanael likes this -
I would also change cg_fov back to 80 (default). It might look good and wider, at least in MP, but it might as well be the culprit, as if you notice in the screenshot everything seems to be weirdly zoomed, which is exactly what cg_fov affects. Otherwise it might just be a matter of wider screen resolution, which Jedi Academy wasn't originally designed to support: after all with a widescreen setting some of the cutscenes in Jedi Outcast are "cut" somewhat, and ultimately it's a matter of how the in-game camera is working.
Edit: After testing both these options it didn't have any effect, so it's probably not that.
-
Headsnatchers is free on Humble Bundle while supplies last or until January 12th, 10:00 AM PST.
-
Reviving this thread with some '90s magic:
-
Maybe this is the problem then: if your model has overlapping pieces with different textures, and the .skin file loads them all, it is supposed to show the result you showed. The image does seem to show a lot of overlapping pieces - for example, the predator's face and the "helmet" it seems to wear in the screenshot, and the two different torso types (the "eyeball" one and the "leather armor" one). If this is correct, you should simply turn *off (replace the texture path with *off to prevent the game from rendering those model parts) those specific model parts in the .skin file, and only leave the texture path in the model parts you want to see (the eyeball torso you show in ModView, for example).
-
Could it be a matter of skin? It seems to have multiple body pieces (the torso, for example) overlapping, are you sure you set everything up correctly in the .skin file?
-
-
I'm using 1.5, so I'm not sure if it would work with 1.4, but for patches I always use the Patch Properties menu (Shift + S). It allows you to control more or less anything about the texture applied to the patch, including tiling, scaling and shifting.
Odeyseis and CansecoDev like this -
It doesn't seem normal. Make sure you don't happen to have another untextured brush covered by the caulk brush, make sure you're using system/caulk (I seem to remember, although I may be wrong, that there was also a common/caulk sometime), and make sure that nothing overwrites the system/caulk shader (but as far as I know there shouldn't be anything doing that).
-
Postal 2 is free on GOG for 16 more hours.
-
-
Not a lawyer, but I don't think it will. From what I understand, Article 13 only targets websites making profit from its uploaded user content, while the Hub isn't - it doesn't sell mods and it only relies on donations to carry on.
-
47 minutes ago, Circa said:
In my opinion we're not strict enough with it, but mod archival is important.
Why is that? Sounds just about right to me.
-
It's not that strict, just legitly strict. Just contact the authors and ask their permission if needed ("Other players may not use or modify this work without permission", at least they were like this before the update), and if they agree or don't answer back you're good to go, except when explicitly prohibited by the license ("Other players may not use or modify this work"), in which case you simply have to remove it.
-
You should first and foremost contact the authors of the materials you used and ask their permission to inclue them in your mod, unless they explicitly state that they can be used freely as long as credit is given to them. In case the author doesn't reply within 30 days (from what I remember) you should be good to go. If the license explicitly prevents you from using those materials or if the author denies you permission to use them, you can't upload it unless you remove those specific materials.
-
Link it (Ctrl + K) to an info_notnull and it will orient itself toward it.
scp_chaos1 likes this


Adding new enemy variants to JKA?
in General Modding Discussions
Posted
Certainly, but:
- You can only add enemies (or NPCs more in general) until you hit the NPC limit (I don't remember the exact numbers, though I think it is increased in OpenJK);
- You will not fight these new enemies in the base game unless you add them in on the flight or modify the game maps so that they spawn.