
ChalklYne
-
Posts
1,586 -
Joined
-
Last visited
Content Type
News Articles
Tutorials
Forums
Downloads
Posts posted by ChalklYne
-
-
Its too fat and down too low is what i see so far from firat glance. Im going to take my time tomorrow and really focus on these type of things before i subdivide again and get into eyebrows and pores and the such
-
 GPChannel and swegmaster like this
 -
Select each model you have in the map individually and look for the axis that pop up showing you the models origin. Chances are the origin points are not centered with the model. You could send me a link and ill find your leak in minutes, but im positive this is your problem. Although, ive never had it actually break a map, maybe because my outer walls are 256 and the origins never go that far out on my stuff.
Oh, and this...
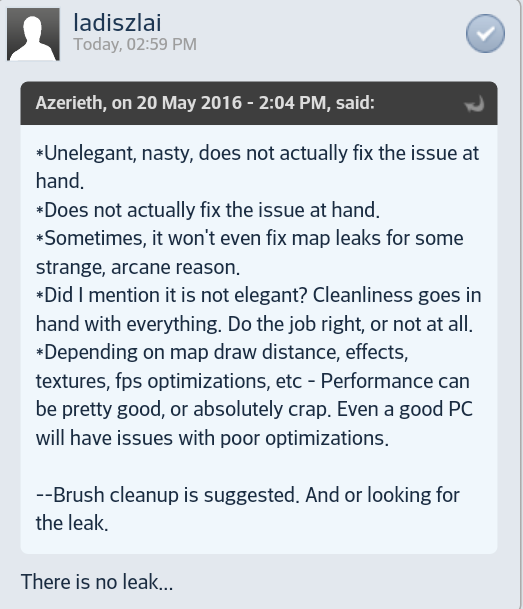
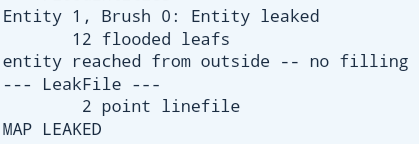
Denying the leak doesnt make it less leakier XD
Shes leakin
-
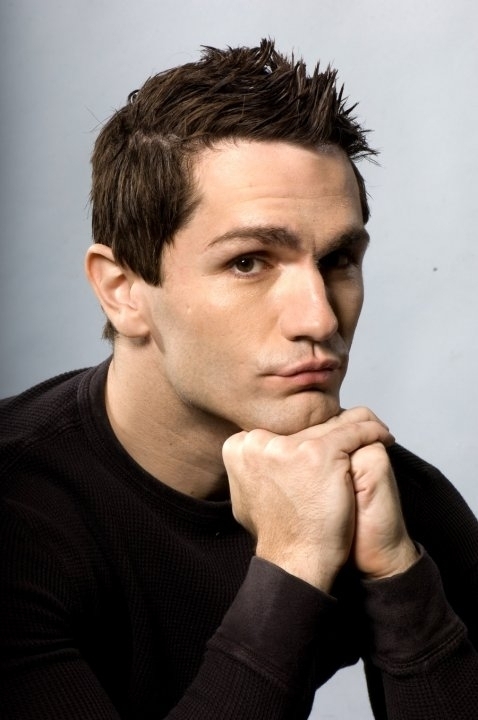
I might include an optional regular witwer hairstyle?
This one perhaps?
Omicron likes this -
Better
Something wrong with his cheek. Ill fix that now
-
I think you did a stellar job on lighting.
Darth Sion likes this -
Id say the top of his head looks like a penis now, ill look into it next lol
-
Ok ill look into his nose next
Bek likes this -
Oh my XD
That is haunting.
Ill be using this right now actually, thank you!
Seven likes this -
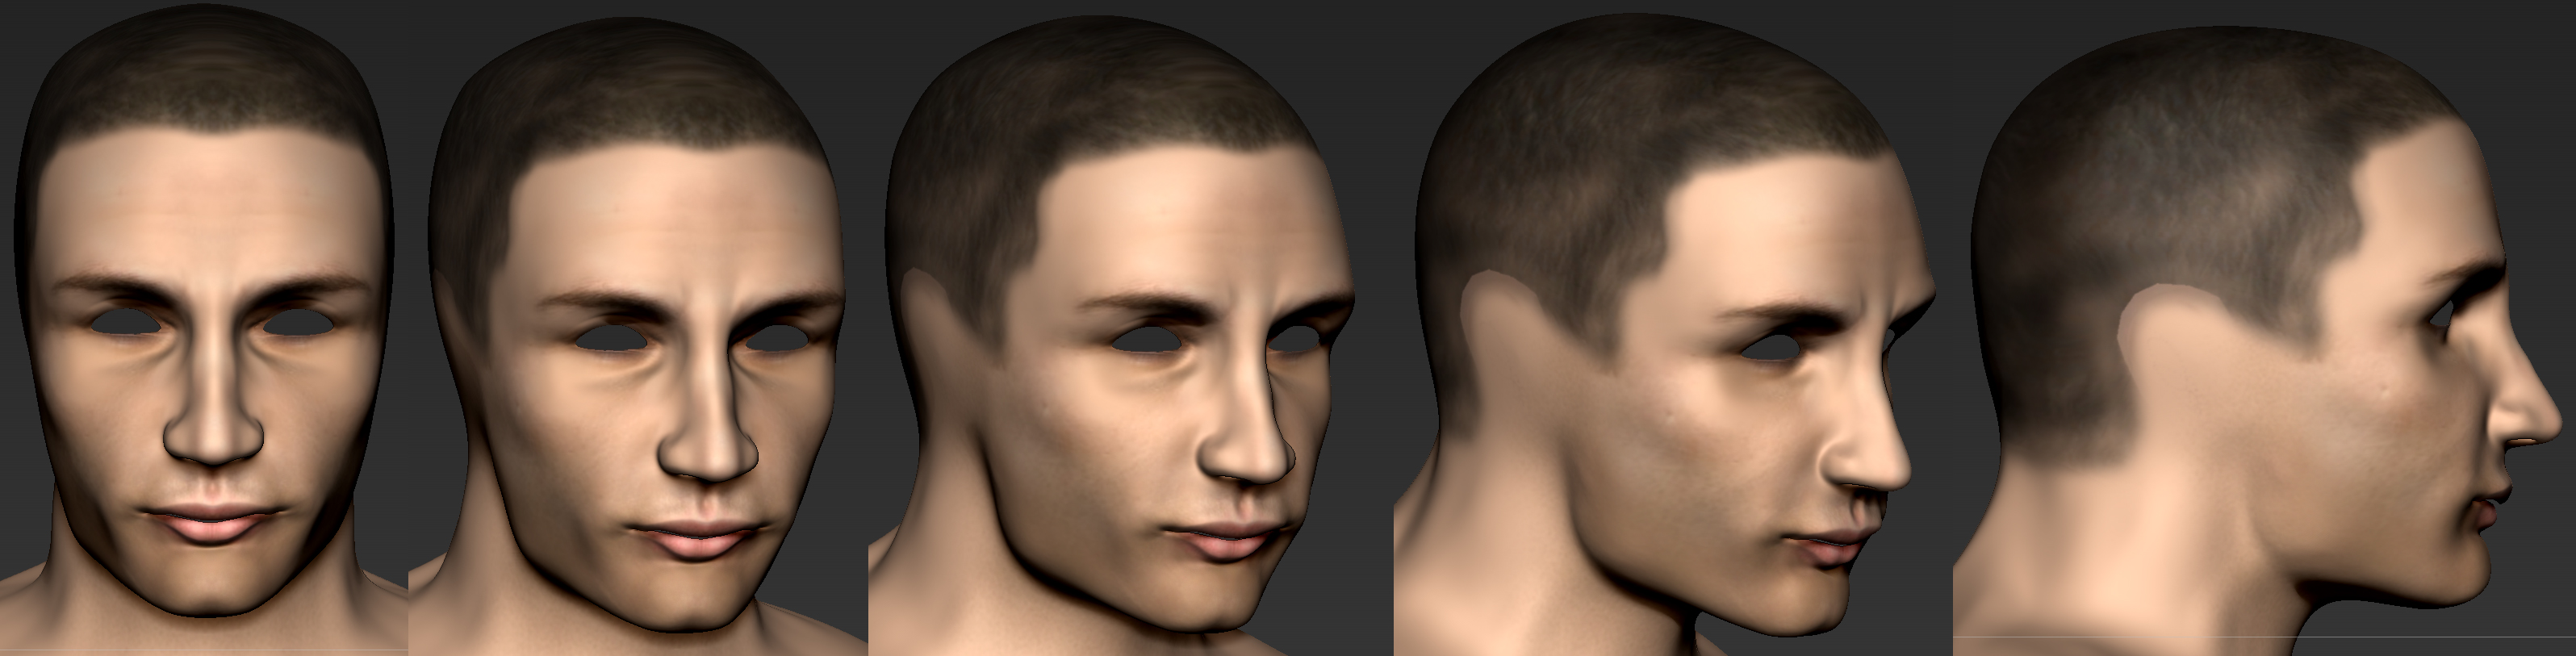
Can you remove his eyebrow? Lol that would honestly help a lot
Seven likes this -
I think his entire eyebrow line needs to come forward?
-
Alright, lets restart from here
And remember, were going for Witwer... not TFU modeled Starkiller. Dont compare it to TFU images
-
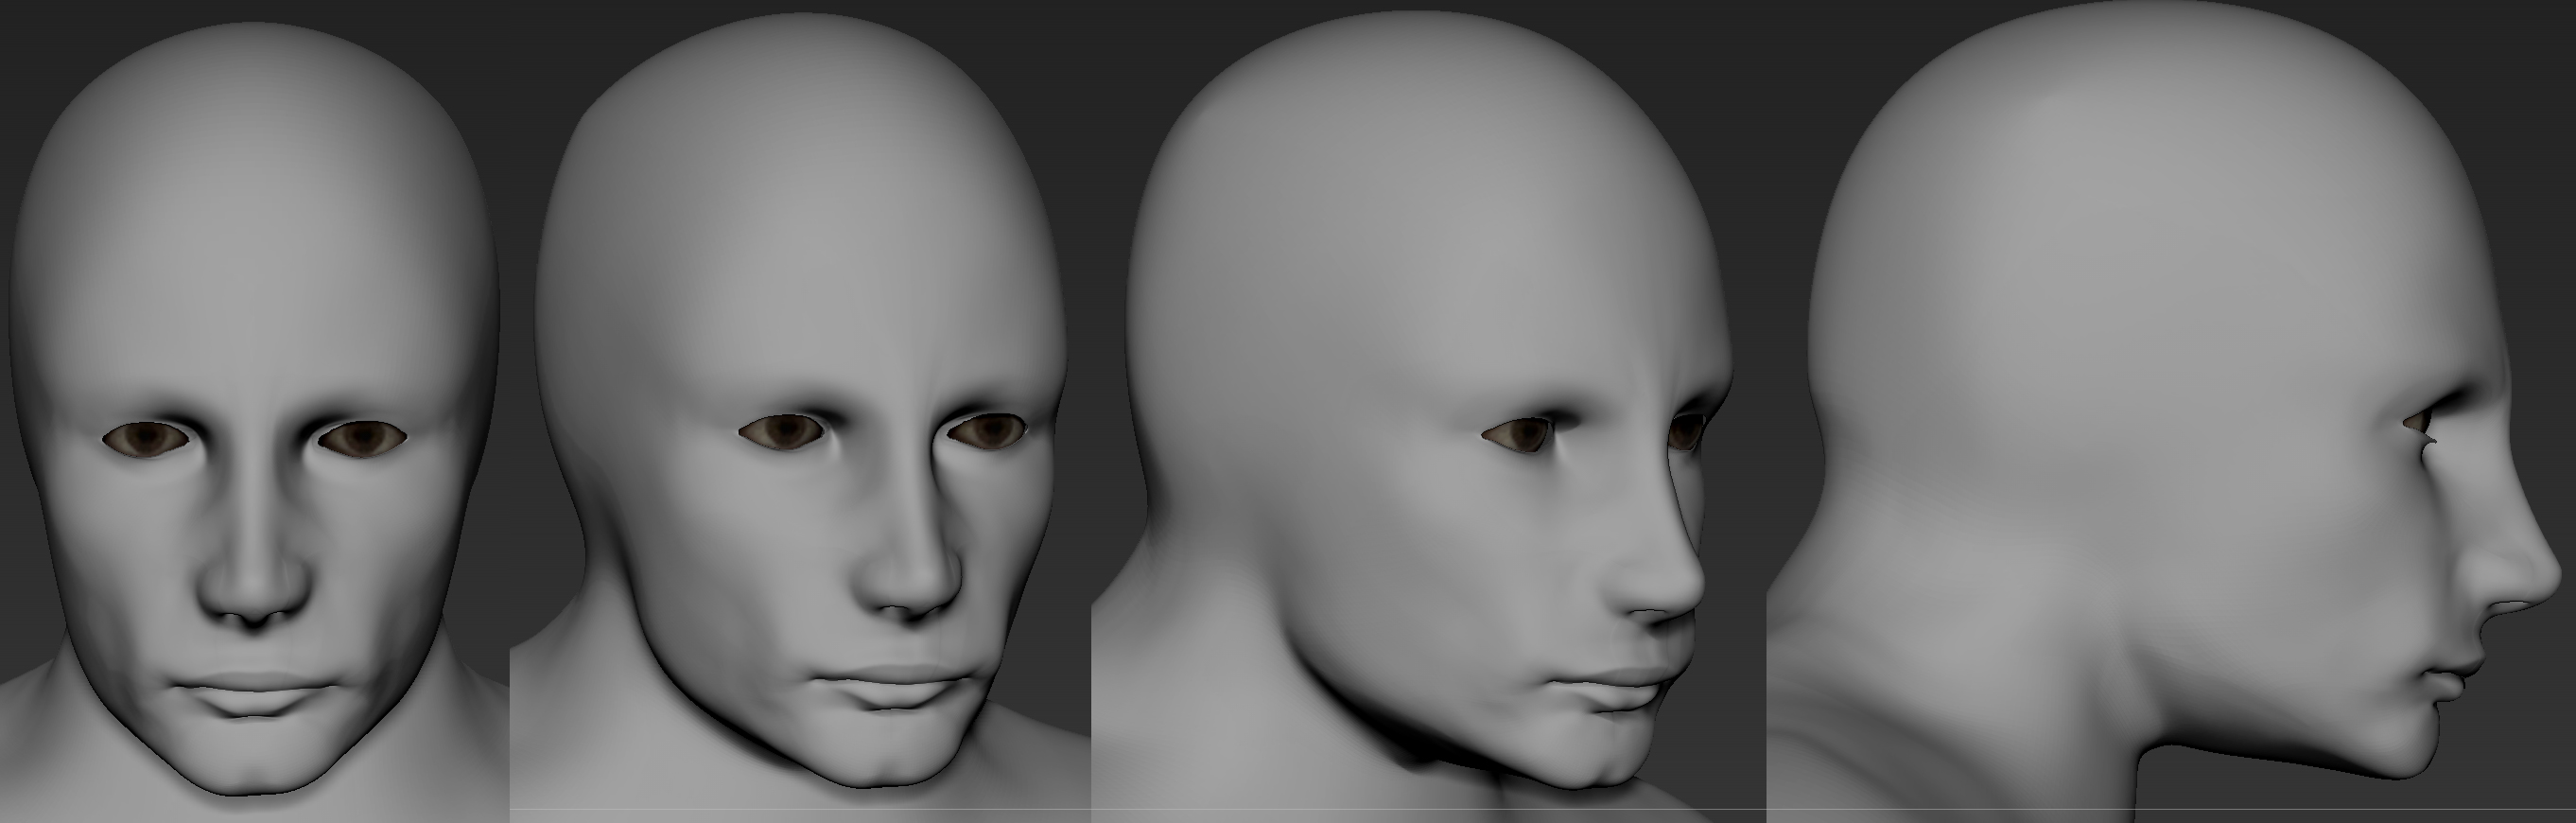
I reflect at times like this, when Minilogoguy would tell me to stop coloring the damn thing until its right, or Ashura telling me to stahhp sculpting until I lock the base shapes down. It seems however that I am stubborn and had to learn that myaelf the looonnng way.
So, if you are an artist looking to get into characters, but are stubborn like me abd just cant wait to apply the texture... then youre going to have a bad time. Take joy in your sculpt and the likeness you can achieve without color. Some of your favorite screenshots may very well turn out to be the shadows in the ambient occlusion renders from a real nice sculpt.
Also makes texturing a breeze if you get a basic understanding of skin tones and where theyre applied.
Bek likes this -
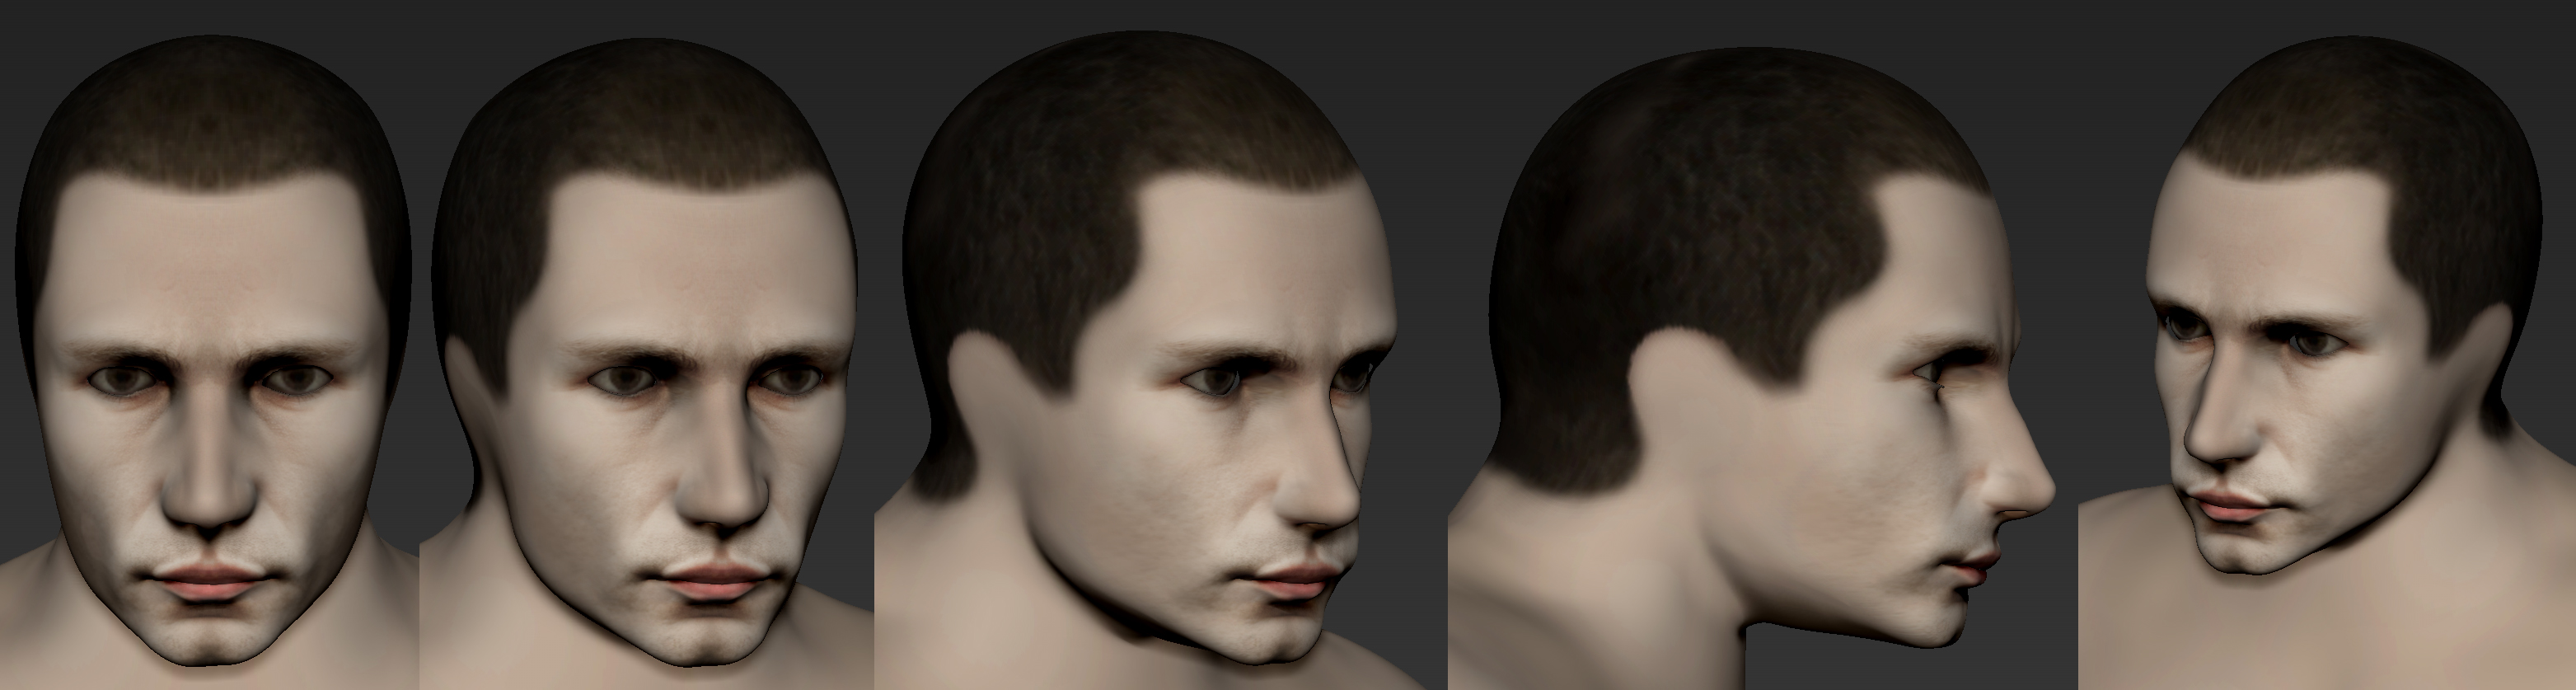
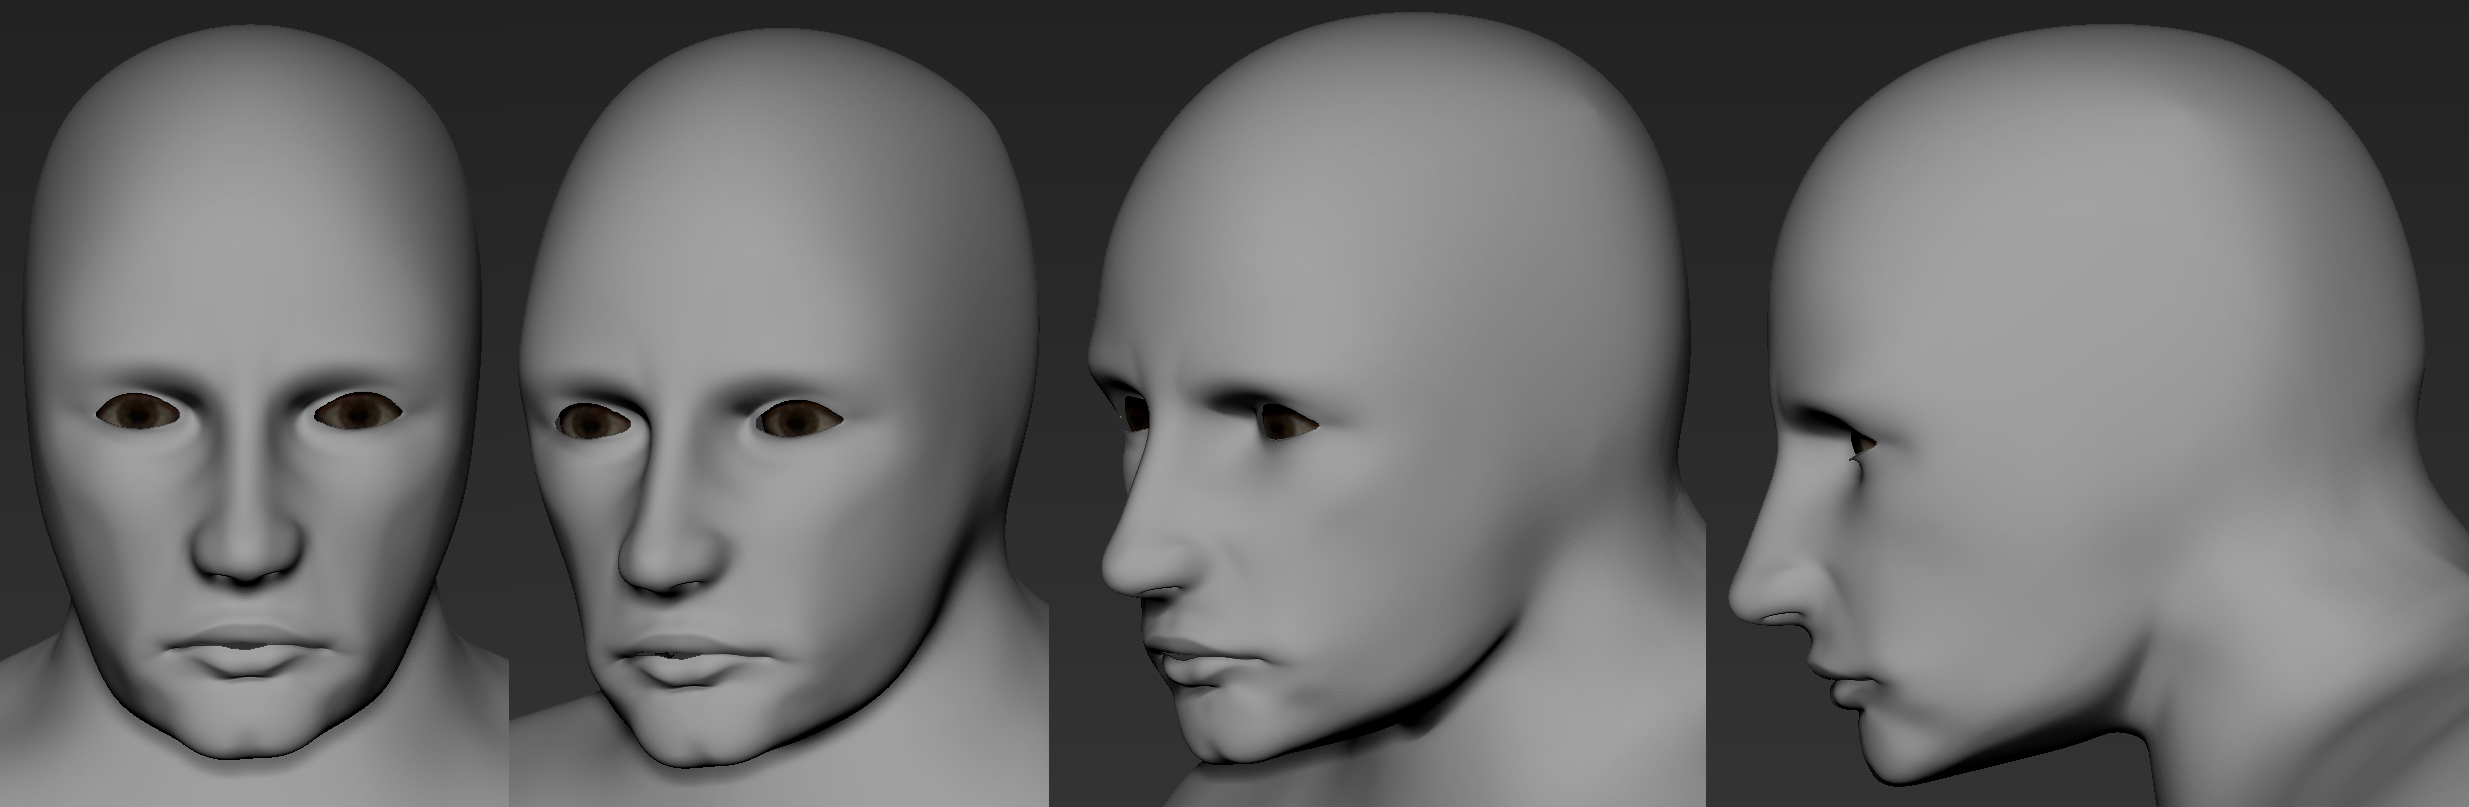
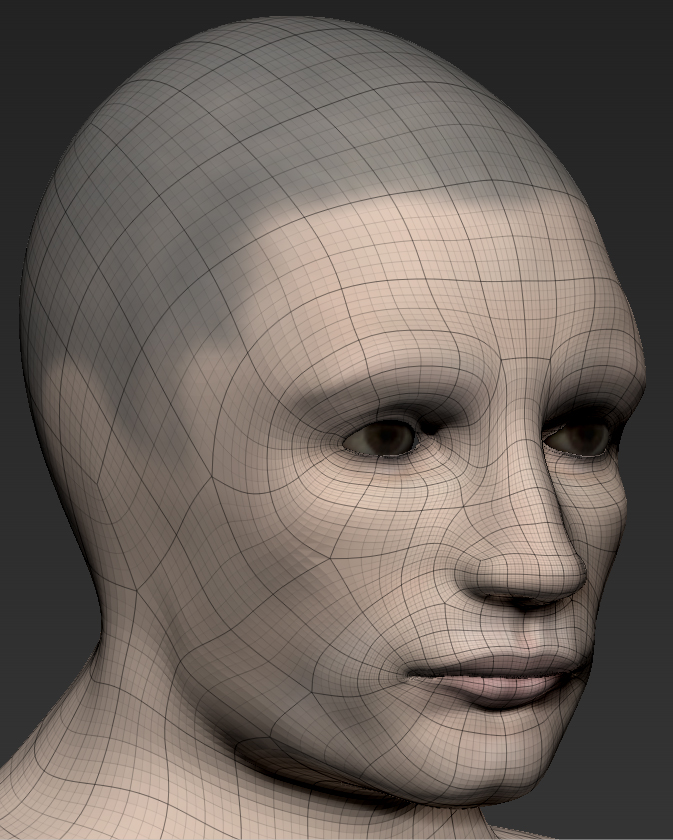
I look too much into the deatails before I lock in the basic shapes... take note of this and do not repeat the same mistakes. This sculpt, even though it has UV's, will need to be re-unwrapped because of how bad Ive distorted the verts in the sculpting stage. So any color you see is an absolute waste of my time and makes no difference. The problem is... I get a decent sculpt together and then graft on different images as a texture, which is what most people do in this situation with Zbrush. What Im realizing is that the shadow angles will never match up and he will look weird from a certain angle and spot on in others. Thats a no. Take note and never do that as well. He needs no images applied once I get the sculpt correct, he should be hand painted with spattered alpha skin tones, short hair brushed eyebrows, inset drag dot pores...
So, when you say things like "what happened to the SK on page %@?, that ones better..." chances are he was suffering. Beyind repair, not on the outside... but on the inside lol
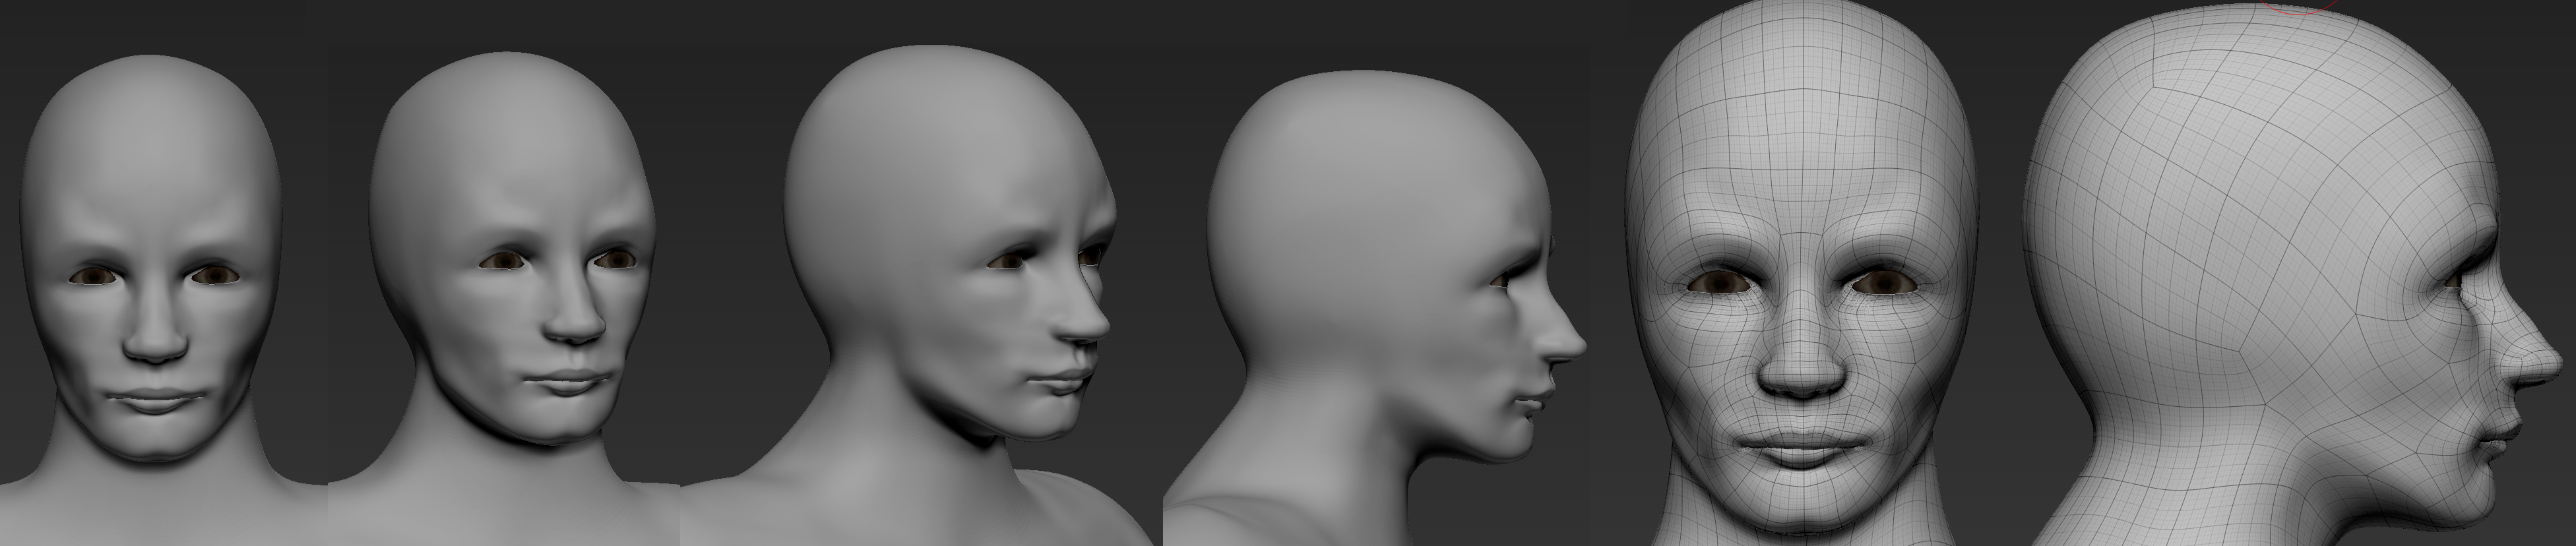
Ill post a wireframe in a bit when I get all the way up... we will start over from there and I wont move on any stage of it til I get crits.
Post a video of the sculpt so you can see whats going wrong?
Its his jawline in that wirefrane, I can see that now.
Seven likes this -
Lizfizz likes this
-
Hmmm.
Pay attention to all his straps and the little spikes he has that protrude between them. Especially the straps on the head, grab a ref and make sure you get those correct.
Lizfizz likes this -
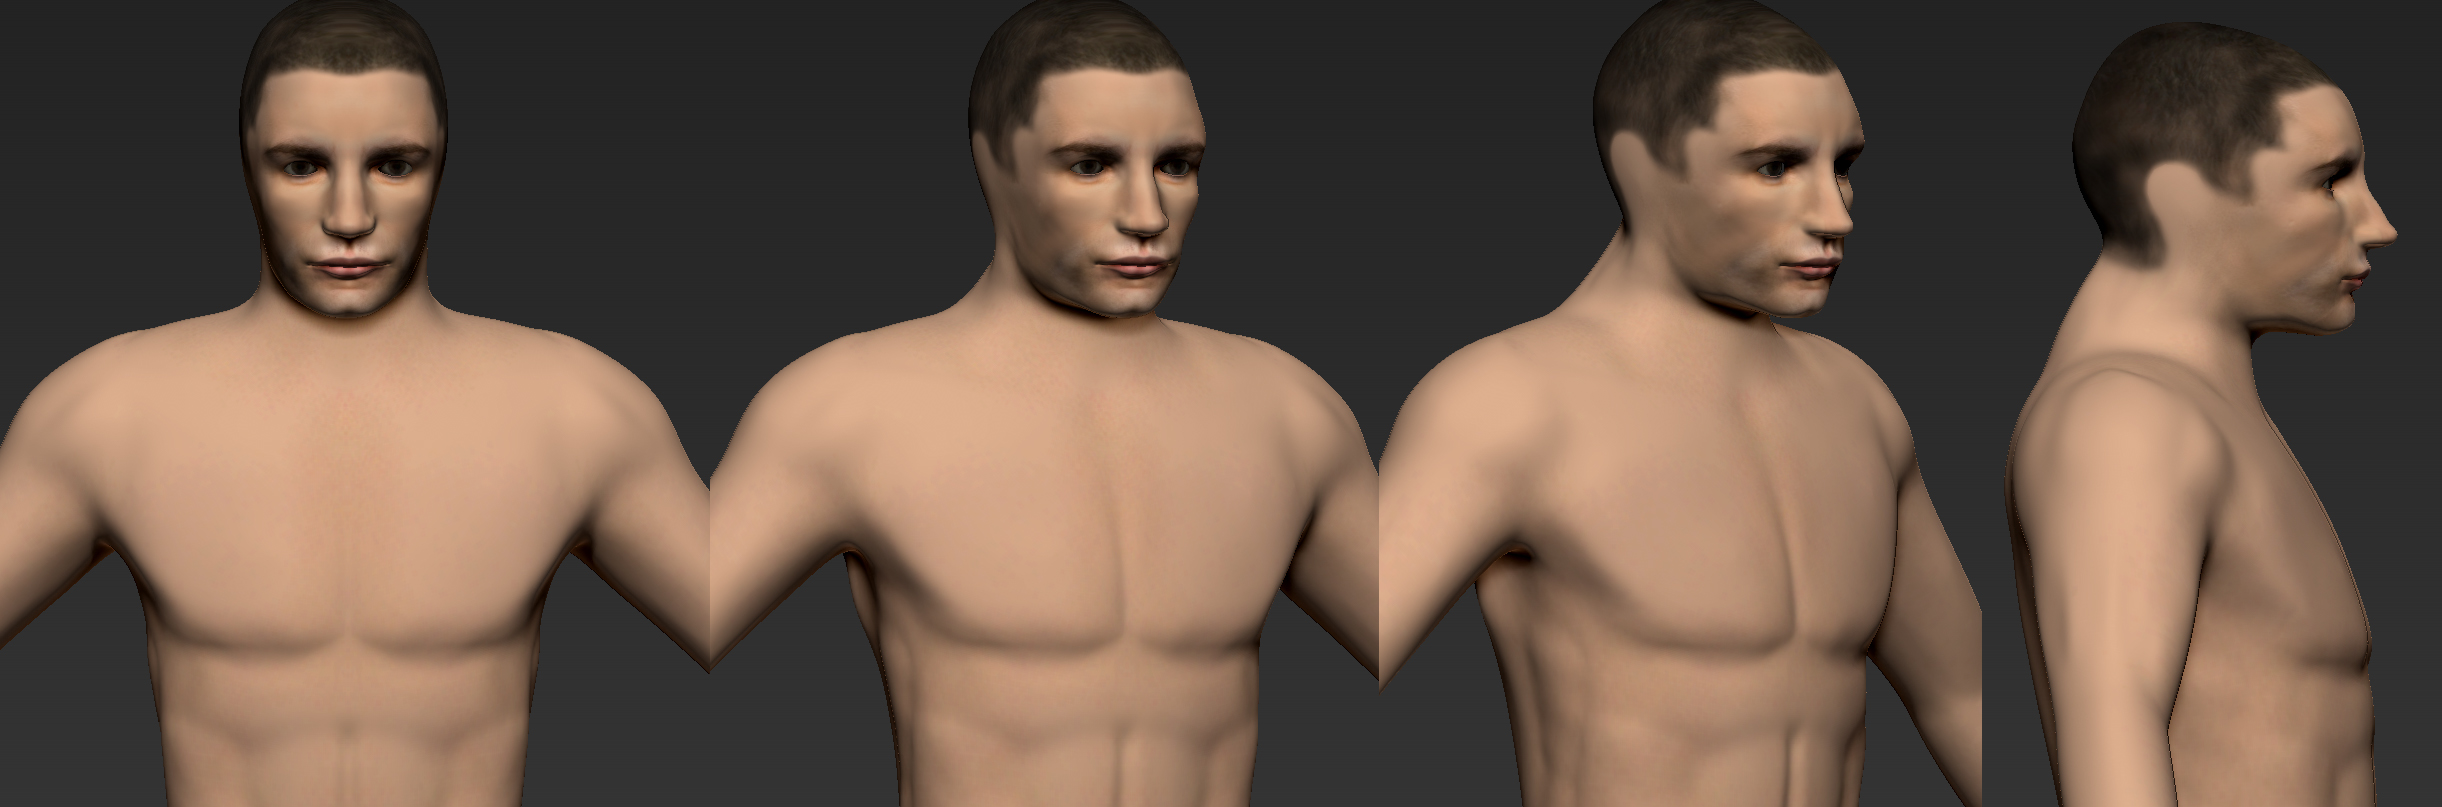
Yeah I agree, I think I goofed and left perspective on in Zbrush or something. Ill look into that today, thanks!Something looks off..think his face might be a tad bit too elongated.
I think you were closer at the top of the page.
False.
Bek likes this -
GPChannel likes this
-
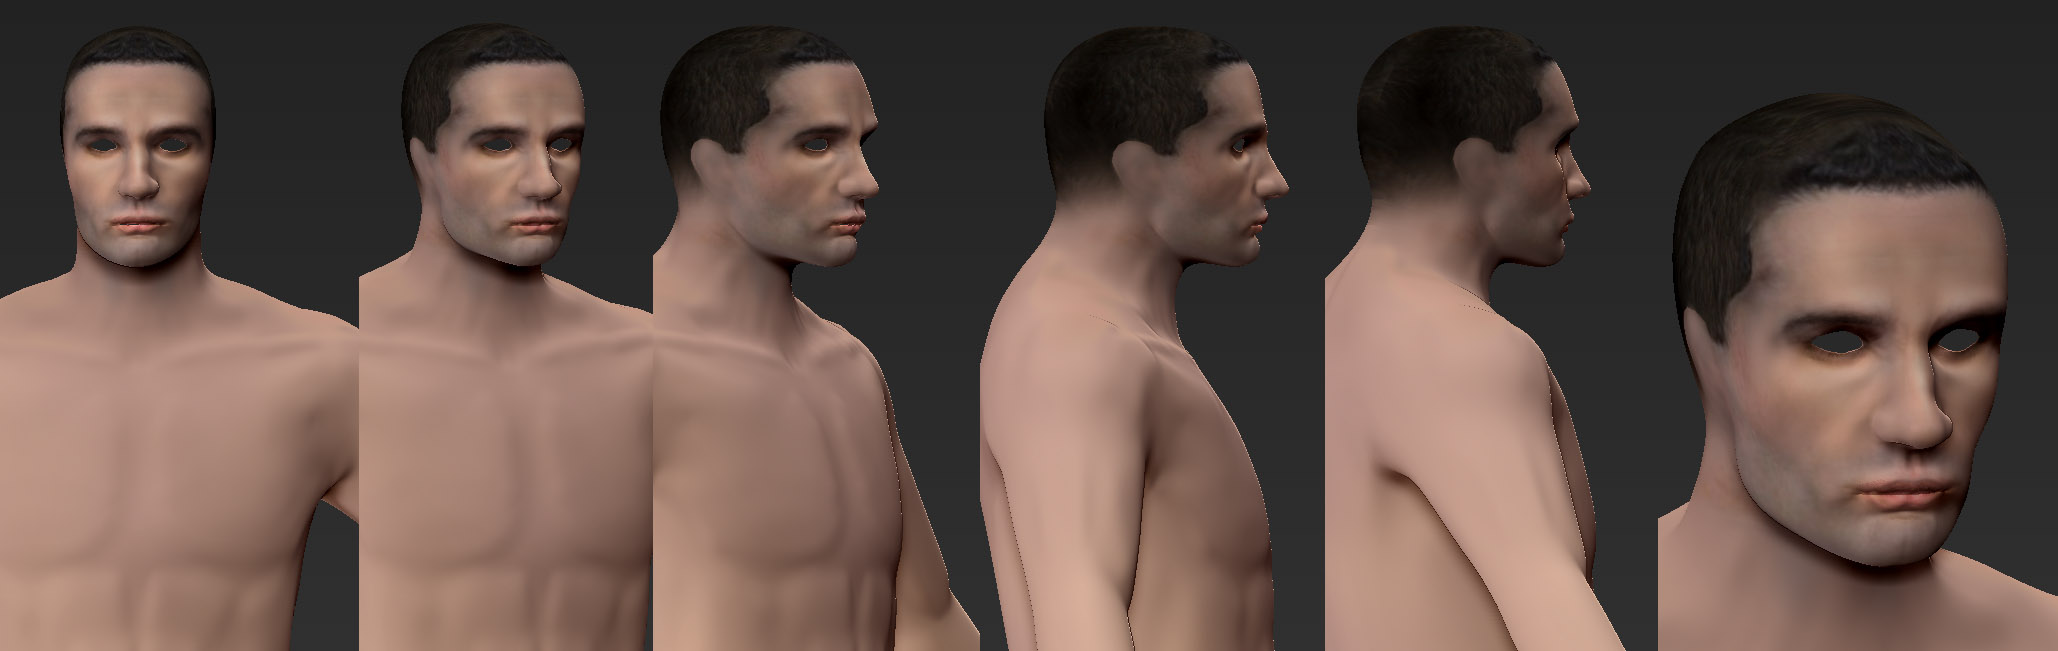
Hmmm... how bout now
Hes kinda smiling but i had to do that. Easy fix
I stole his hair from a screenshot of a TFU model, ill paint my own higher detailed stuff later
Ill go work on his body while waiting on crits. TIE Facility blew my mind last night.
-
Vader looks cool man.
Hey wouldnt it be nice if someone animated Vaders fighting style? Like... not young Anakin but awkward Vader with his robotic movements and everything like the Original Trilogy?? Lmao we needs this.
Seven, TheWhitePhoenix and dark_apprentice like this -
Needs more cowbell
-
This guy is a headache
-
-
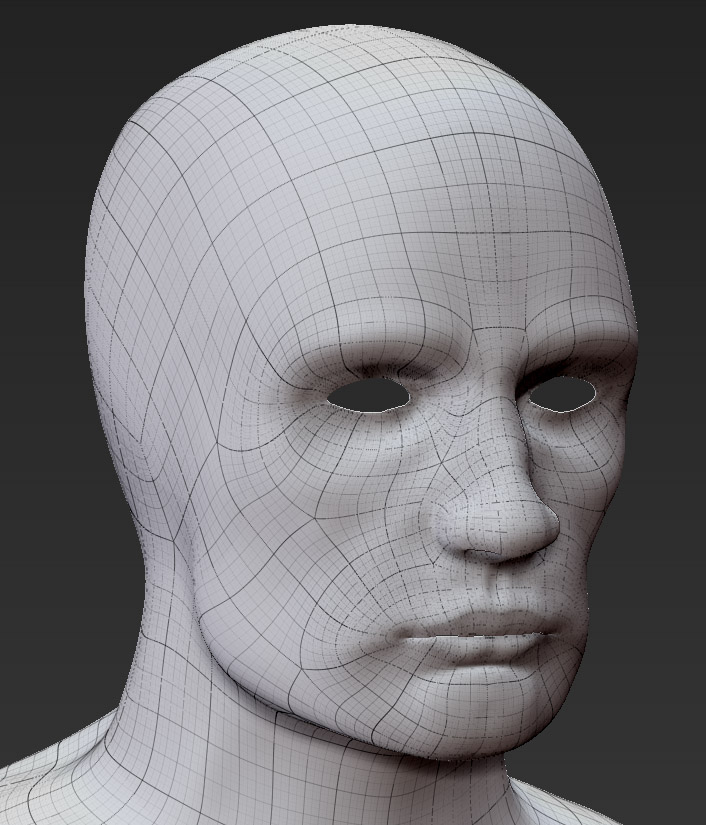
Ok. So in the interest of Softimage...I made a few hard egdes soft by merging the vertex normals, I tried editing their angles a little to get nicer shading with mixed results.
Faces are exploded/detached along hard edges, which duplicates vertices in these spots decreasing the number of hard edges saved me 400 vertices.
From what I understood, vertex normals assign blending in the shading between planes... how does one.. merge vertex normals? Im envisioning overlapping vertices that you welded lol


starkiller
in WIPs, Teasers & Releases
Posted