

Jedi_Mediator
-
Posts
154 -
Joined
-
Last visited
Content Type
News Articles
Tutorials
Forums
Downloads
Posts posted by Jedi_Mediator
-
-
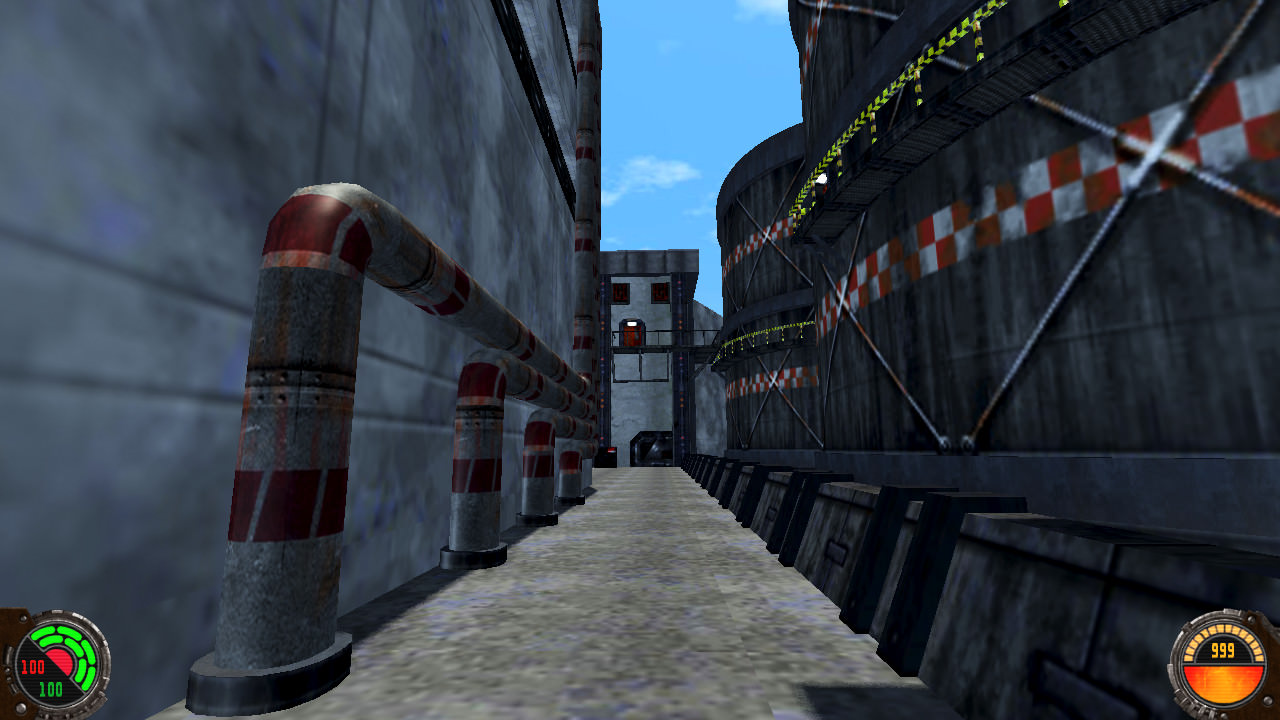
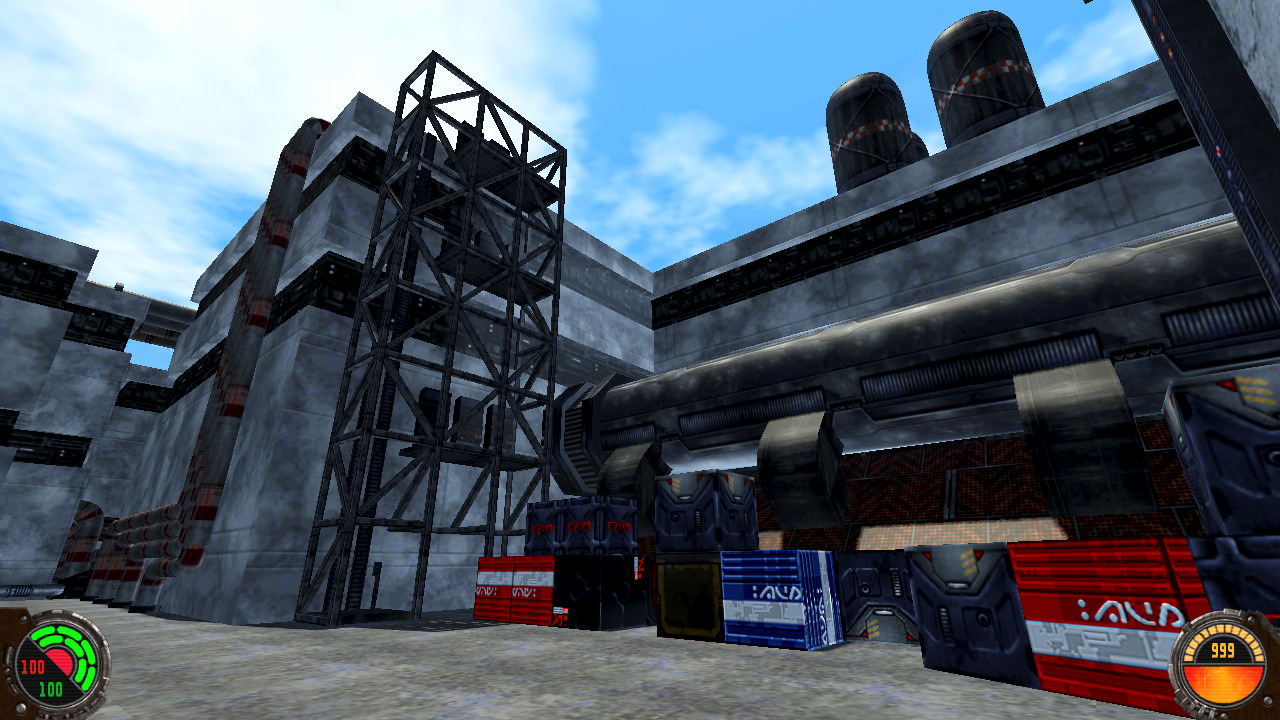
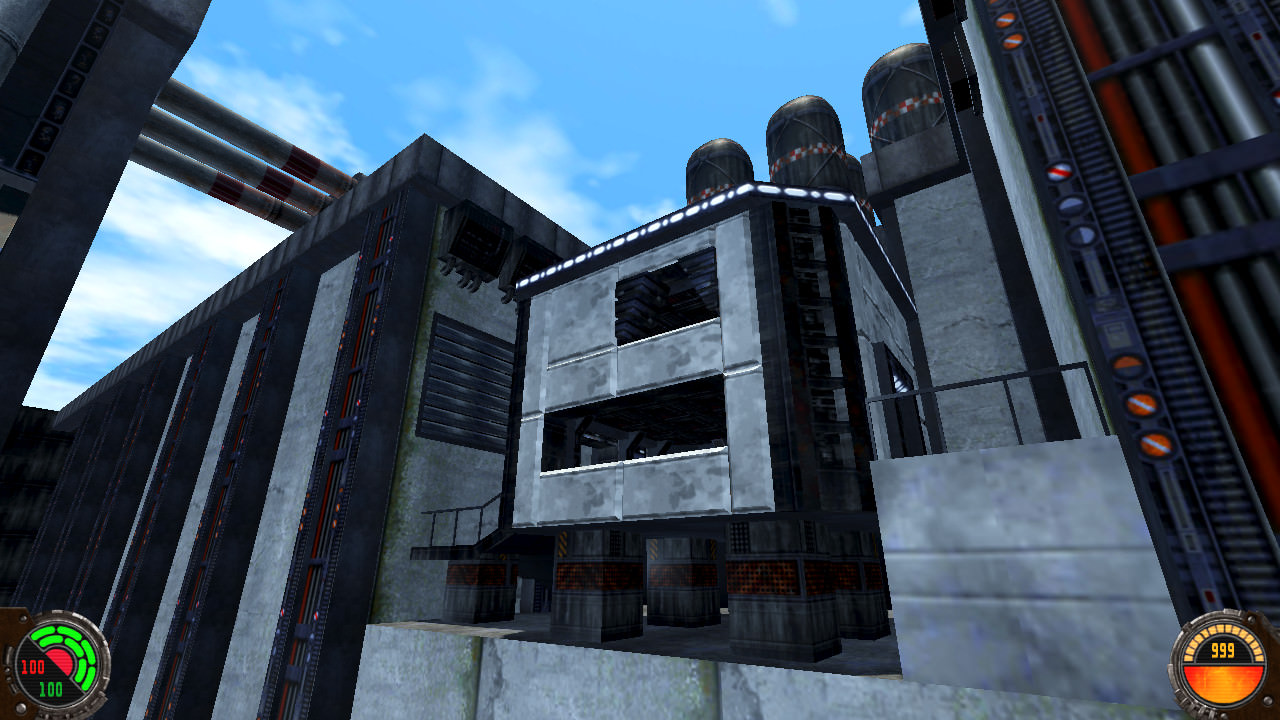
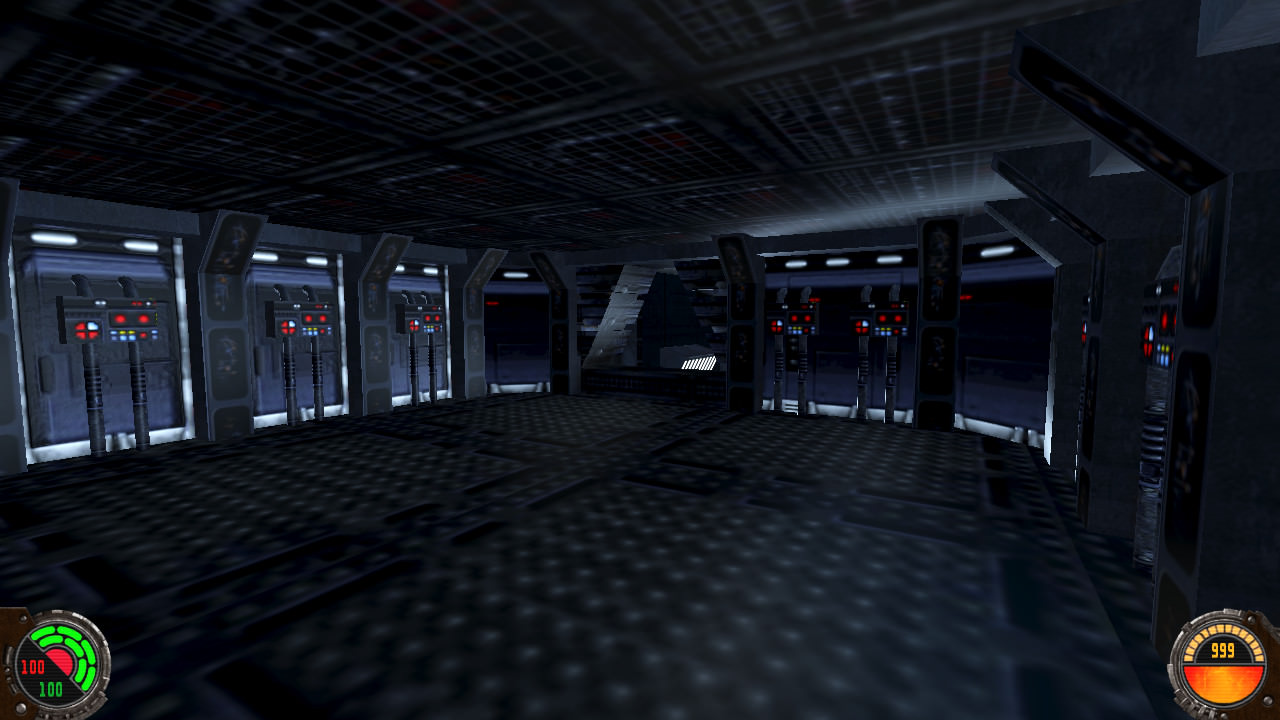
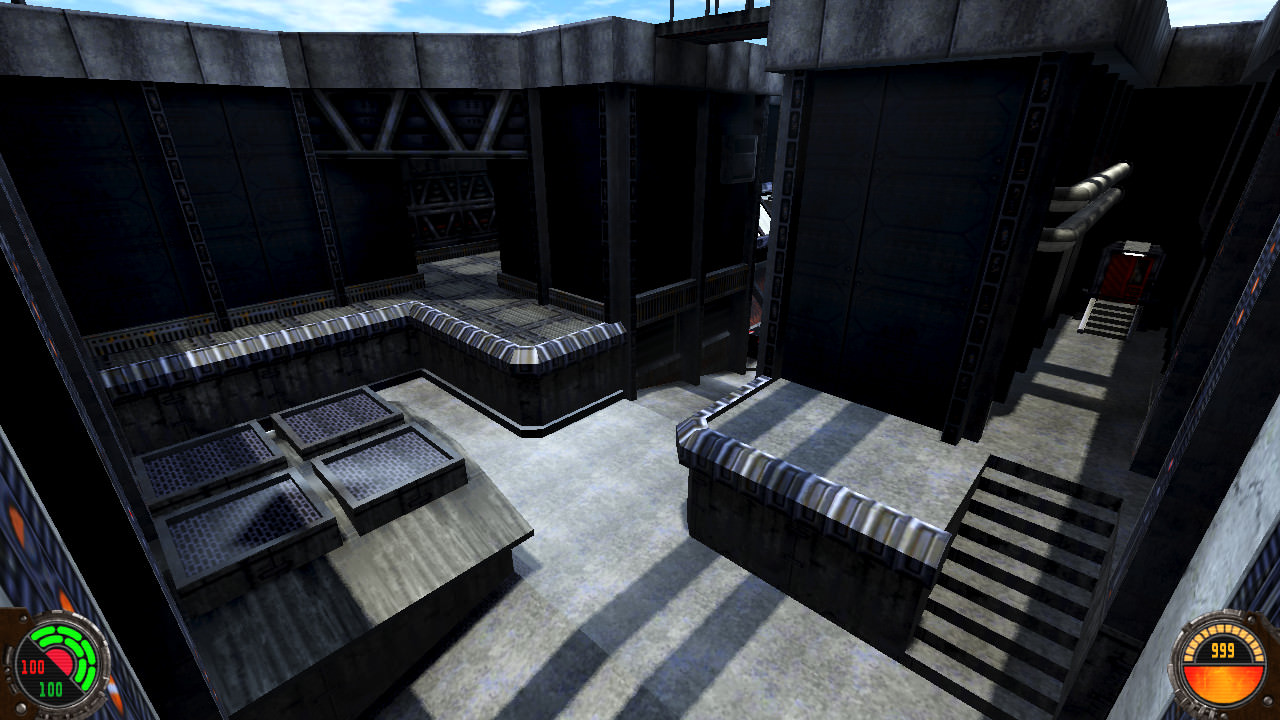
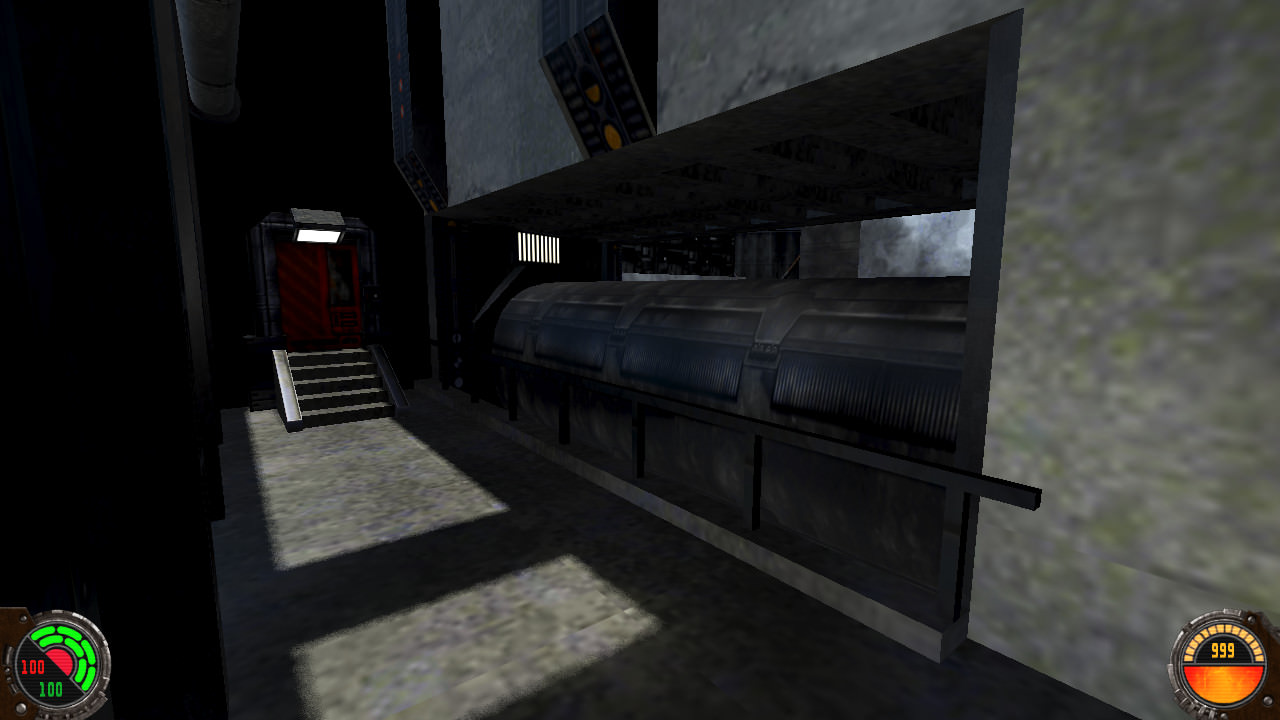
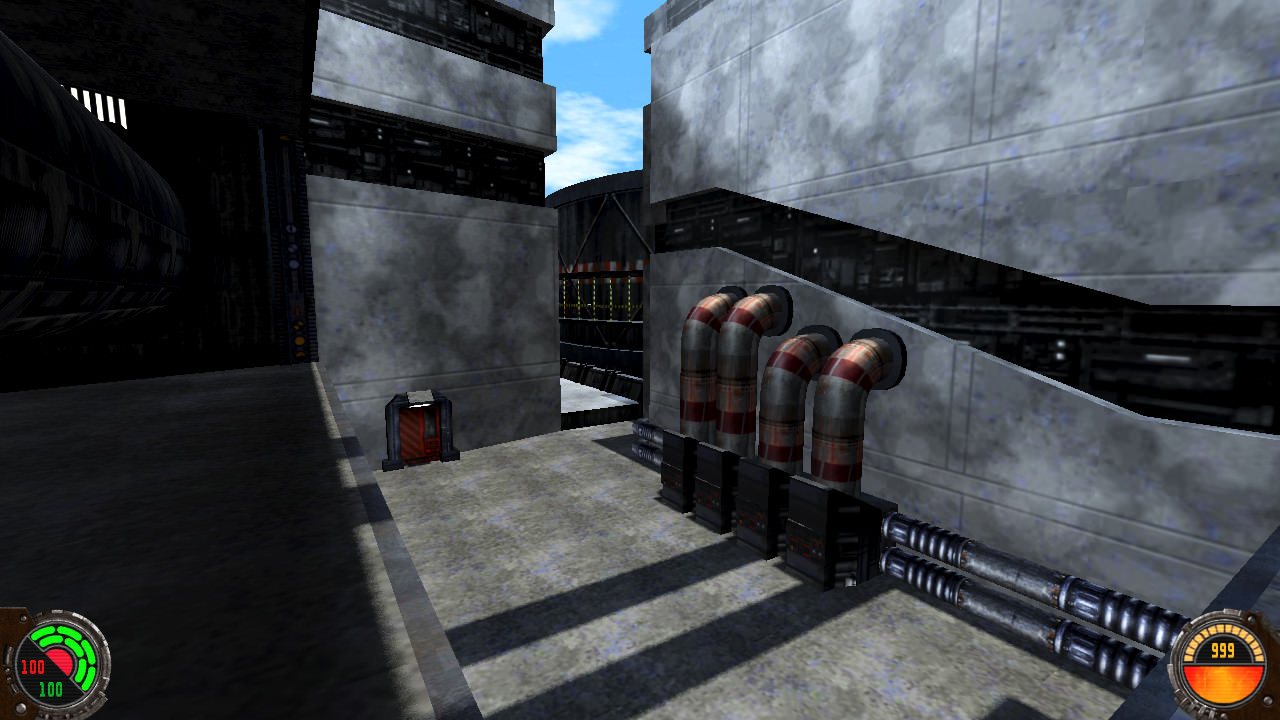
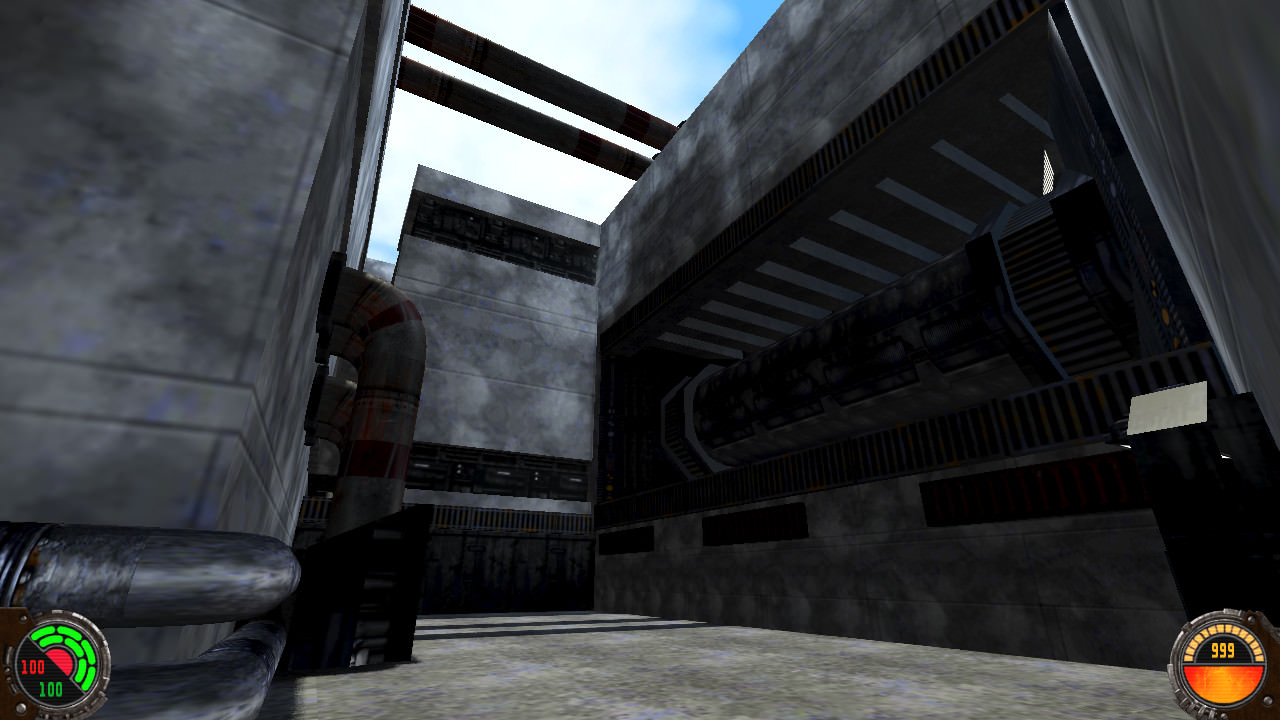
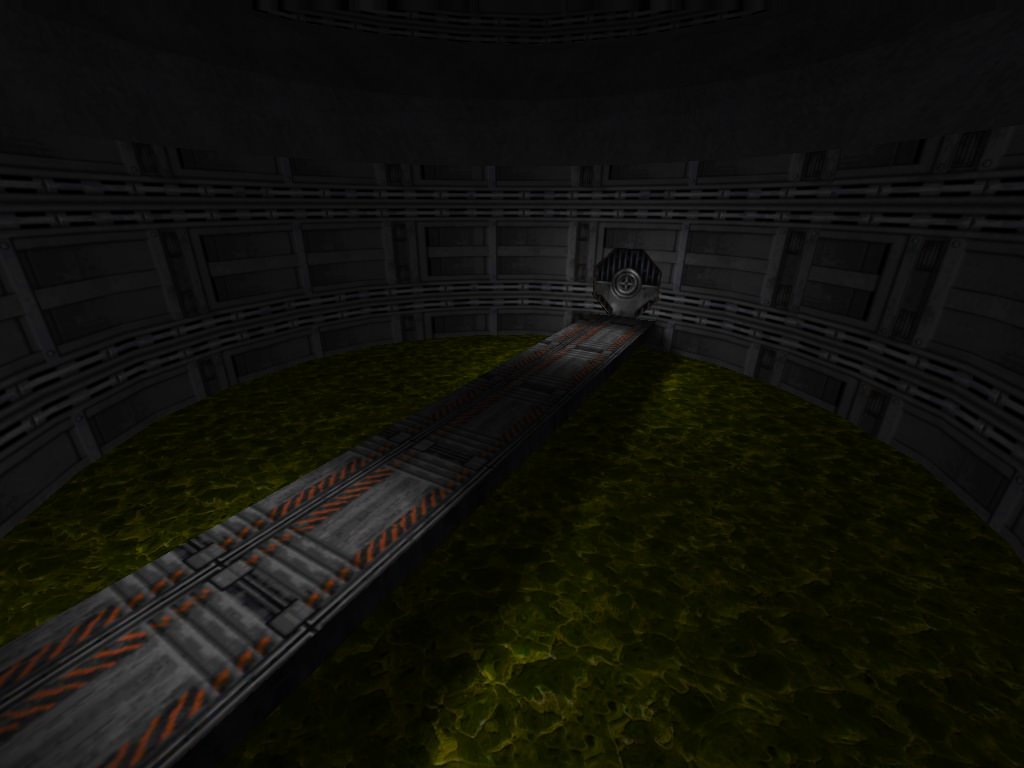
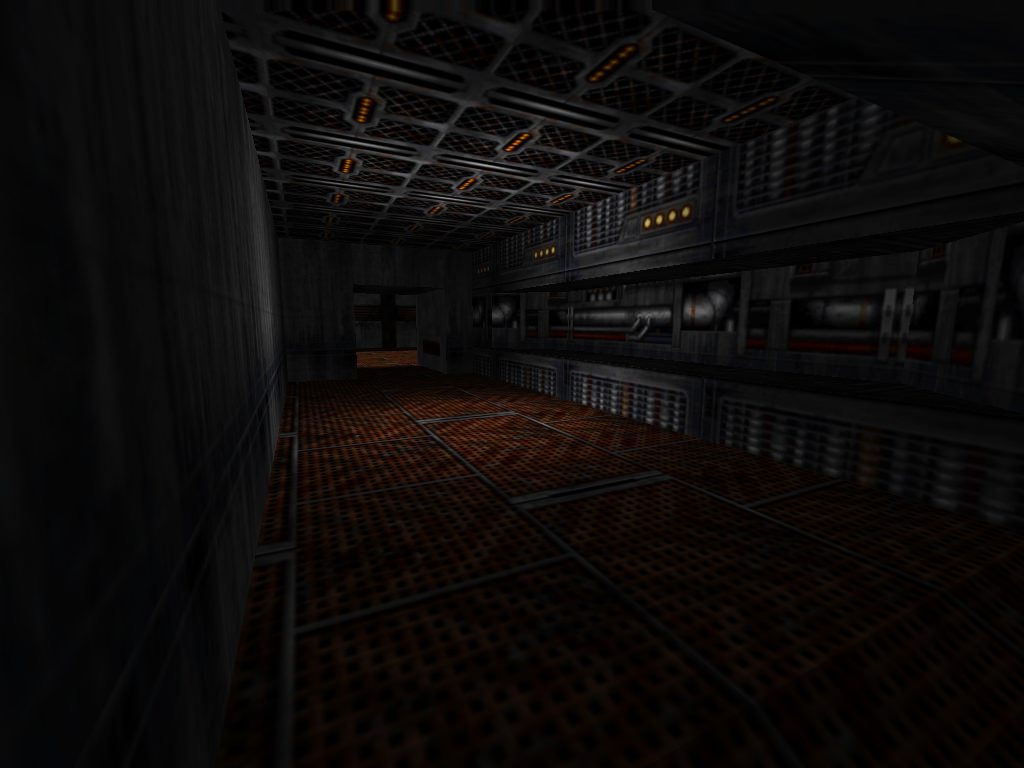
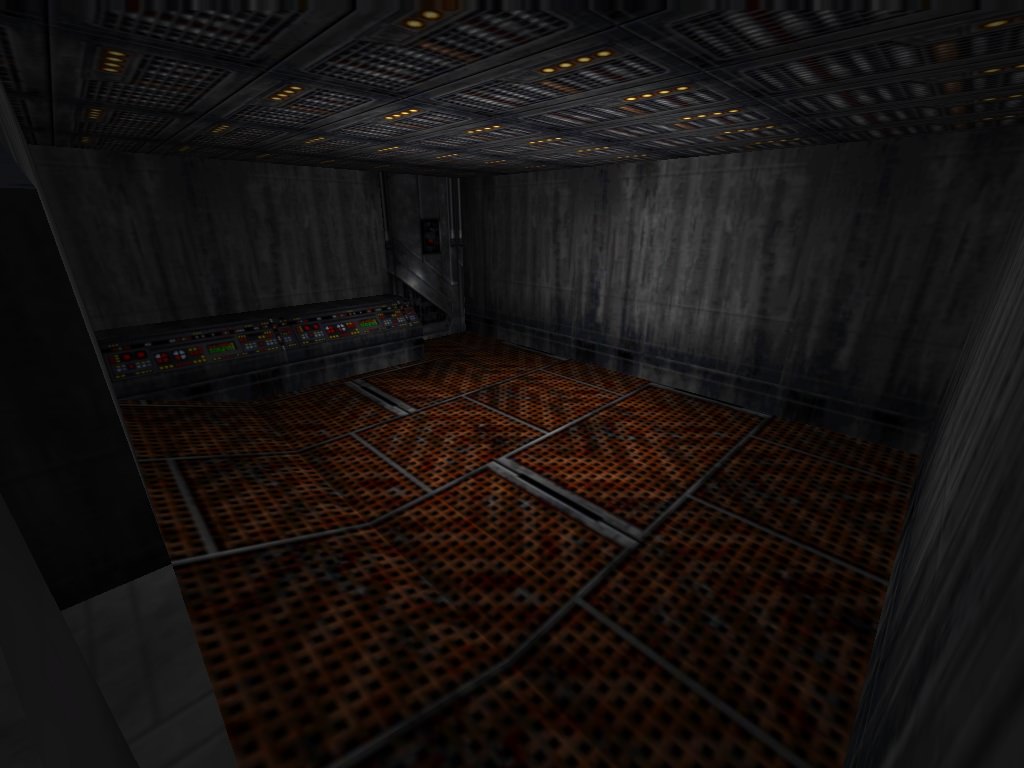
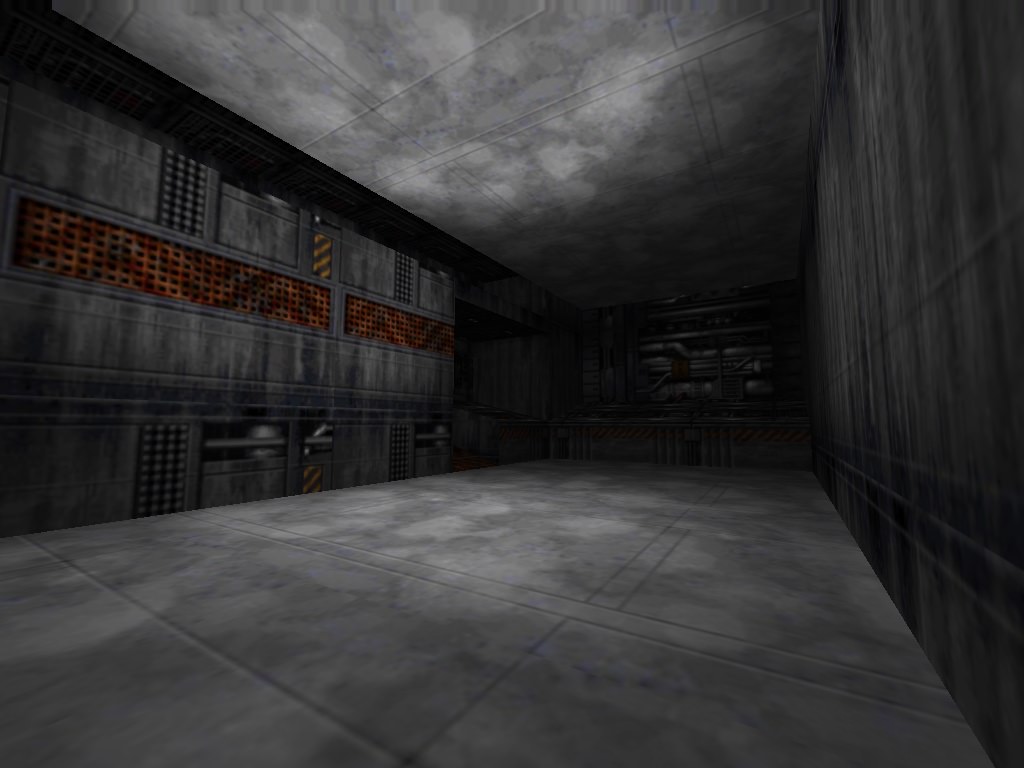
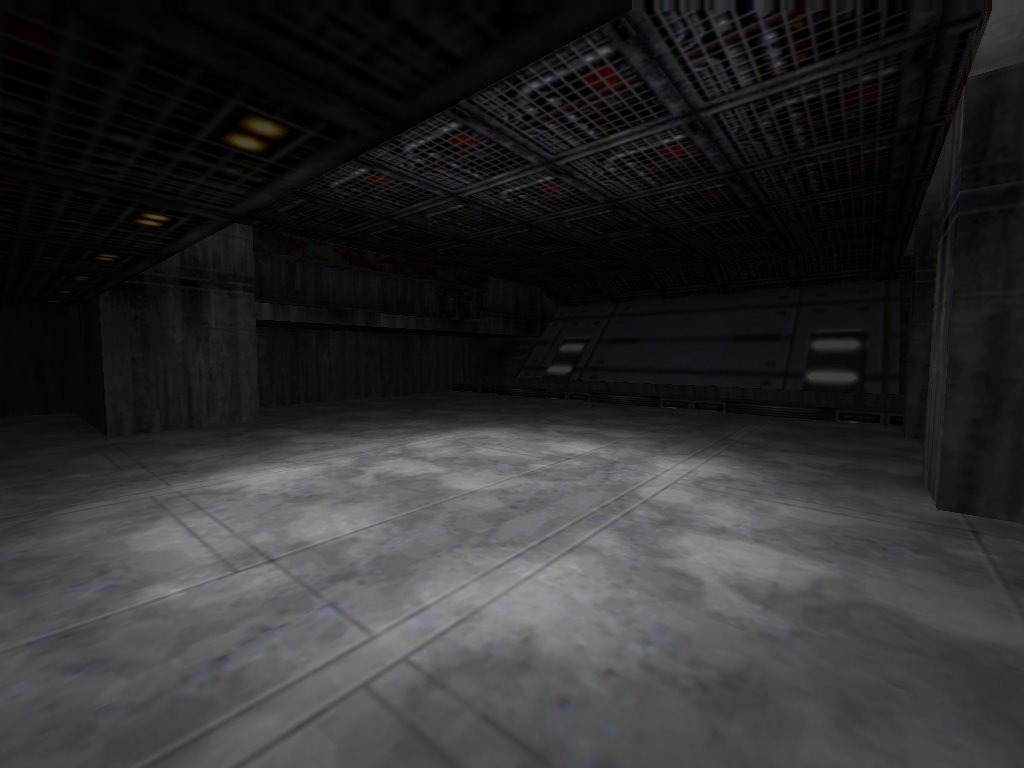
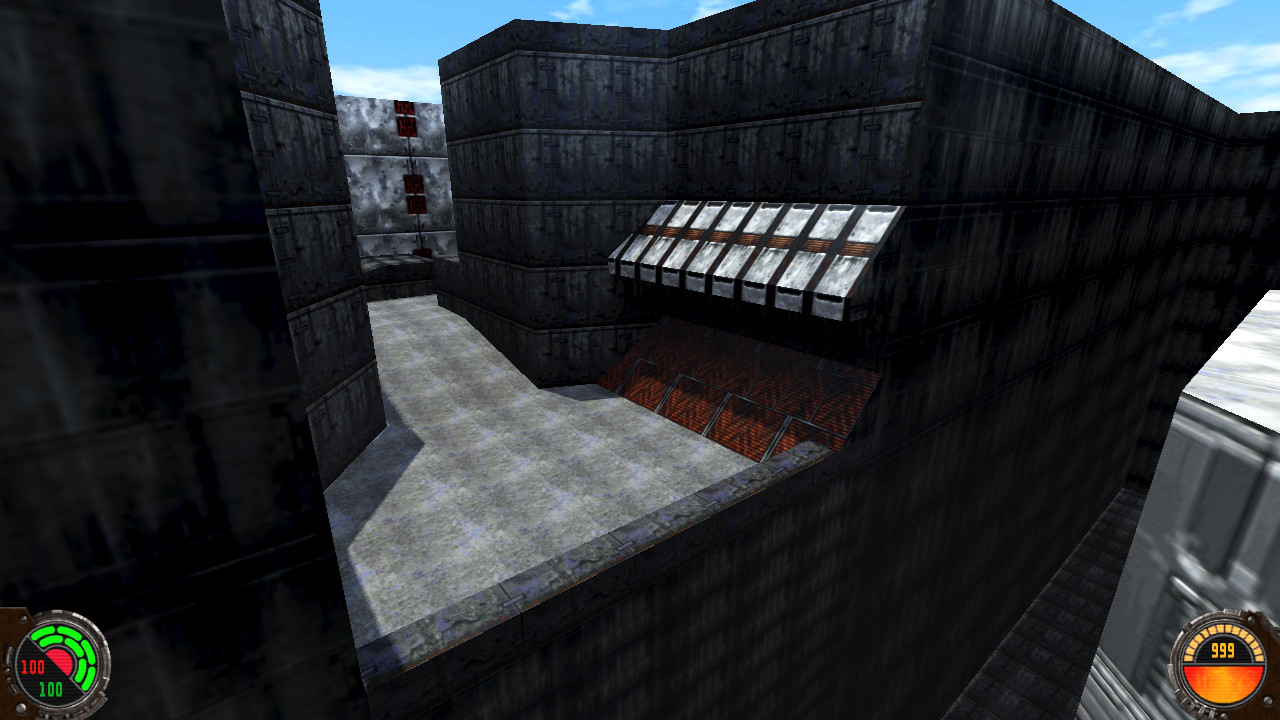
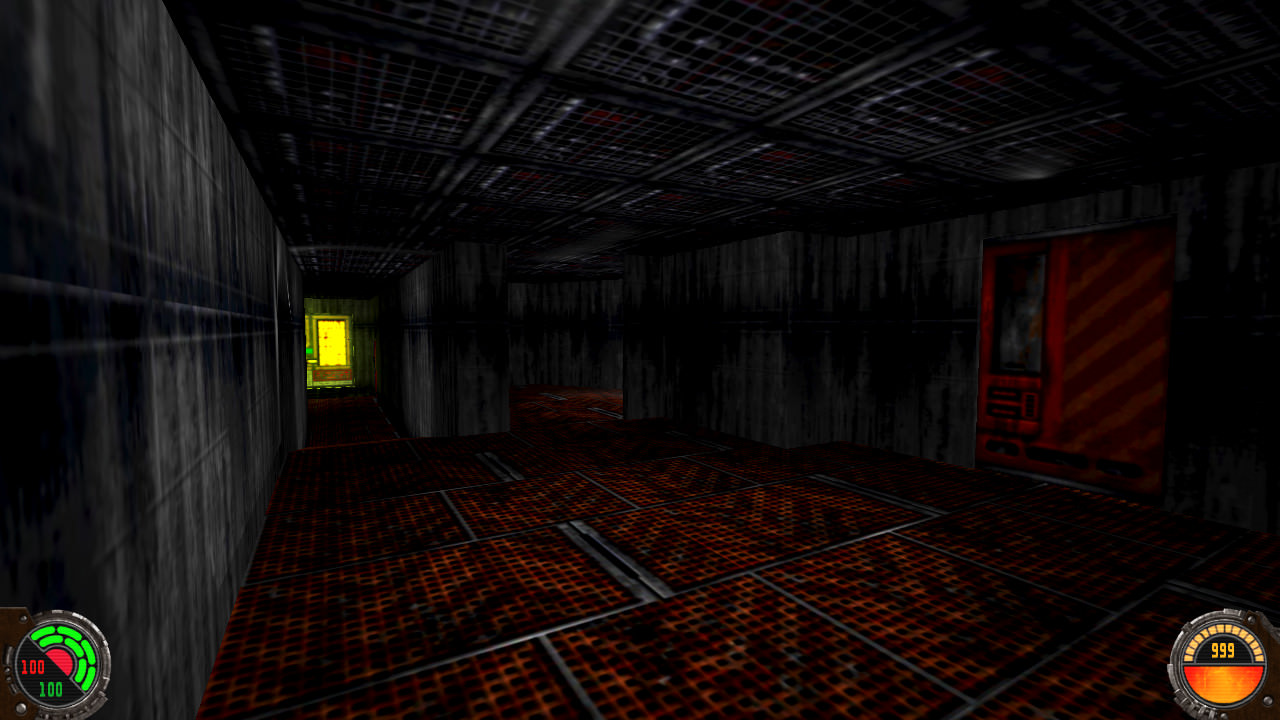
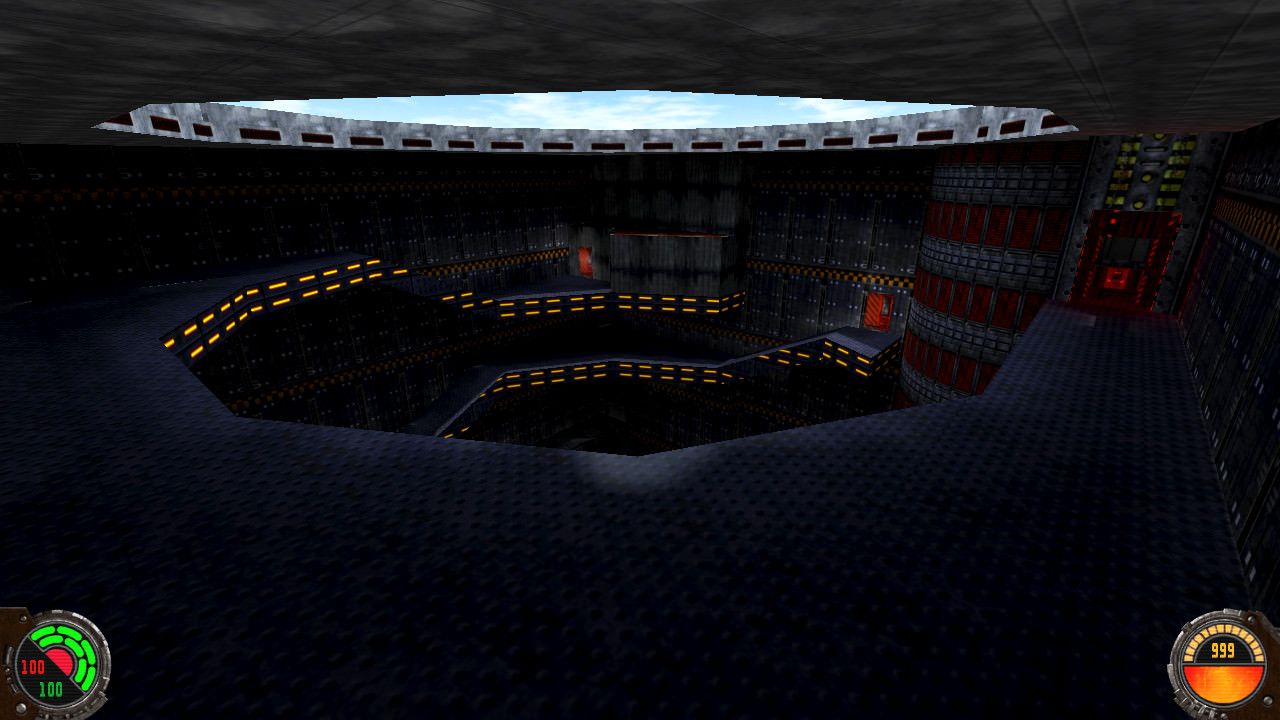
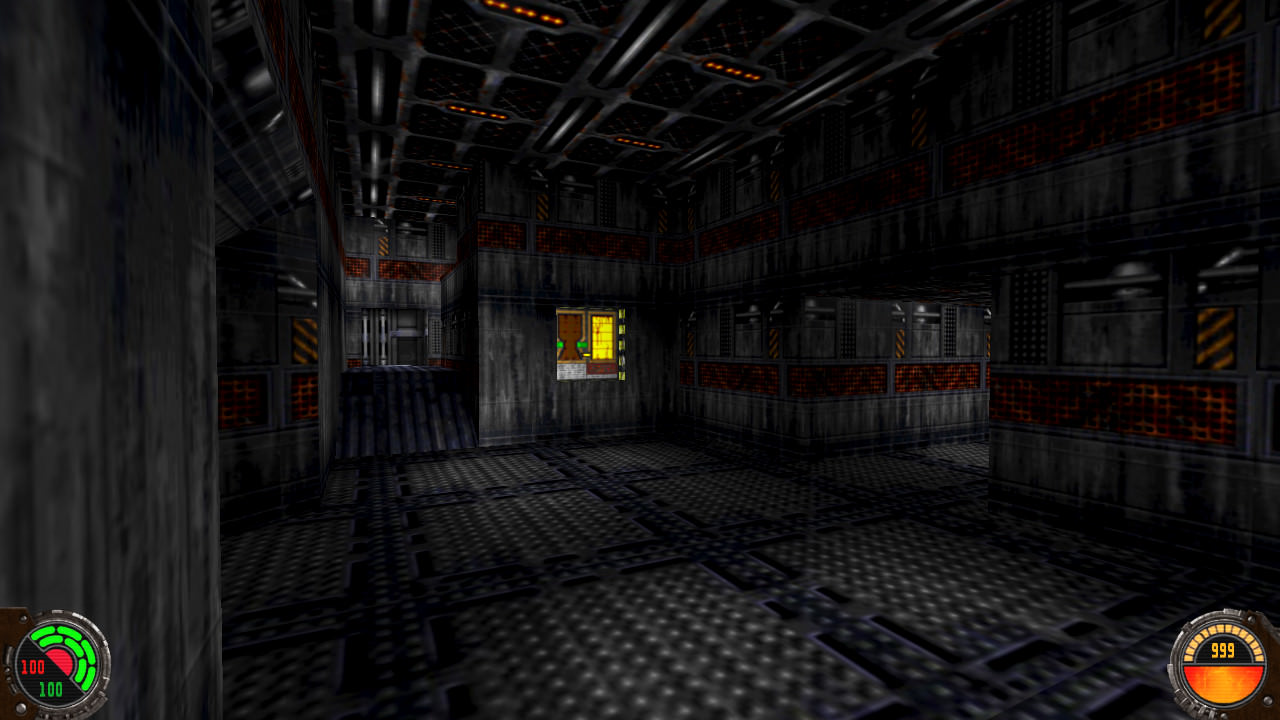
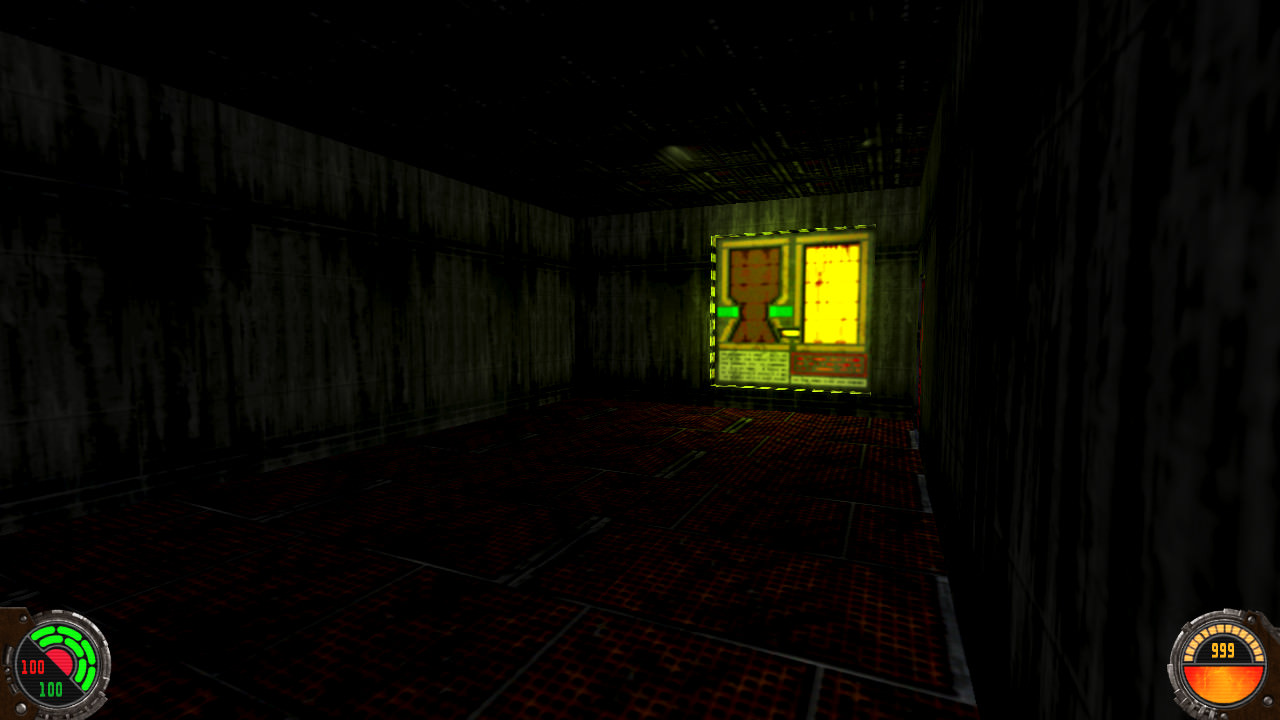
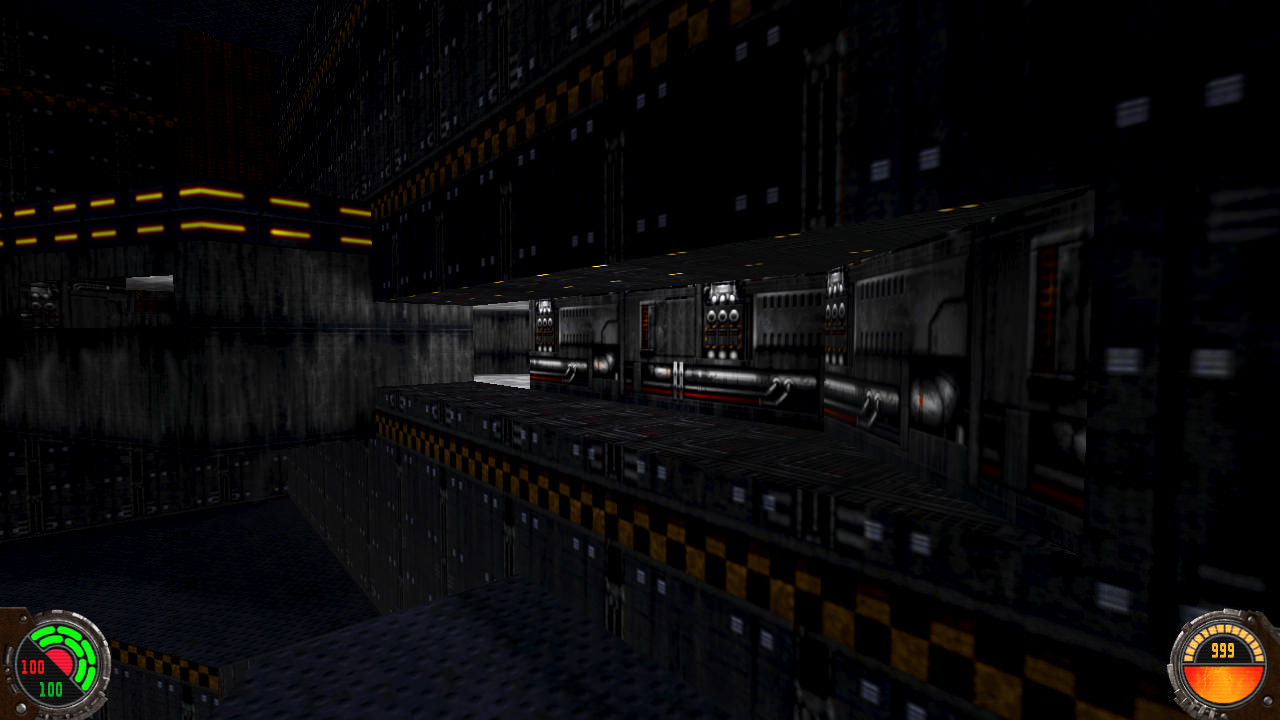
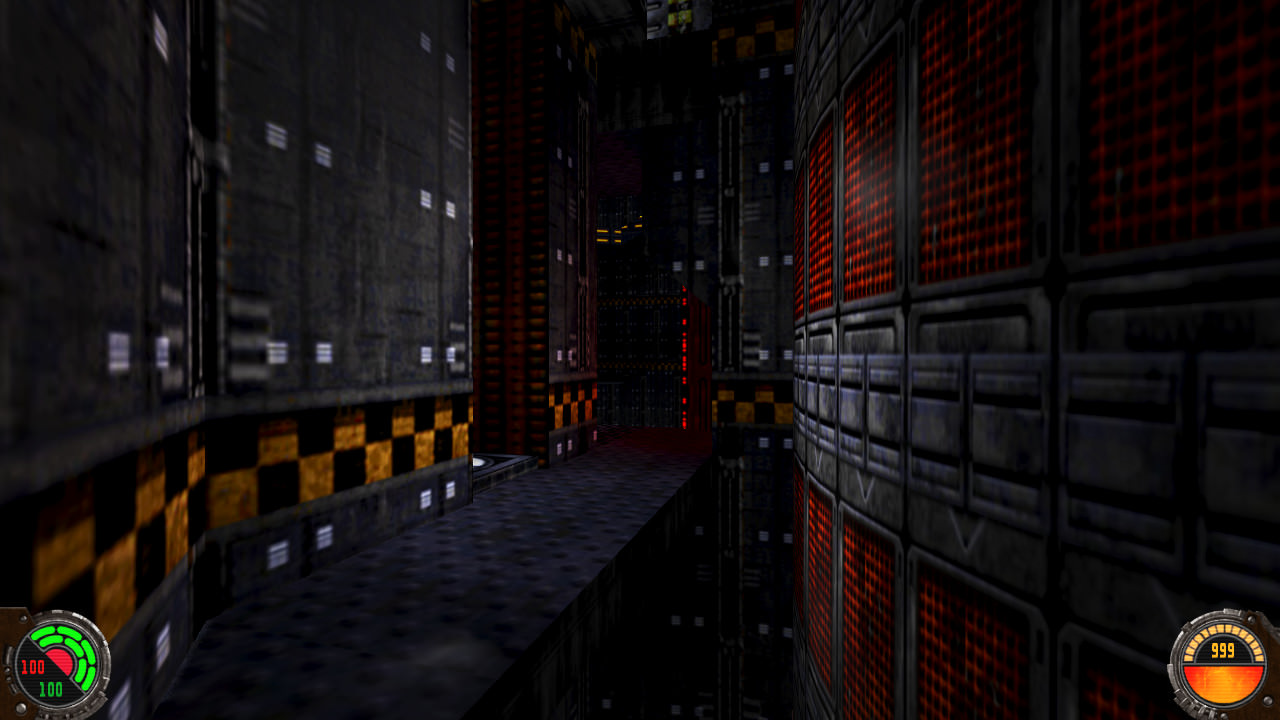
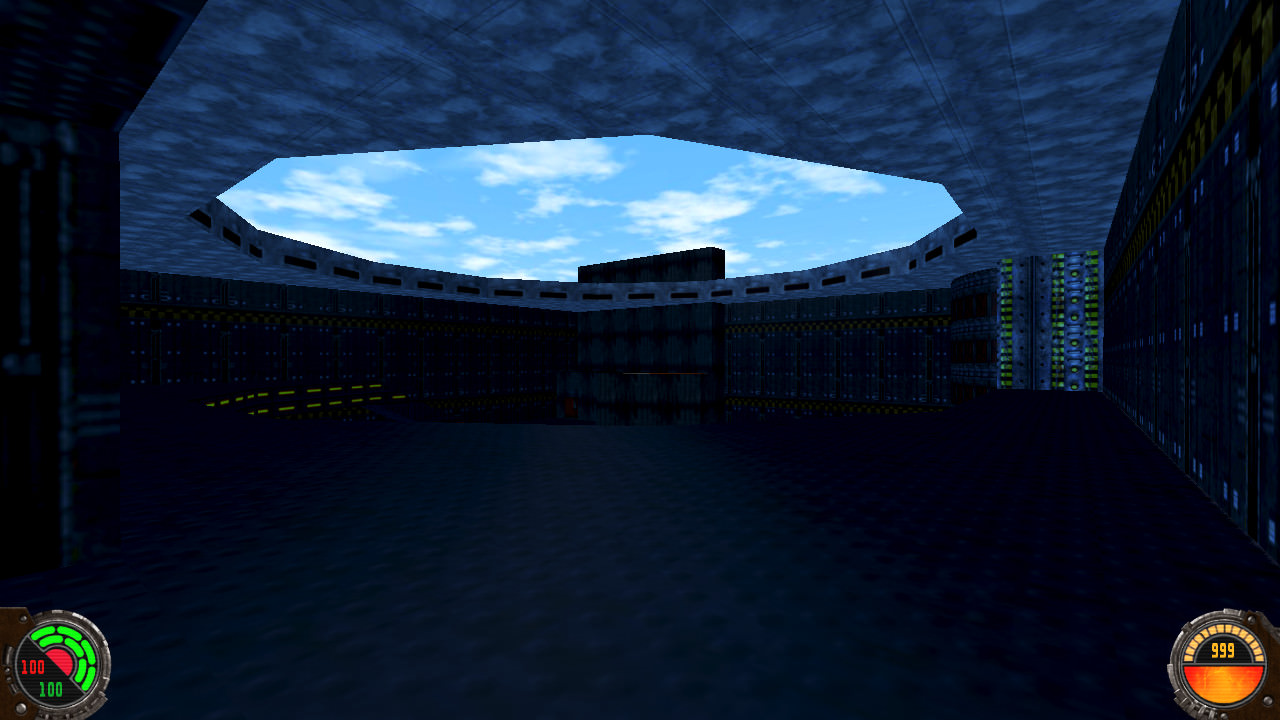
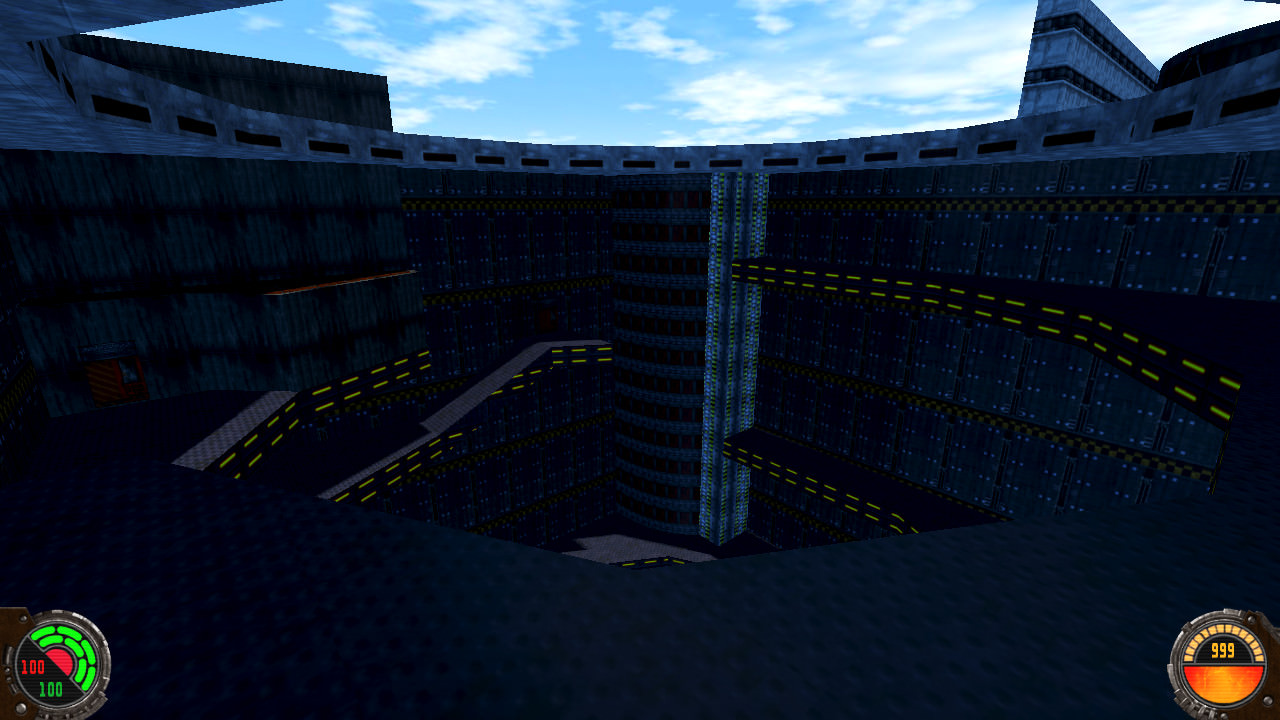
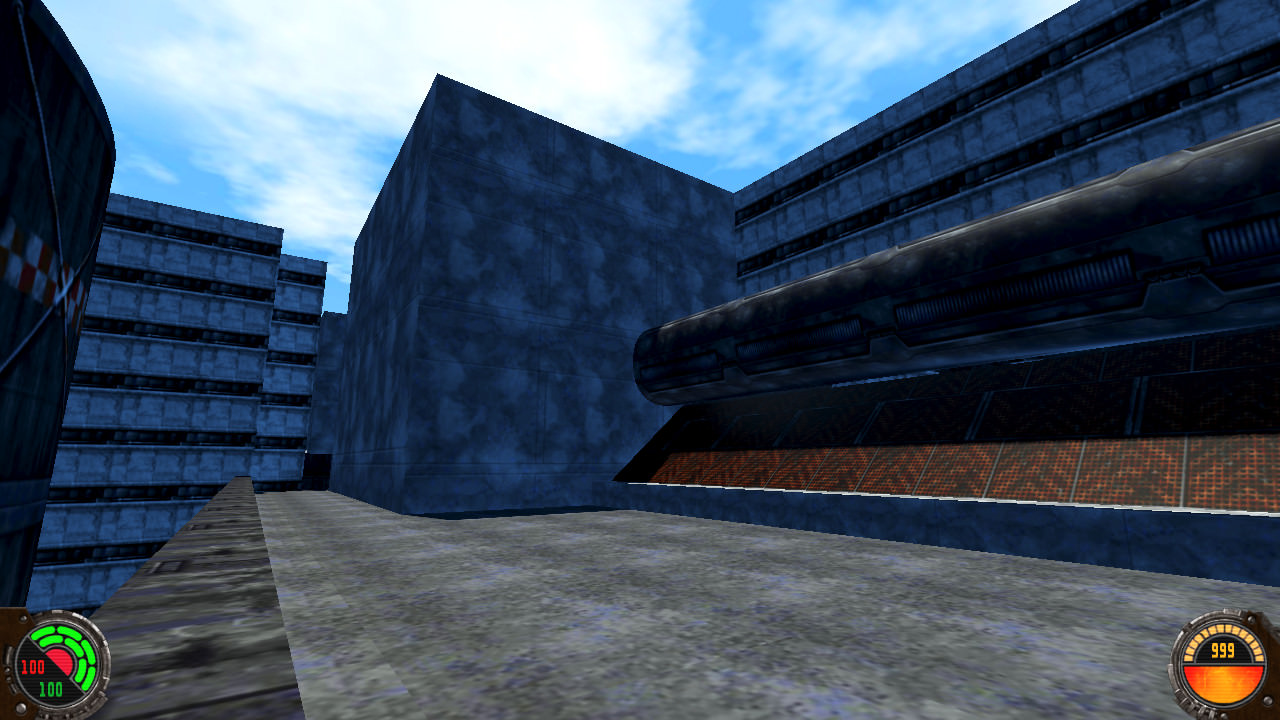
Detail has been added to every area up to the completion of the first objective.
How do I extract that orange fuel tank texture from the DF2 assets? I'm talking about the tanks you shoot and blow up. They have a flame icon on them, I think.
EDIT: I figured it out with some help from Inigro. I now have the fuel tank texture.

-
It looks really really faithful to the original! Scale looks quite accurate. My favorite shots are the first two, with lighting shown.
Mark_the likes this -
Google "Fuel Refinery" and "Naval Fuel Depot" and look at the image results for more inspiration. Looks great so far.
Ooh, nice! I had been searching "factory" and "power plant," but these work much better!
EDIT: Okay, to what extent can I spam pipes, the way they do at these fuel refineries?
I'm asking in terms of tris and FPS. (Example below.)hhunter6 likes this -
Detail has been added to the first few areas. As I work on each area, I'm trying to imagine what the actual function of that area might be, if the fuel station were real. It helps with deciding what to add, since lots of the areas in the original level were so empty and apparently purposeless.
-
I'm starting the process of adding detail, and finding that the base DF2 assets give me a very limited selection of textures to work with. To make certain architectural features look right, I need textures that aren't there. Can I use some from the base JKA assets as well?
-
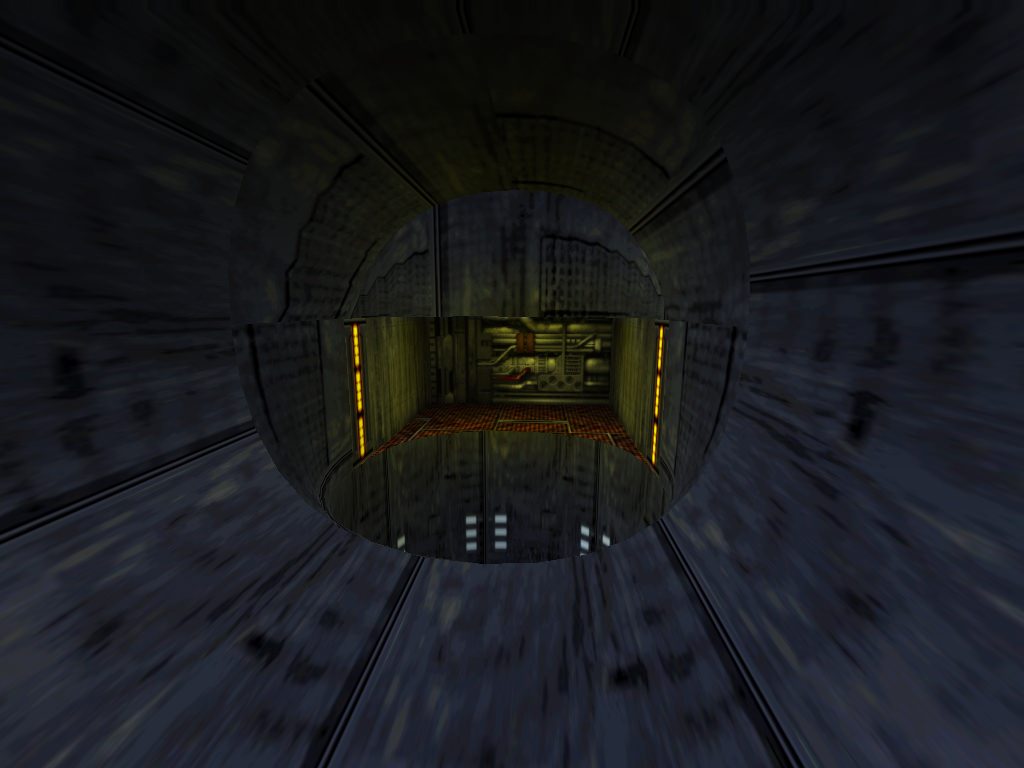
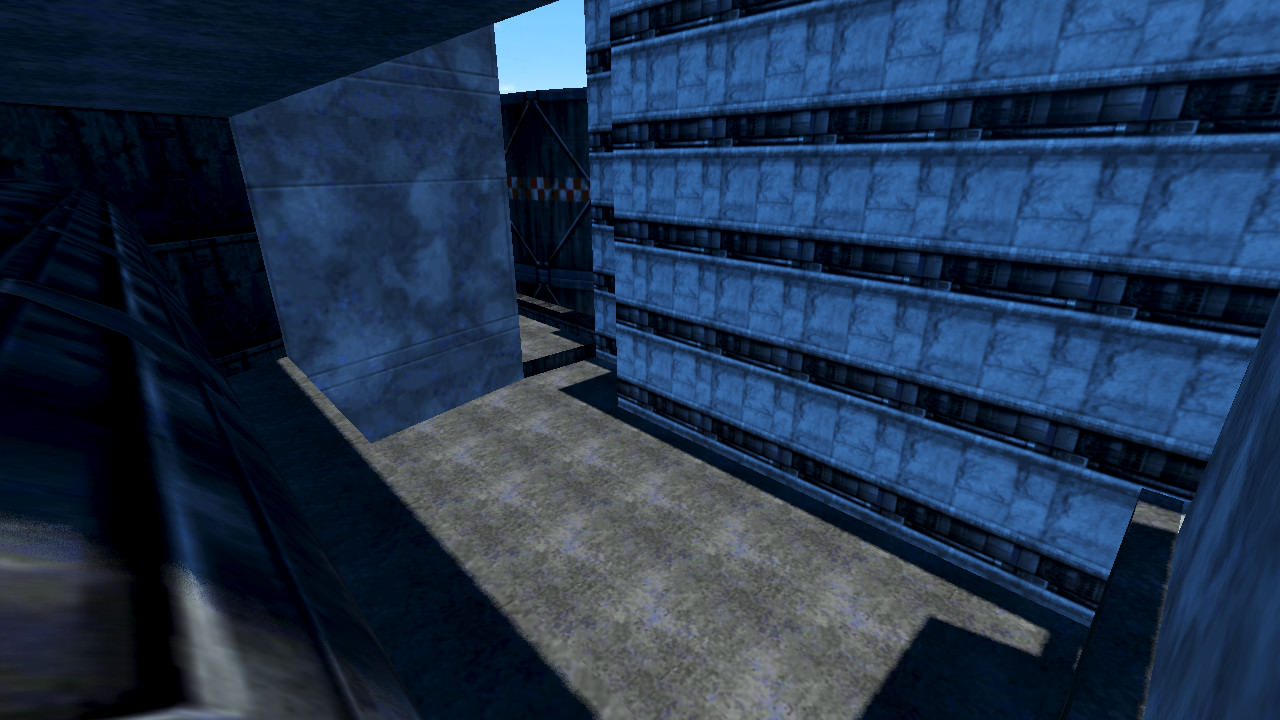
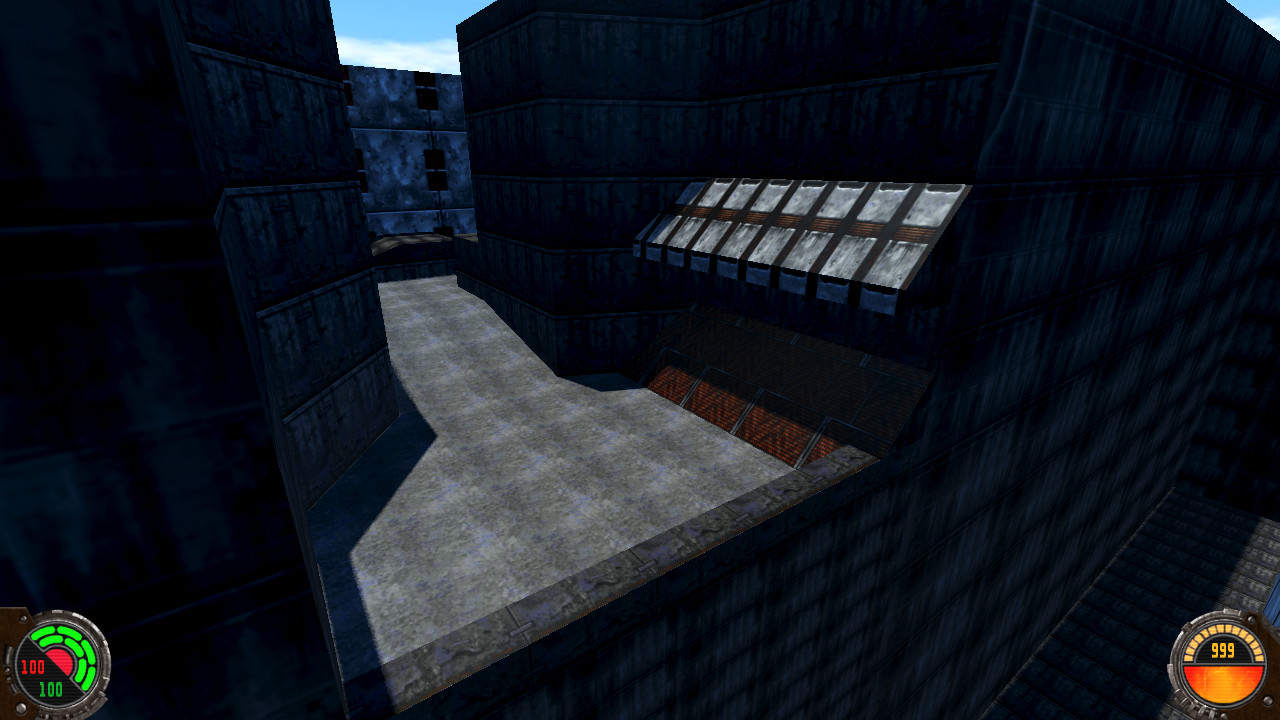
Well, there might be a few secret areas I need to go back and add, but other than that, I have officially laid out every area in the map! This will be the foundation I will use to go back and add lots of detail everywhere (which may well take longer than laying the foundation).
When I reached the end of the map, I realized/remembered that the player sees the entire length of the Sulon Star before having to jump onto it. Once the player jumps on, the entire ship moves, with the player standing on one of its catwalks. Do we want to make the Sulon Star with modeling? Or should I try to make it with brushes? The shape isn't all that complicated, and we really only need to make one half of it, since the player never sees the other side.
-
About 99% of the textures in this map are from the mod. The fuel is the only one I have needed to find from an outside source, since I couldn't find the DF2 version anywhere in our assets. Despite that, I will still need to go back and do a lot of texture work at the end, since I haven't worried about texture alignment much, and some of the texture choices in the original game just look bad.
Tempust85 likes this -
Lots of areas have been added. Using a royalty-free texture I found online as a placeholder for the fuel. Some pretty serious texture distortion can be seen on some of the patch meshes...there is not always a way to fix this in Radiant. This would be another good reason to use models for the pipe interiors, as AshuraDX has offered to do at some later date.
-
While working on the lighting, you might want to test how it looks using the new Rend2 renderer, found in the current version of the DF2 mod. I've noticed that the new renderer has a slightly different visual appearance, besides just adding graphical features. Light seems to not reach as far, for instance, and dark areas look a bit darker. So if you only test in base JKA, you might be surprised to see how different your map looks in the final version of the mod.
These differences are just from my experience of using the new renderer, without changing any settings. Different is not bad, but maybe there are tweaks we can do to control these differences, depending on the visual needs of each map?
-
Very inspiring! Are you using the cliff/rock formation models from the "desert" levels of the game?
-
-
Ok, I'll give it a try.
EDIT: Original post has been fixed. Feel free to give feedback!
-
The first WIP screenshots of Level 9. I have the basic brushwork done up to the completion of the first objective, and a little more past that.
I couldn't figure out a way to add ambient sky light with the GL2 sun shader, so I just had to give the map an "ambient" value of 200. Is there a better way to do this currently?
P.S. I still can't use tags. It says I'm not allowed to. So until that gets figured out, you'll have to keep clicking on the links.

EDIT: Problem solved.

-
I disagree, I definitely see some progress! I like the new wood detailing on the platforms at the beginning, and the lighting looks much better than it did before--more consistent colors, and it all has a source. Looking good.
Mark_the likes this -
Great to see more progress. I can tell that you've started to add more detail. The "canal" setting here reminds me a lot of this level from Half-Life 2:
...especially at the start. Obviously, the HL2 level is more of an Earth-like setting, whereas Barons Hed is on some kind of desert planet. But maybe watching it would give you some architecture/lighting inspiration.
One thing I noticed in the shots you posted is that you have some sourceless lights. Meaning that, in the last three shots, the red/blue/green lights seem to be coming from nowhere. In real life, light always comes from somewhere (the sun, ambient daylight, a streetlight, etc.). Try to avoid placing any lights that don't have an obvious source.
Also, I recommend using fewer light colors in each area, and when you use multiple colors, try to pick colors that work together. Seeing red, blue, and green light together in one place is a little startling.
-
Hey Inigro! I recently started working on level 6 myself, which also takes place in Barons Hed, right after the level you started. I am glad to turn the assignment over to you, if you are planning to work on both level 5 and level 6. Let me know if you would like to see my incomplete version of level 6. It's just the basic layout of the first area, but maybe you can get some inspiration from it. I'll PM you the .map file if you're interested.
-
Ok. Are you still in contact with him? The YouTube videos he posted of his progress seem to have vanished, so it would be helpful to have the .map file he was working on. If it is not available, we'll have to start from scratch on adapting the Barons Hed architecture. I would be glad to do so if necessary, but it would take a little more time.
-
@@DT85 Is the assignment list up to date? If so, I would like to try my hand at Level 6, "Into the Dark Palace." It's rated as large, so I don't know how long it would take me, but I'm interested in giving it a shot. Let me know what you think.
If yes, are there any screenshots available of the work done by @@Trank on the previous Baron's Hed level? Seeing that would help to keep the visual style consistent. I did notice that several years ago Trank also asked to work on Level 6. If he is still around and wants the level instead, I will gladly acknowledge his dibs on it.
(Obviously, at the moment, the Sariss level is still up in the air in terms of completion. If it turns out that it still needs work, I will go back and finish it before getting too deep in this next project.)
-
@@DT85 Did my PM come through? If so, take your time, I know you're busy with plenty of other things.
-
I successfully made a functional gl2 sun shader, but when I tested it in-game, the rock walls had a very strong glossy appearance. I'm guessing this is a property of the default shader being used for textures that don't otherwise have their own shaders in a .shader file. The glossiness made it hard to see the contours of the rock walls, so I took these WIP shots in the base game instead.
-Added more detail inside ship
-Finished terrain
-Added detail on hull
-Added some twisted metal debris on the ground, to show that it's a crash site
I'm starting to run out of ideas at this point. I've added a lot of stuff that wasn't present in the original level, and I can't think of many more worthwhile details I could add. What does everyone else think? Nearly finished? Far from it? I've been working with this map for a while now, so I could use some fresh perspective.
Top 2 images:
https://jkhub.org/albums/nkCVD7Q
P.S. Does anyone know why I can't use img tags?
hhunter6 likes this -
I would be glad to try making the shader, but my hardware doesn't handle Rend2 very well, so I'll probably still do most of my testing in the base game, unless that's a problem.
The new sun shader uses new syntax. Will I need a different version of q3map2 so I don't get errors during compile?
-
Sadly, it seems my first WIP shots were lost to the commercial interests of Photobucket. Oh well--new WIP shots are finally here!
-Enhanced most of the map's terrain to look more organic than the original-Added detail inside the ship
Part of the detail I added in the ship is a pile of crates that toppled when the ship crashed in the canyon. I think this makes sense, given that it was a cargo ship, but on the other hand, the crates are obstacles that weren't present in the original game. Let me know if you think they should stay.
Also, I obviously haven't worried much about fixing the phong shading, since the textures/shaders will be changed anyway.
https://jkhub.org/albums/nkCVD7Q
By the way, is there a reason I can't use img tags? When I try, it says "you are not allowed to use that image extension on this community."
-
I do think it's valuable that it sticks to the archetypes without a quirky twist. Episode IV is a classic fantasy film that was created as a response to the nihilistic mood that the industry had in the 70s. In a way, Star Wars proved at the time that a fantasy film could be successful.
I always try to see these things from an historic perspective. When people get tired of classical storytelling, they tend to create stories with 'twists', and when those become tiresome, people go back to producing classic stories. Think about this, would Shrek be considered as much an original masterpiece (as it was in the 2000s) if it was released now? Every movie nowadays seems to try to 'subvert' the classics, even Frozen went this way with the 'not so good charming prince', so I would think that if a movie, like the example you mentioned, was released now that had an heroic character on a journey, similar to the stories of old, it would have the potential to be very well received. And following the same logic, I don't think the same story would have been received well at the end of the 90s. It all depends on the cultural context.
Interesting, I didn't know that about the cultural context of the first film. Also interesting to think of the very act of subverting clichès as a clichè of its own. From this perspective, returning to classic storytelling would, in some cases, be more original than coming up with another quirky twist.
But I do think there's a difference between being quirky and writing archetypes with depth and complexity. You don't have to subvert a character type to make the character interesting. It seems to me that Obi-Wan in the sequels is an example of failing to add complexity to an archetypal character. Every human alive has at least one flaw in their personality, abilities, etc. Giving characters flaws in stories, then, is an important part of making them relatable and believable. But I can't see any flaws in Obi-Wan's character. Instead, he seems to be little more than the archetypal Wise Old Man, as described by Carl Jung. Lucas wouldn't have needed to mess with the archetype to make him interesting (making him the Wise Old Burglar, or Wise Handicapped Man, for instance). It would have been interesting enough to add flaws within the constraints of the archetype instead--maybe he's distracted by regrets, or pacifistic to the point of being passive, etc. These things would add detail without subverting any archetypes. But Obi-Wan in the sequels seems to be just a cardboard cutout of his archetypal role--no more and no less. To me, that makes him less than interesting.
Do you see more depth in the SW characters than I do? Just to reiterate, I can accept that there's value in the franchise sticking close to the archetypes it's chosen. It only bothers me if a character isn't given additional detail, beyond their surface-level archetypal role.
-
I think your analysis is fundamentally wrong. There's a beauty in simplicity and Star Wars is without doubt one of the best examples of classic story telling in the 20th century, that's why it's universally liked across the globe. It's got the key story points, which many franchises lack, that resonate within people no matter the race or culture. I know this must be cliché to a lot of people here, but if you haven't I recommend you to read Campbell's book "The Hero with a Thousand Faces" or at least see a quick summary of it. It's a book that explains certain archetypes that are common in western mythology and how some of the greatest stories follow this structure.
I skimmed over a summary of Cambell's book, so correct me if I misunderstood anything. I've heard ideas before that are similar to his, in other sources about archetypes that were probably influenced by his work. I found it particularly interesting that Lucas apparently acknowledged Campbell's influence on the SW franchise. The story certainly follows the "monomyth" pattern that Campbell describes.
In my opinion, as an admittedly young and inexperienced writer, is that 1) it is impossible to write a story without archetypes, and 2) there are creative and un-creative ways to use them. I recognize that SW uses archetypes to connect with its audience (Luke as the Reluctant Hero, Obi-Wan as the Wizard in the sequels, etc.), and I don't fault it for that. I just think it wasn't terribly creative in the way it used those archetypes. It played them pretty "straight," so to speak, throughout most of the movies, and I didn't see a whole lot of individuality in the characters, beyond their archetypal roles. It's fine for a character to be an archetype, but if they don't have many unique traits beyond that, they end up kind of boring. Luke, for example, doesn't have much of a personality beyond his "Reluctant Hero" tendencies.
As an example, imagine if Disney spent tens of millions of dollars to create a movie called "The Knight and the Princess," featuring an all-star cast and spectacular special effects, and also featuring--you guessed it--a knight and a princess. For the sake of connecting with its audience, it uses archetypes we're very familiar with, especially in Western culture: a courageous knight who sets out on a journey to defeat a vicious monster and rescue the captive princess. Audiences will understand the story very quickly (which is a good thing), because they're so well-accustomed to those archetypes. But this strength is also the story's weakness: we've heard this story so many times that it will be boring, unless something creative is done with the plot or characters to set it apart. Without a creative twist, any discerning viewer will see it as "just another fairy tale." Maybe there is some value in the simplicity of such a story, but is it really worth millions of dollars to keep telling the same story, without variation, over and over again?
It's that variation that's necessary to add interest to a story, to make it compelling, and to give it an identity of its own. Do you see this kind of variation in the characters and story of the SW franchise? Or do you see it as valuable specifically because it seems to stick so close to its archetypes, without adding much variation?
 I'm asking in terms of tris and FPS. (Example below.)
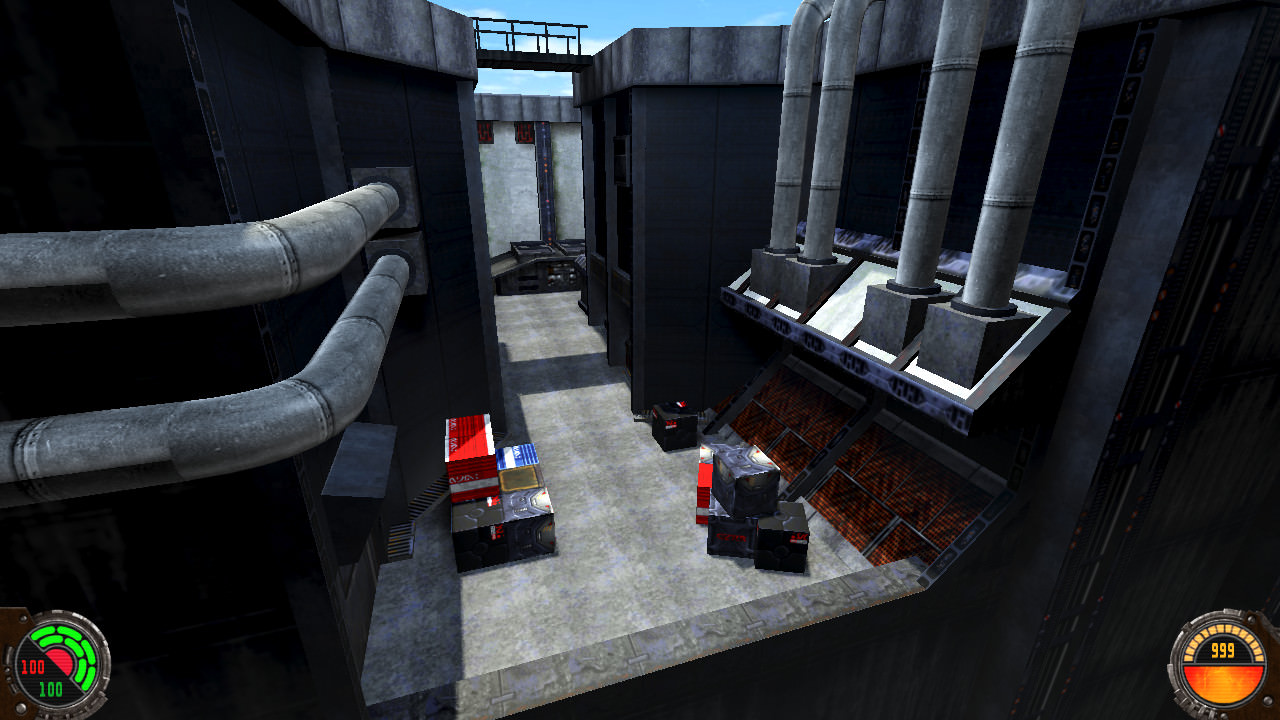
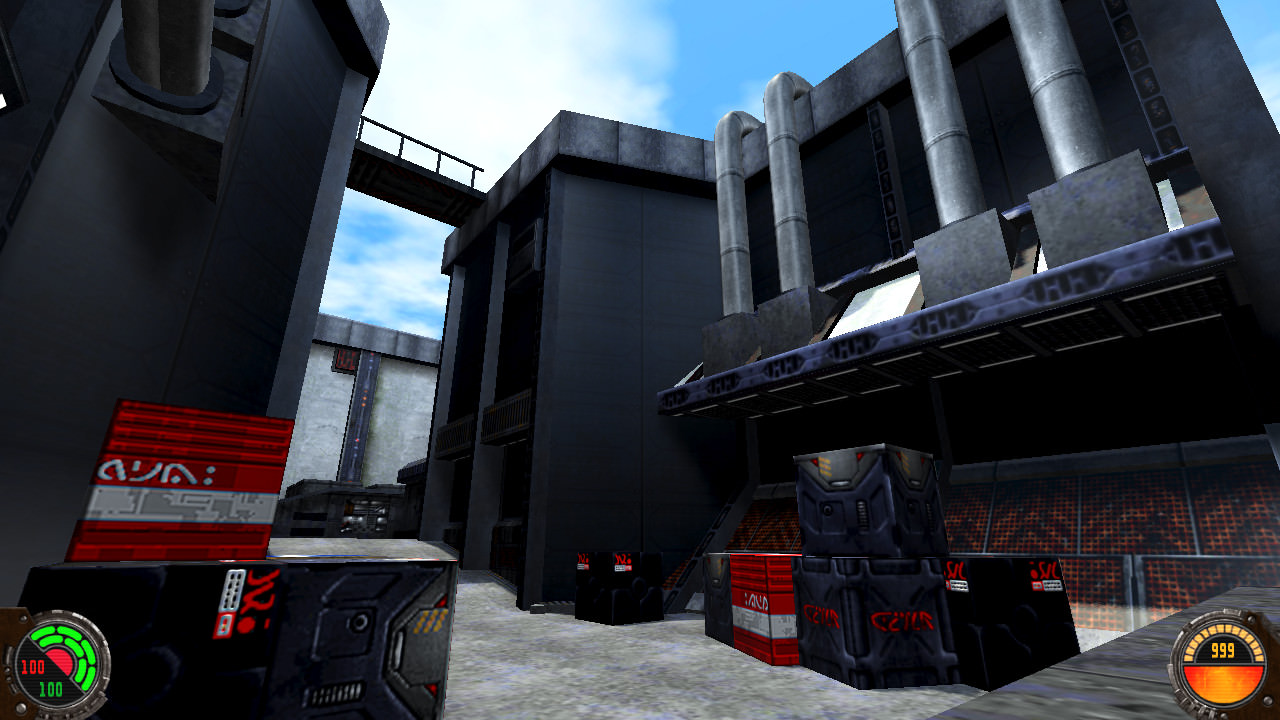
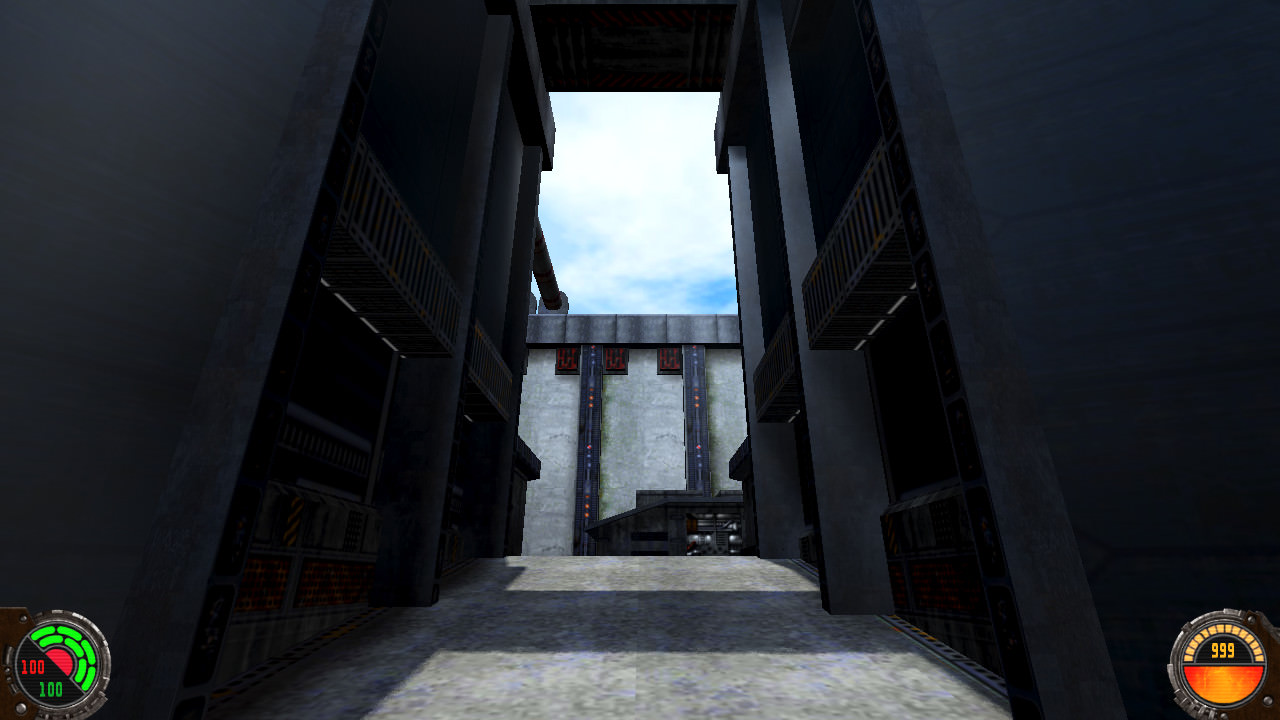
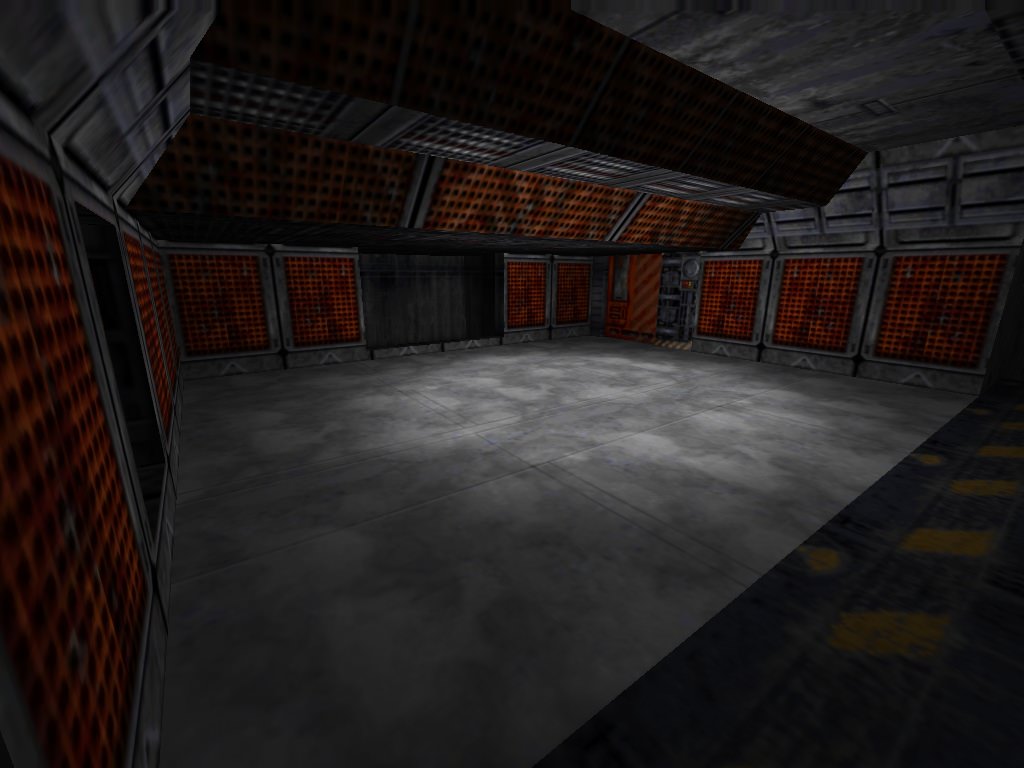
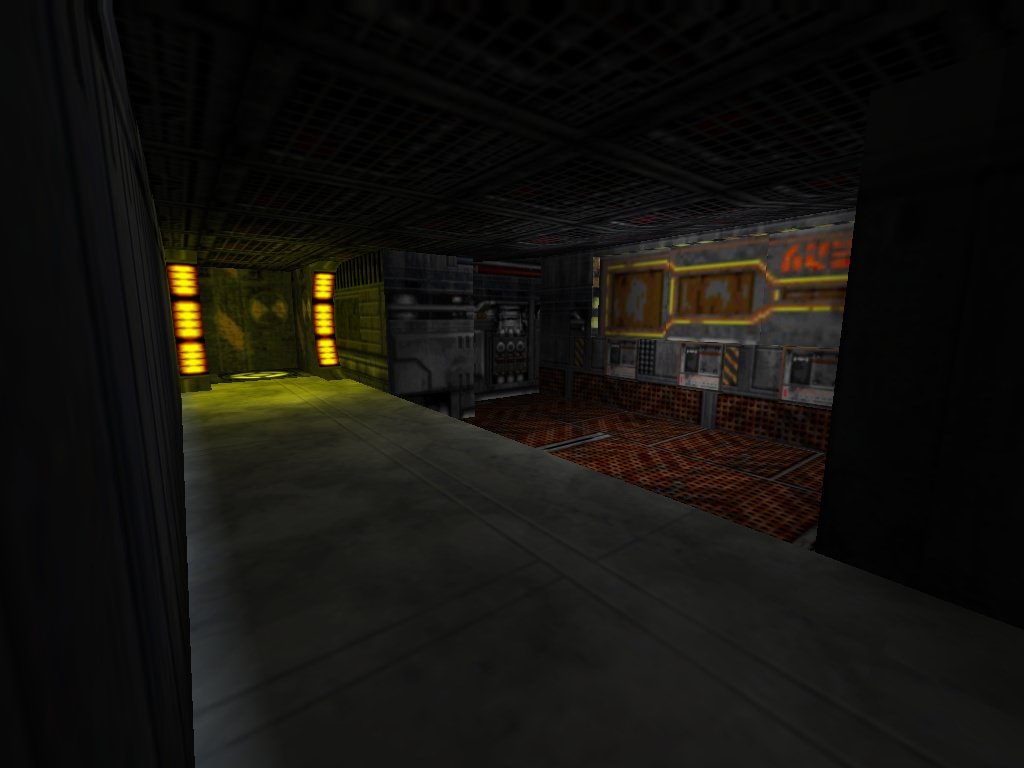
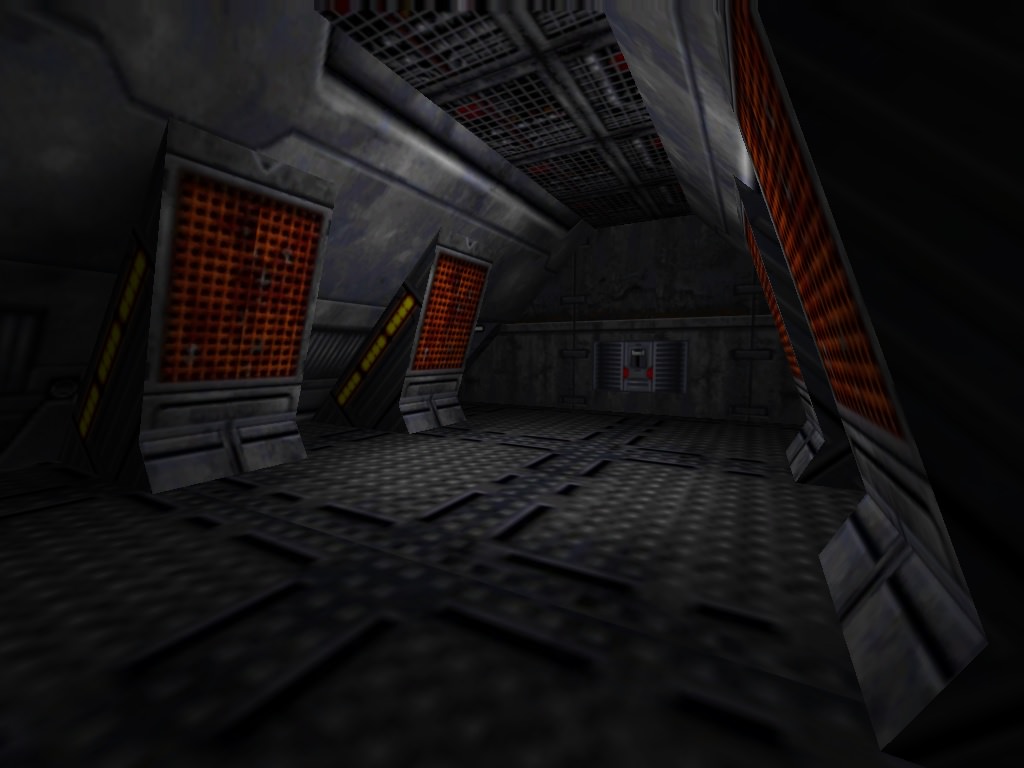
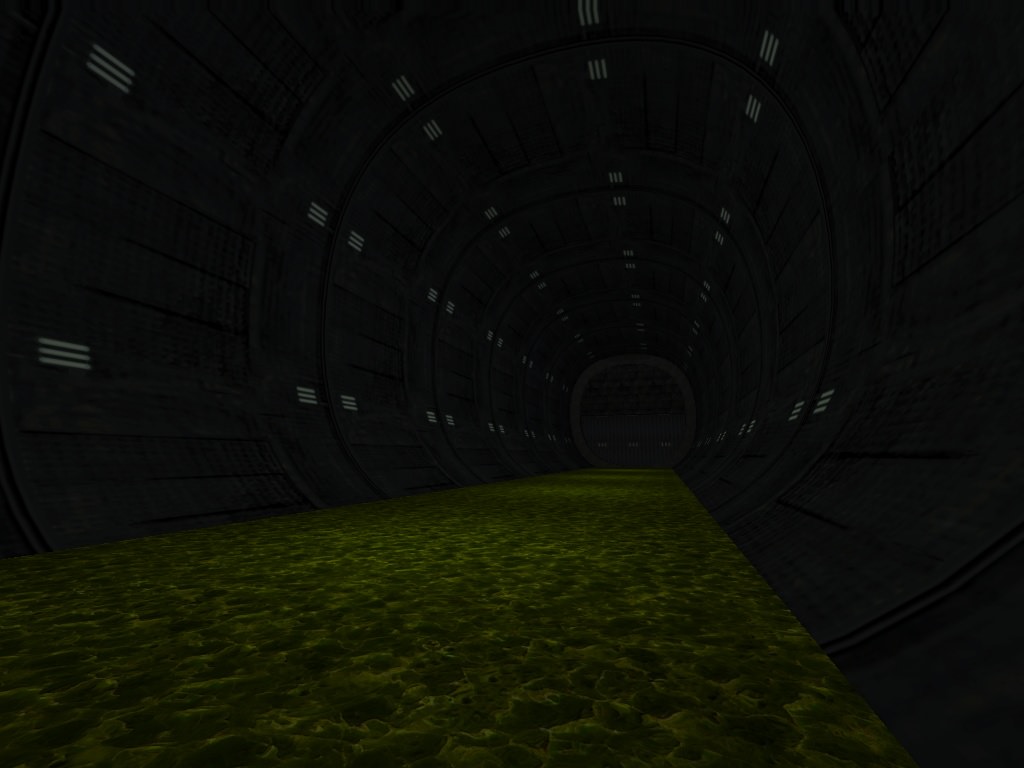
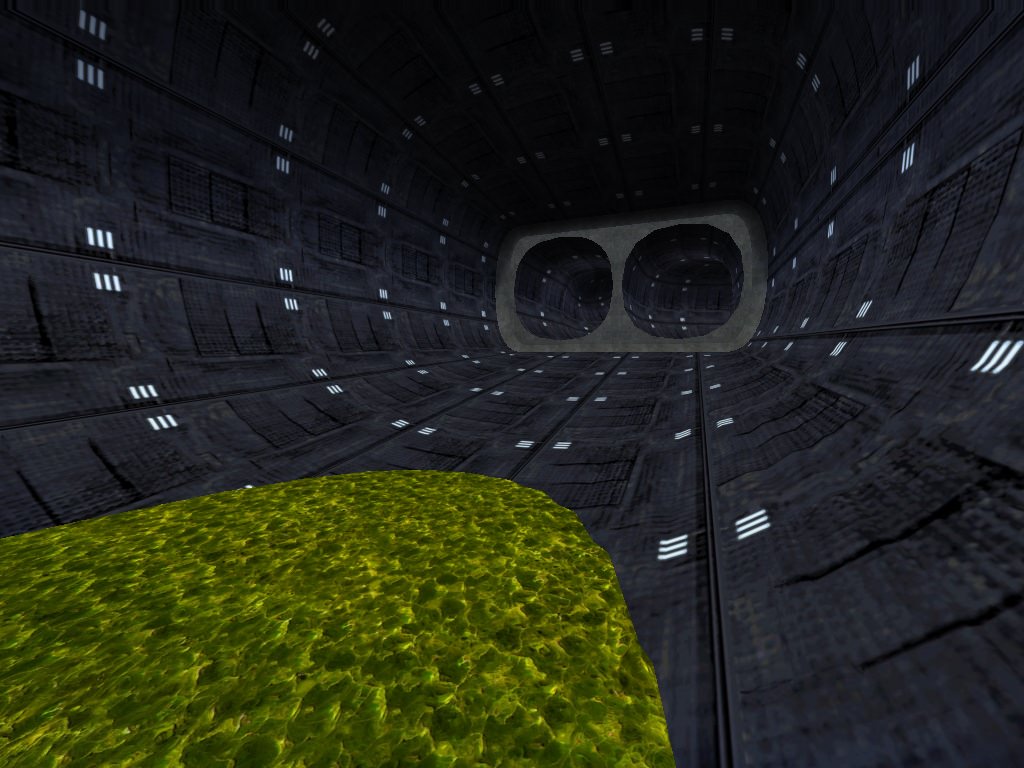
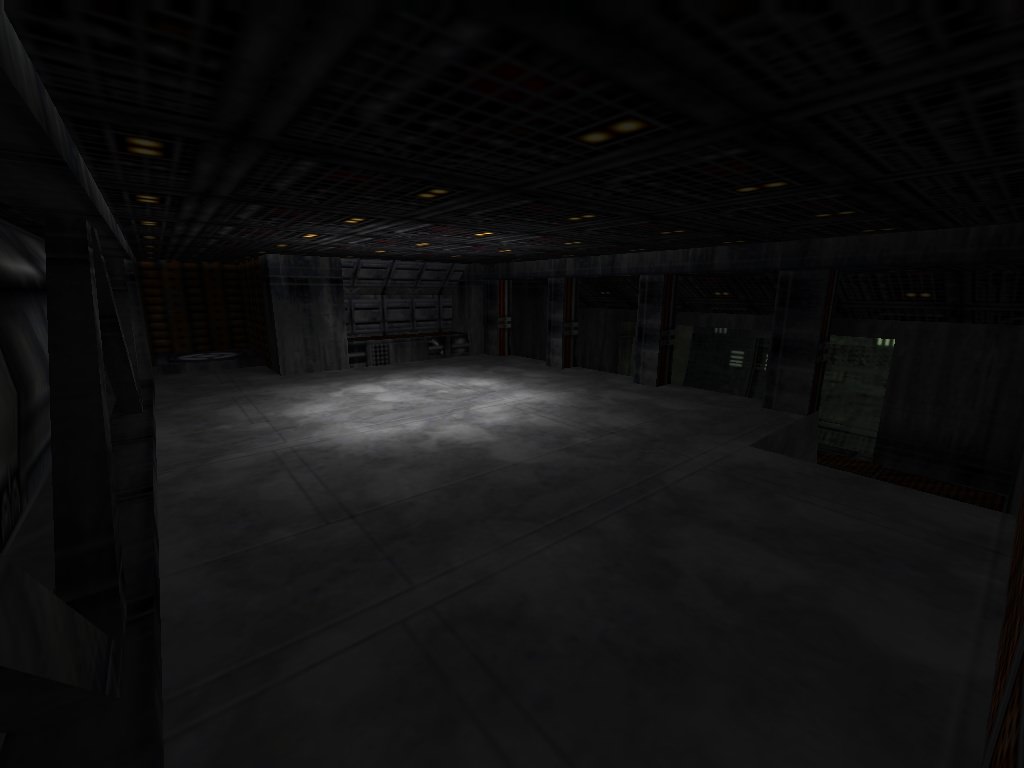
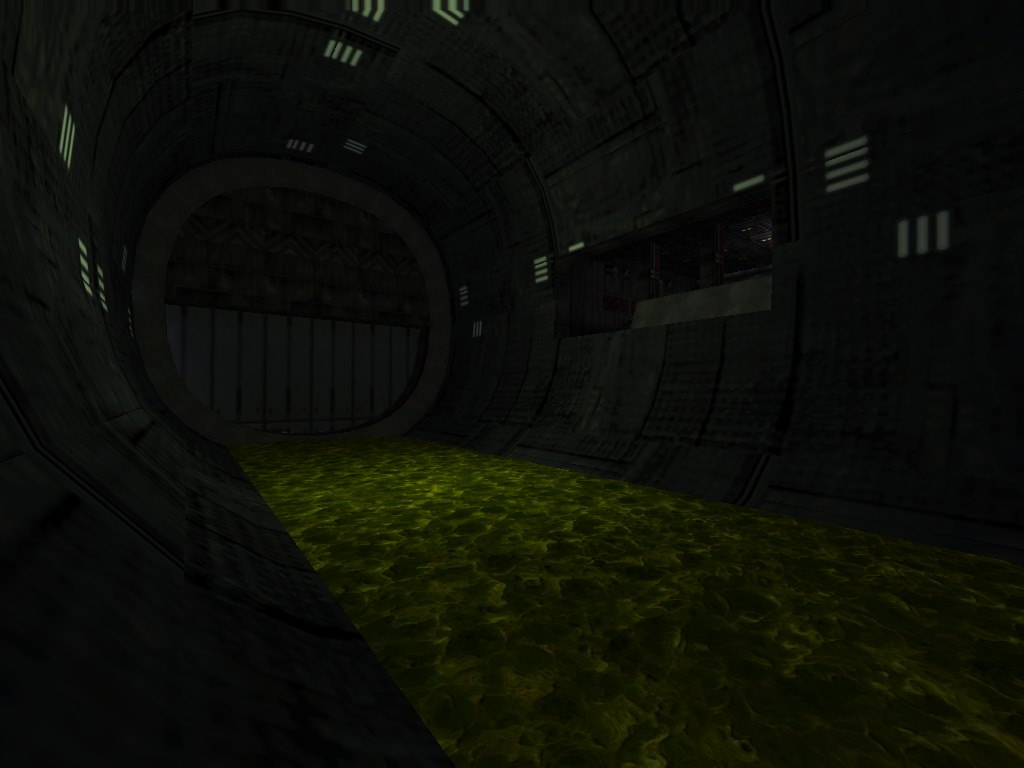


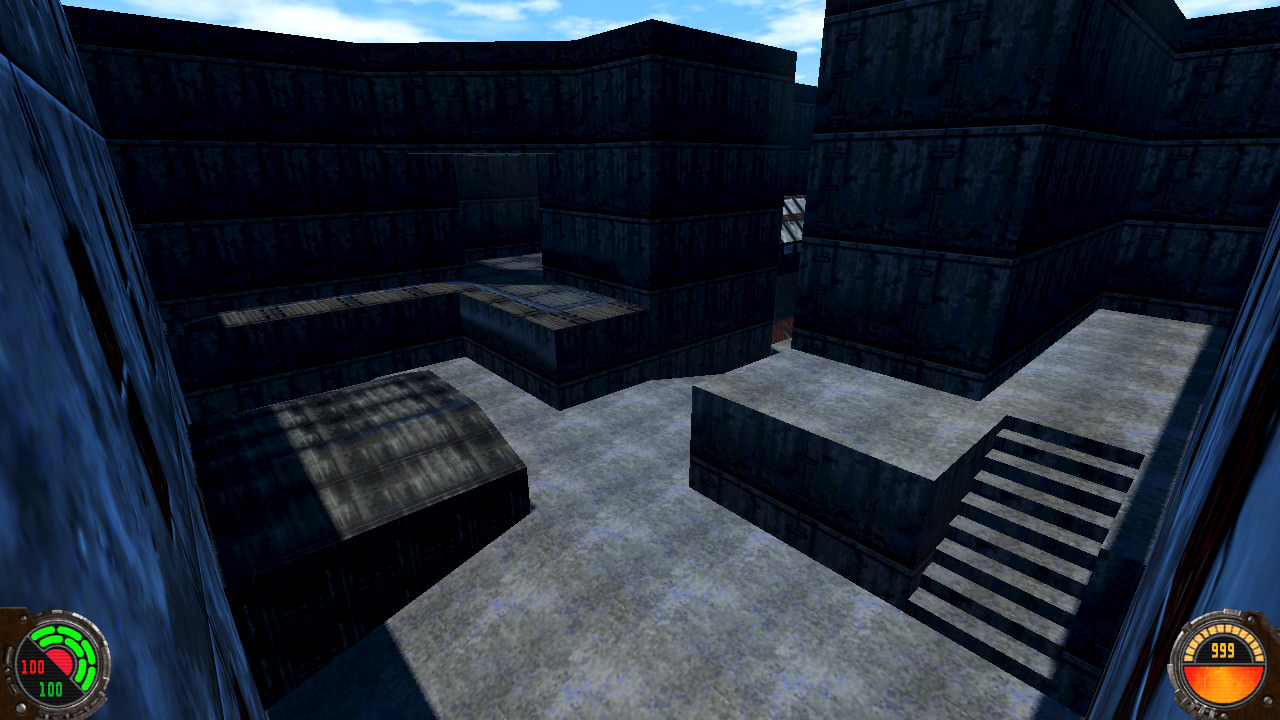
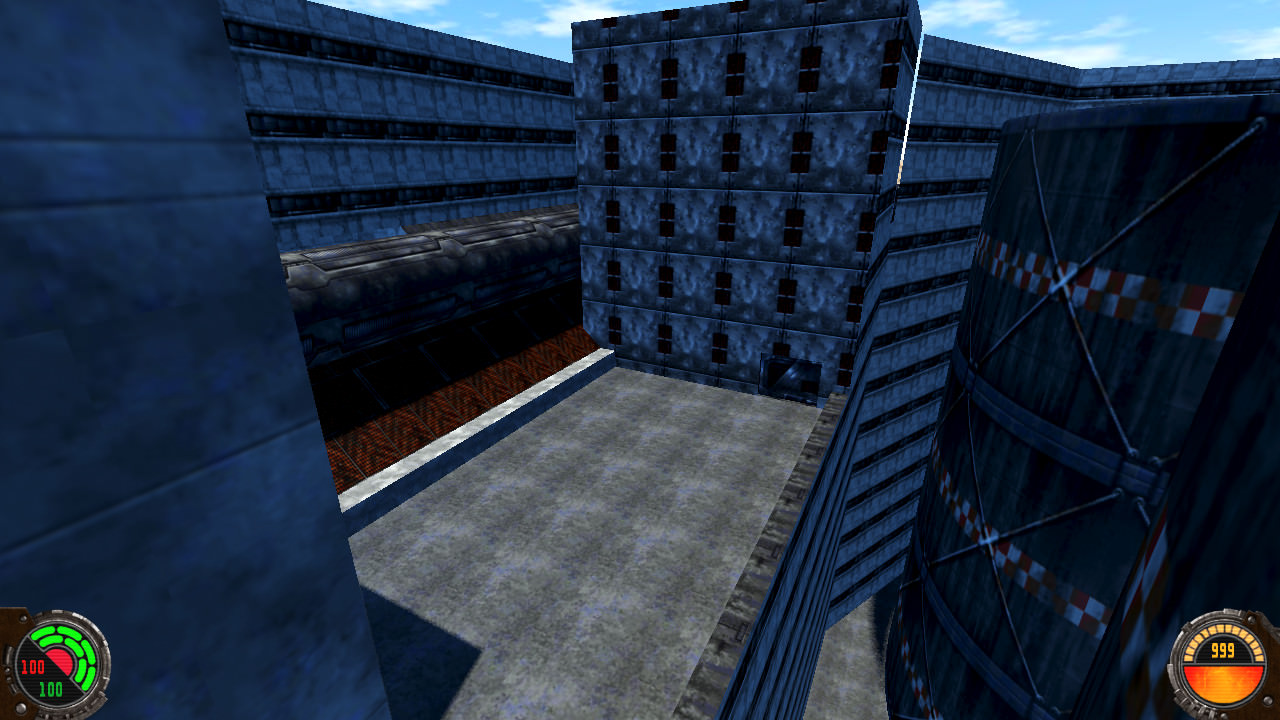
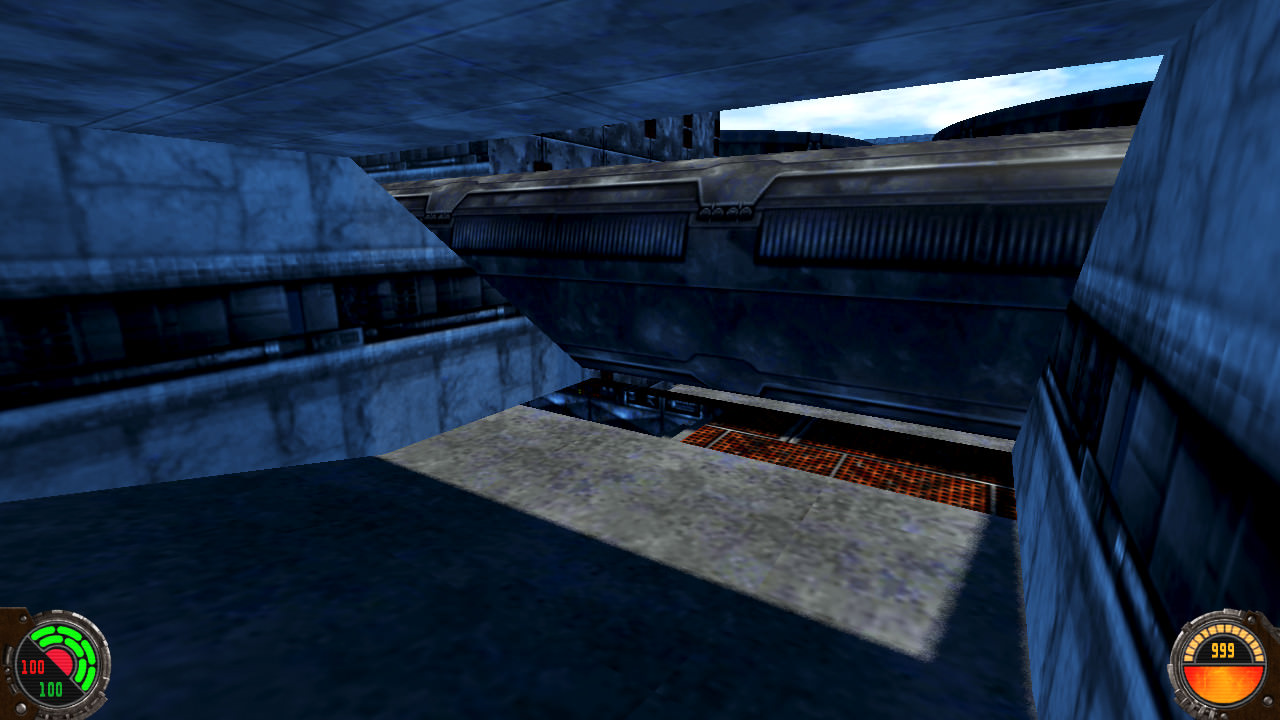
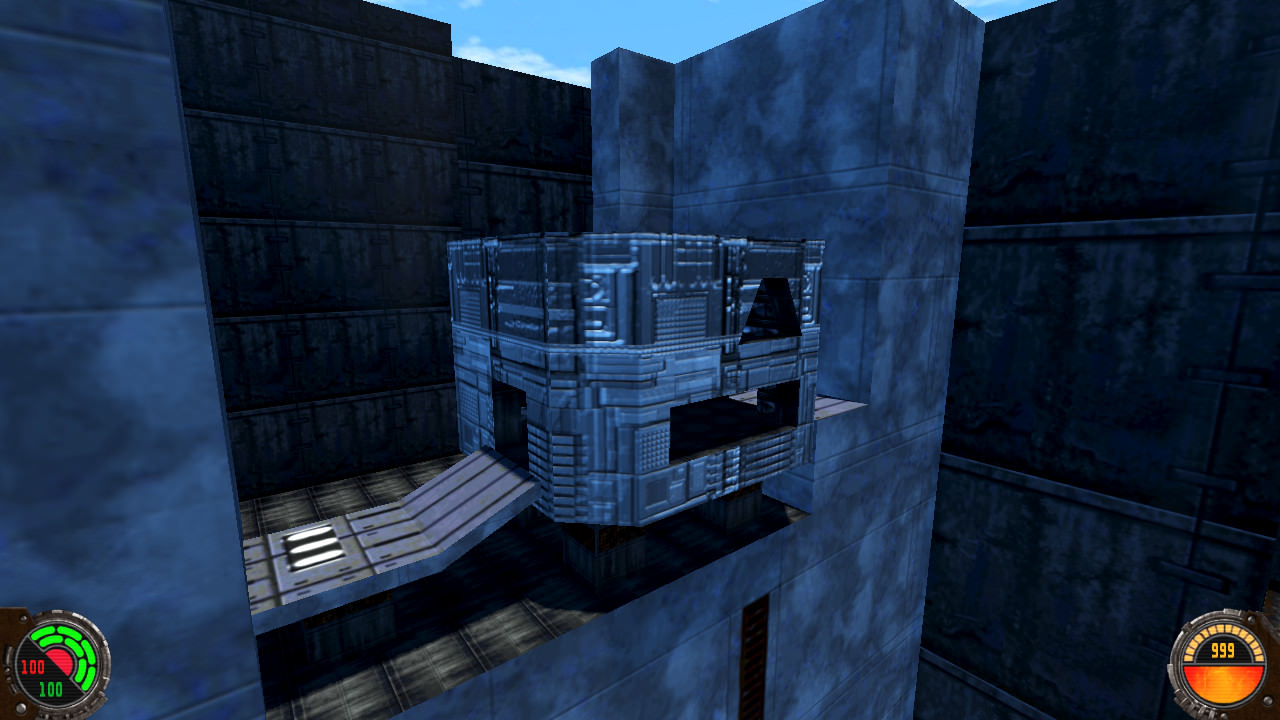
Level 9 - Fuel Station Launch
in Dark Forces II Mod
Posted
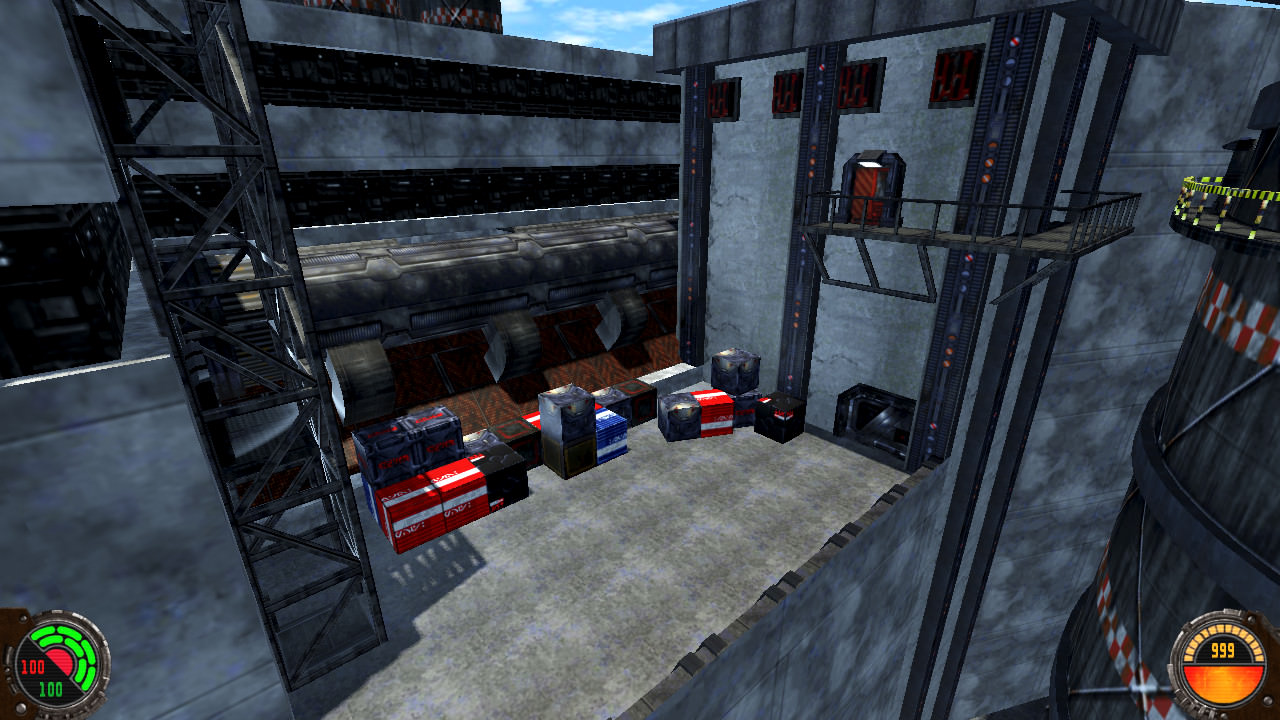
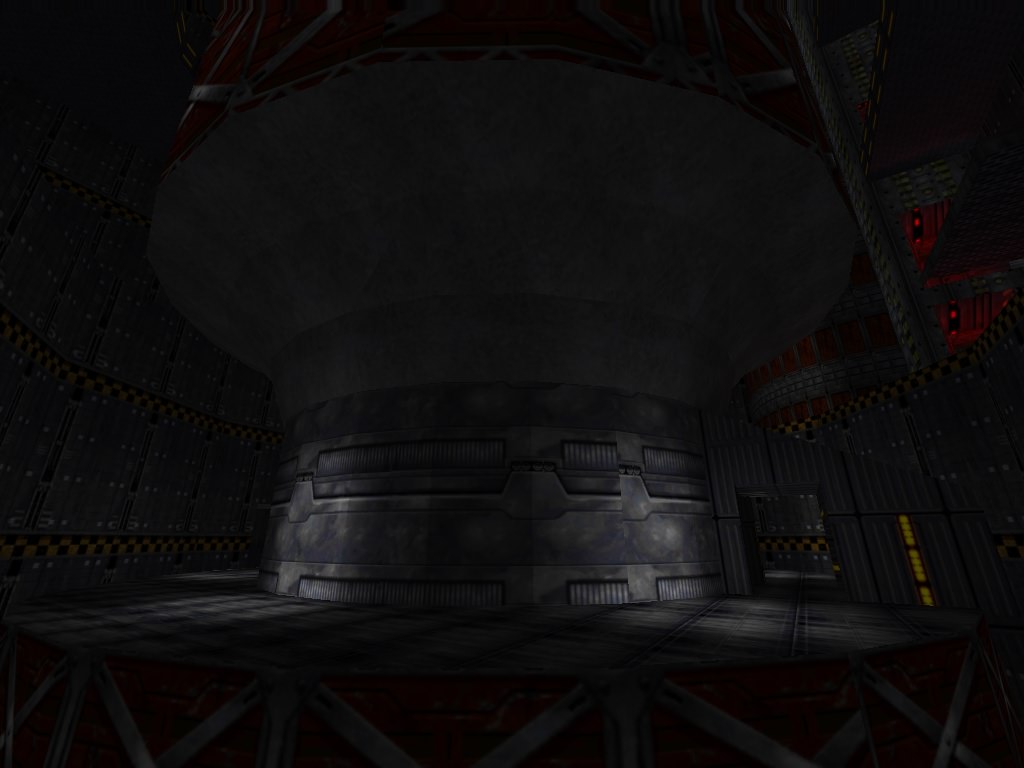
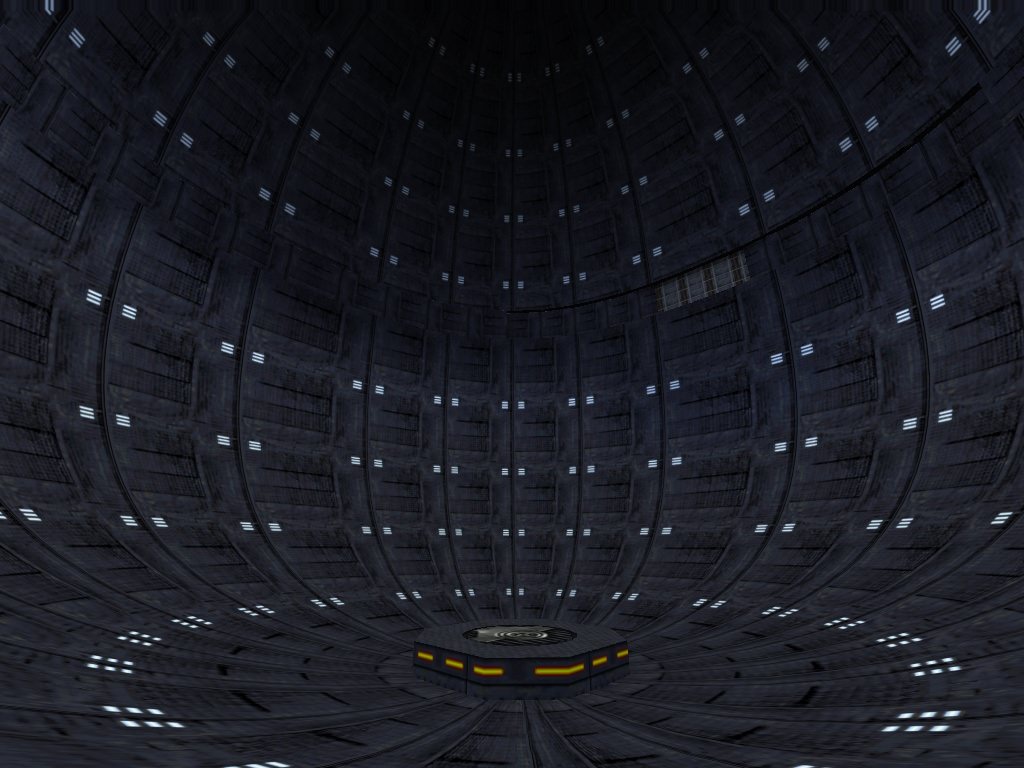
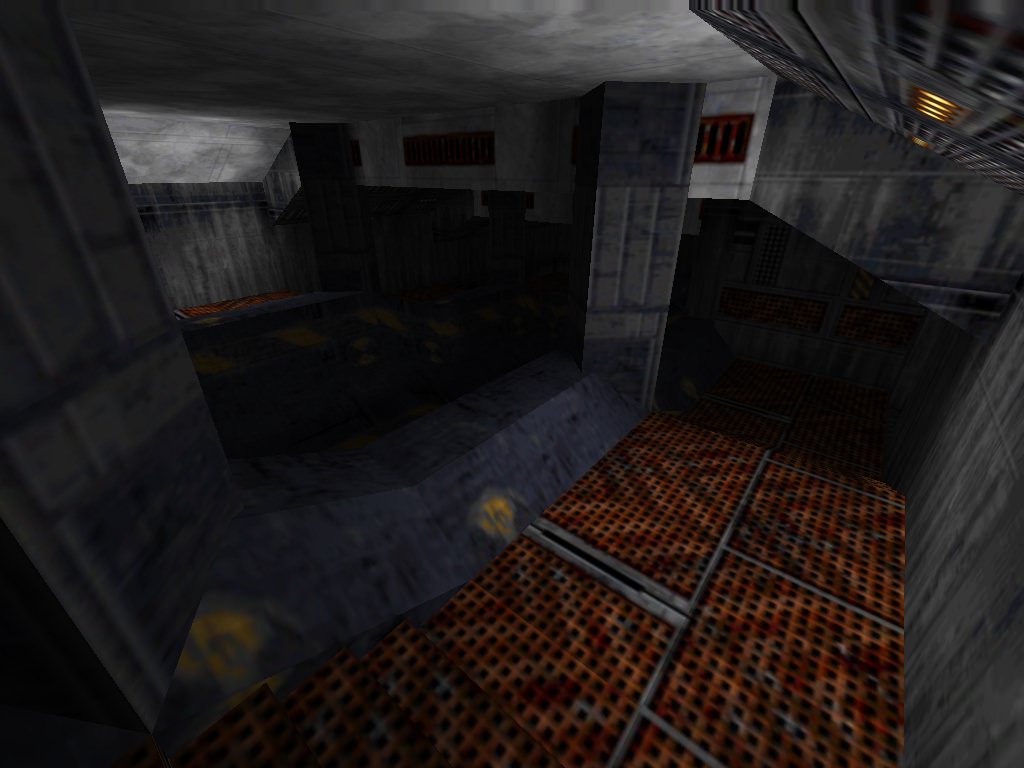
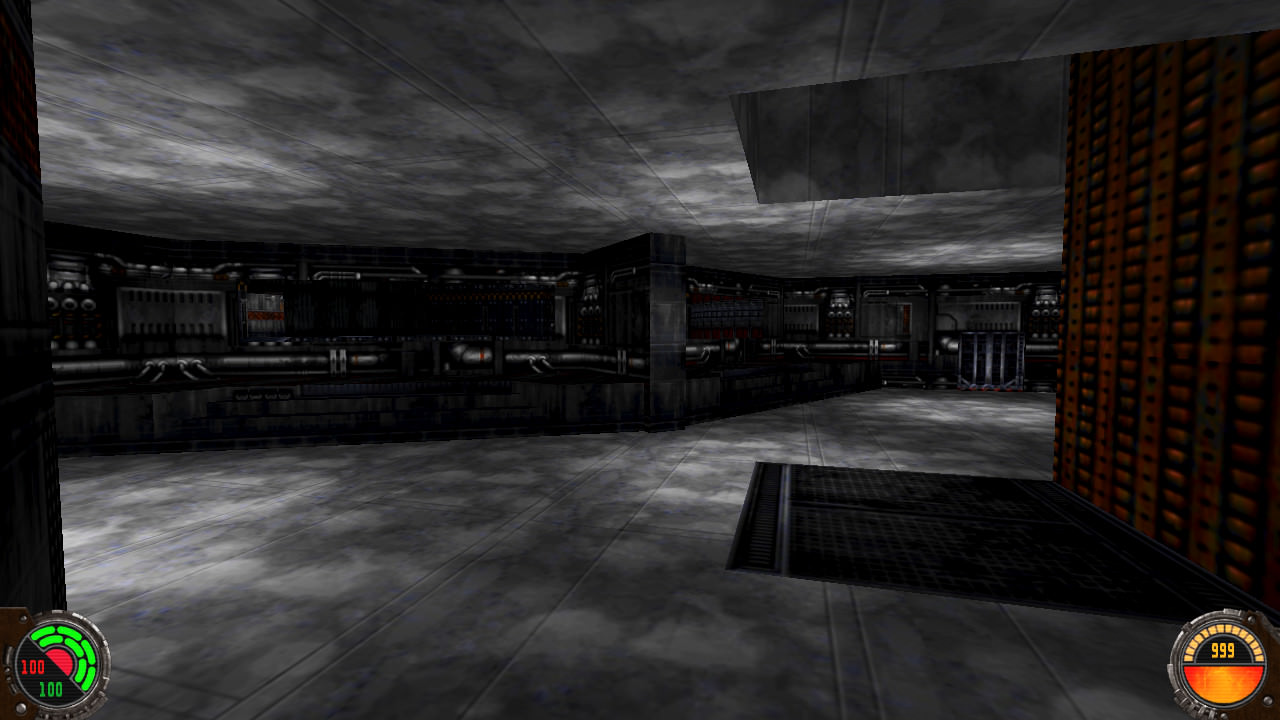
Smaller update this week. I think I have a solid artistic direction figured out for the big multi-level tank room. Feedback is welcome.