Jump to content

Lazarus

Members
  • Posts

    359
  • Joined

  • Last visited

Everything posted by Lazarus

  1. reworking textures and shaders, not having as much time as i want, but i revamped the keyboard today. I am going slowly into the direction of a hex theme texture wise
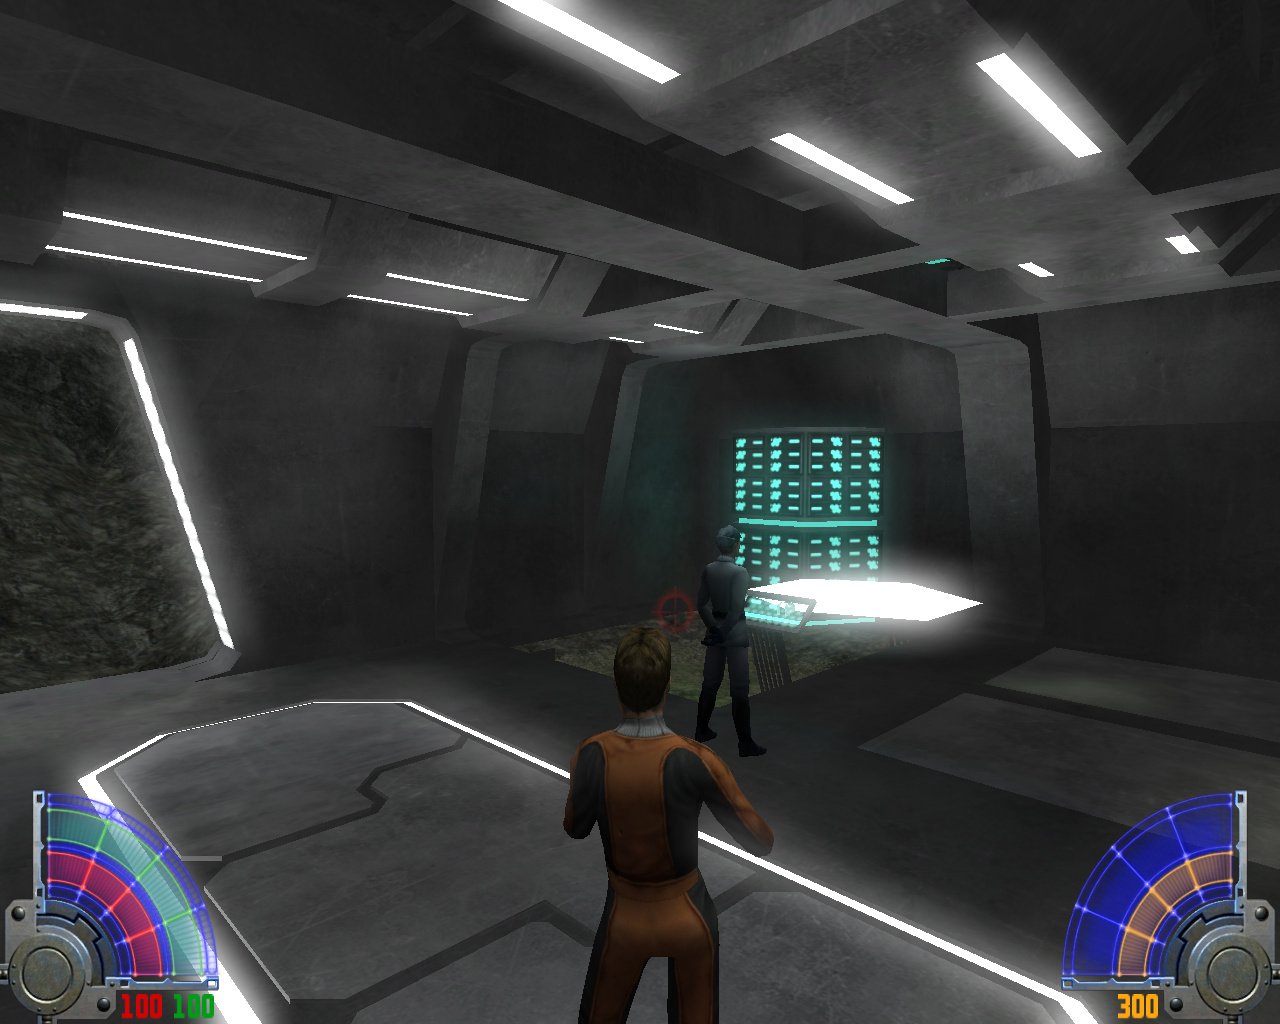
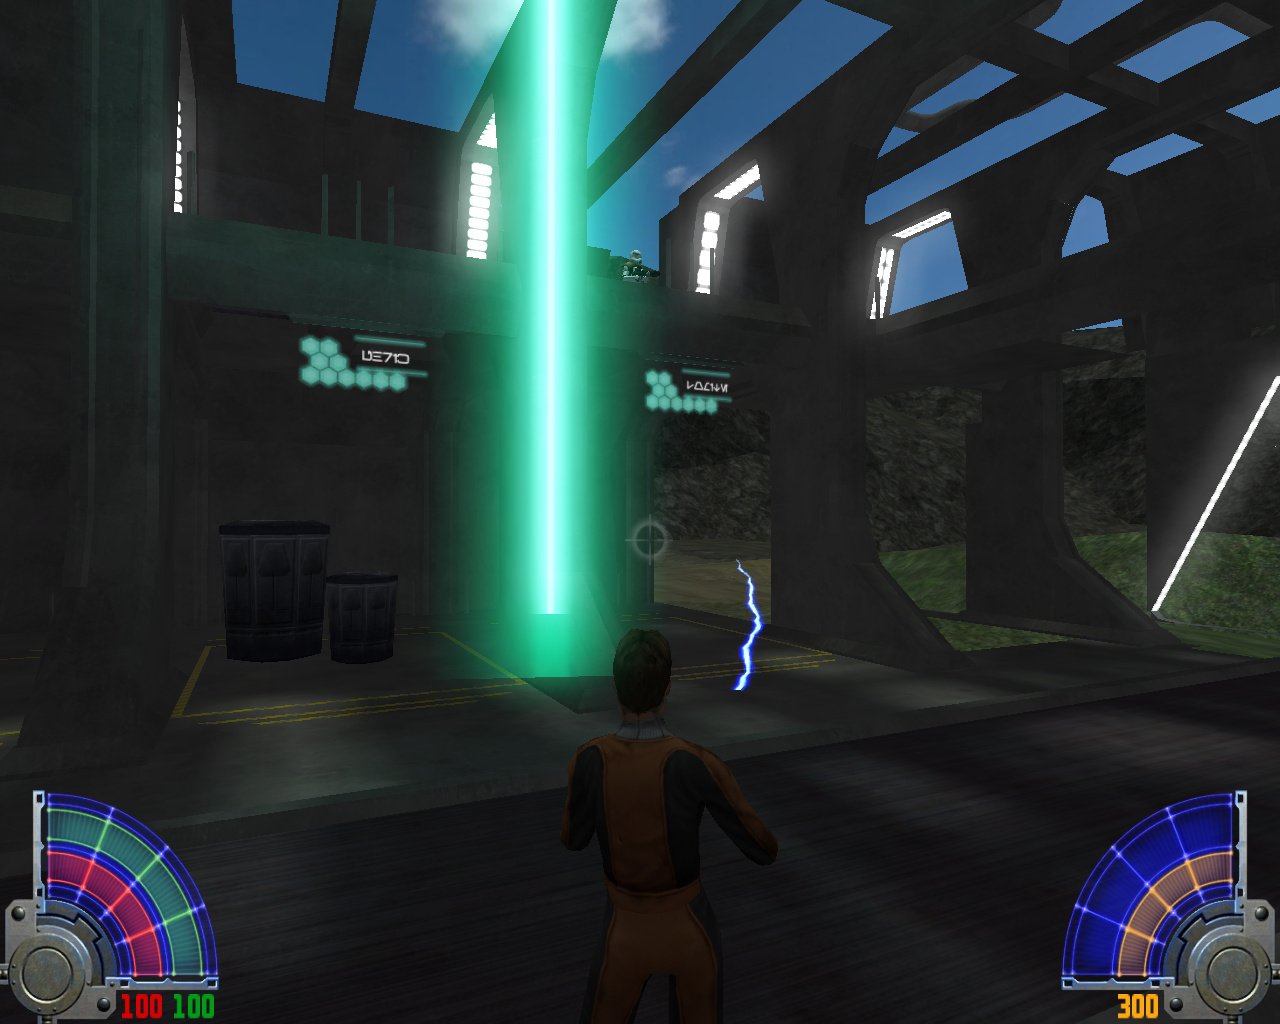
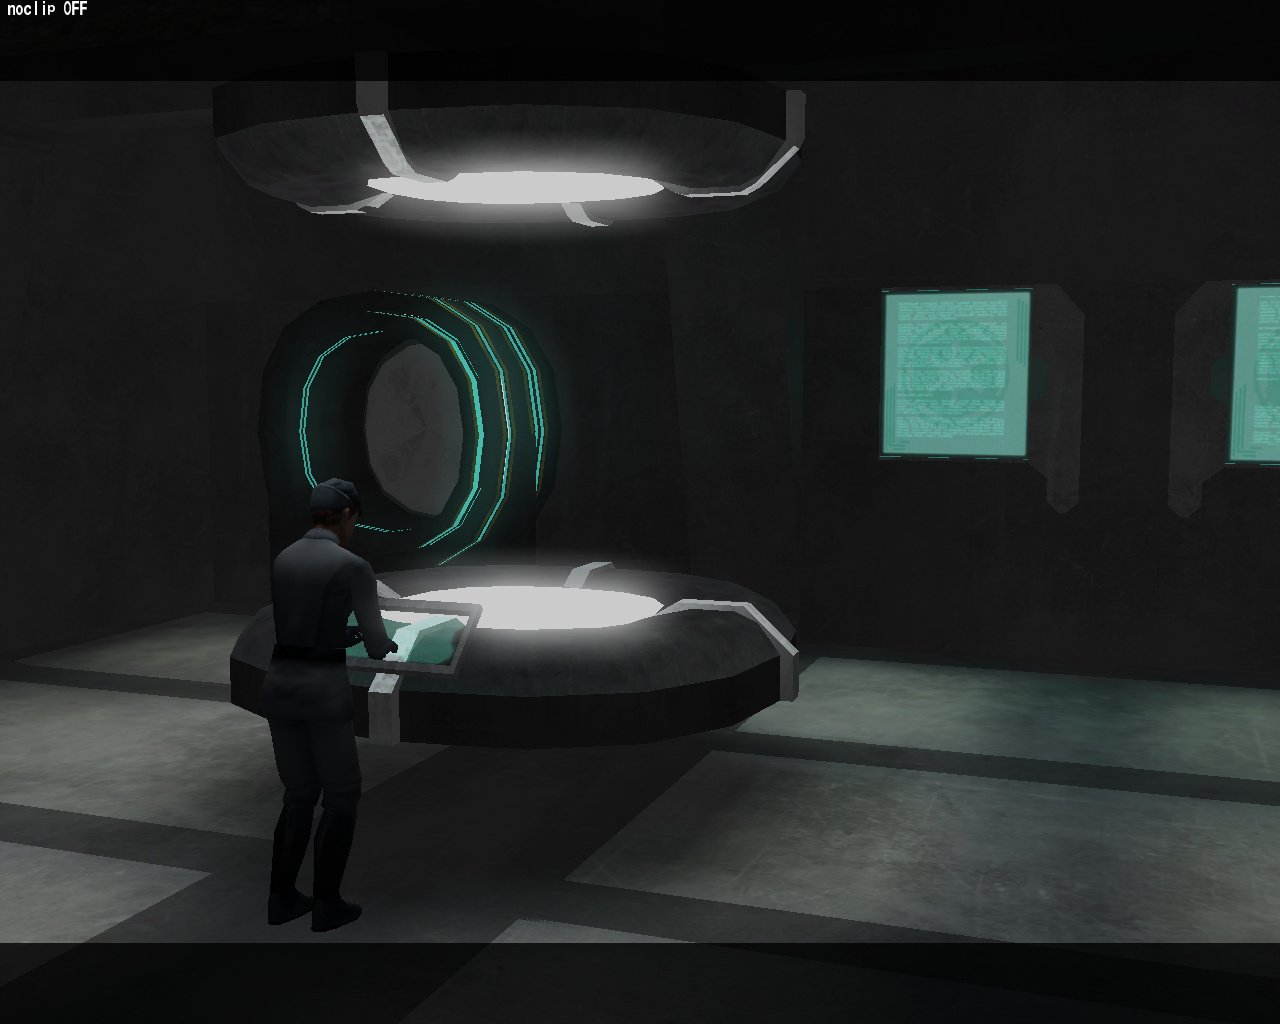
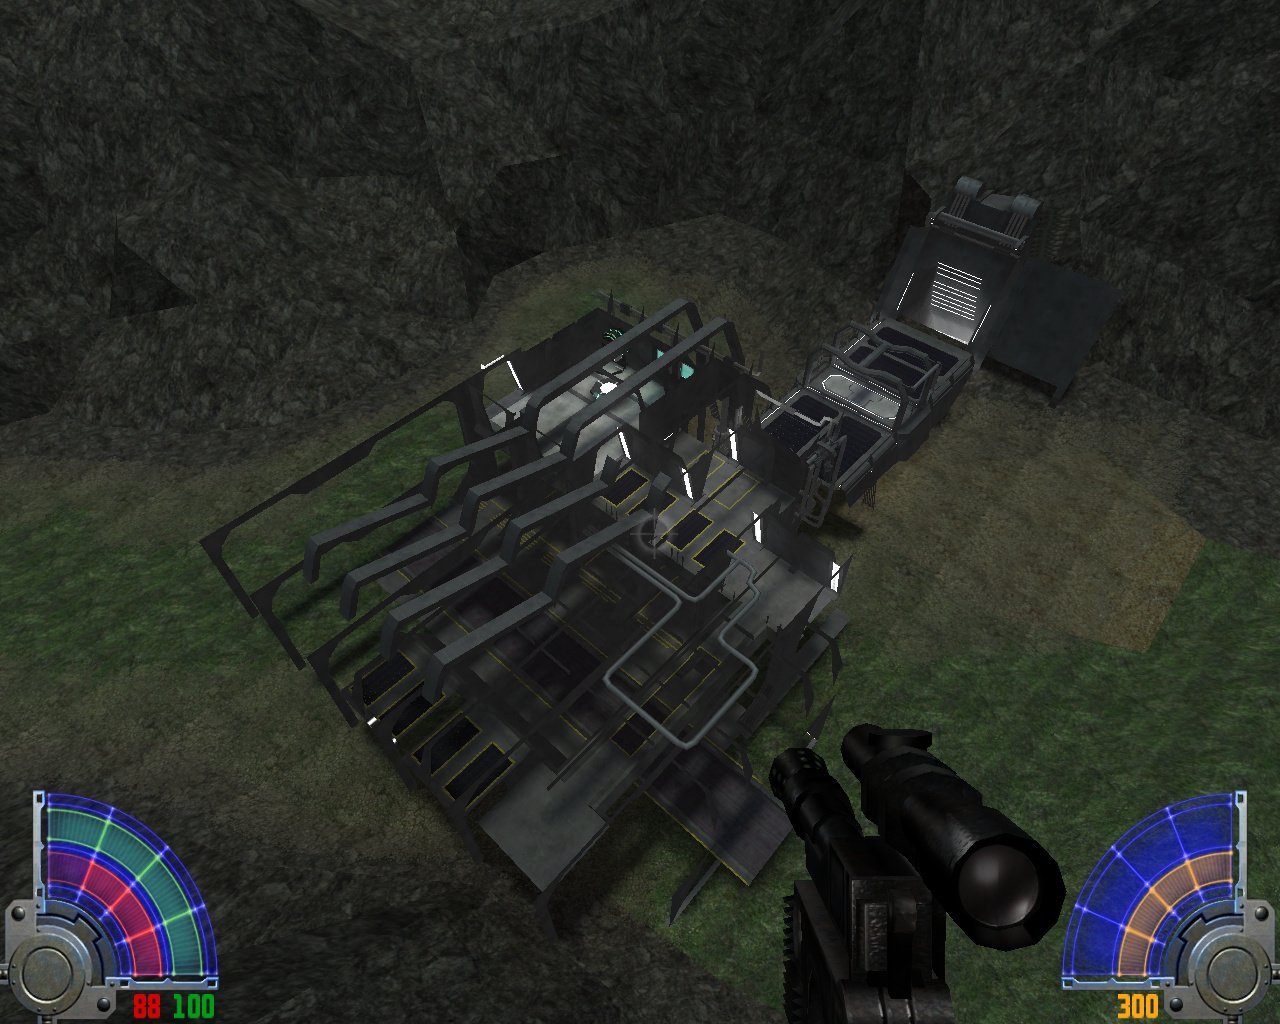
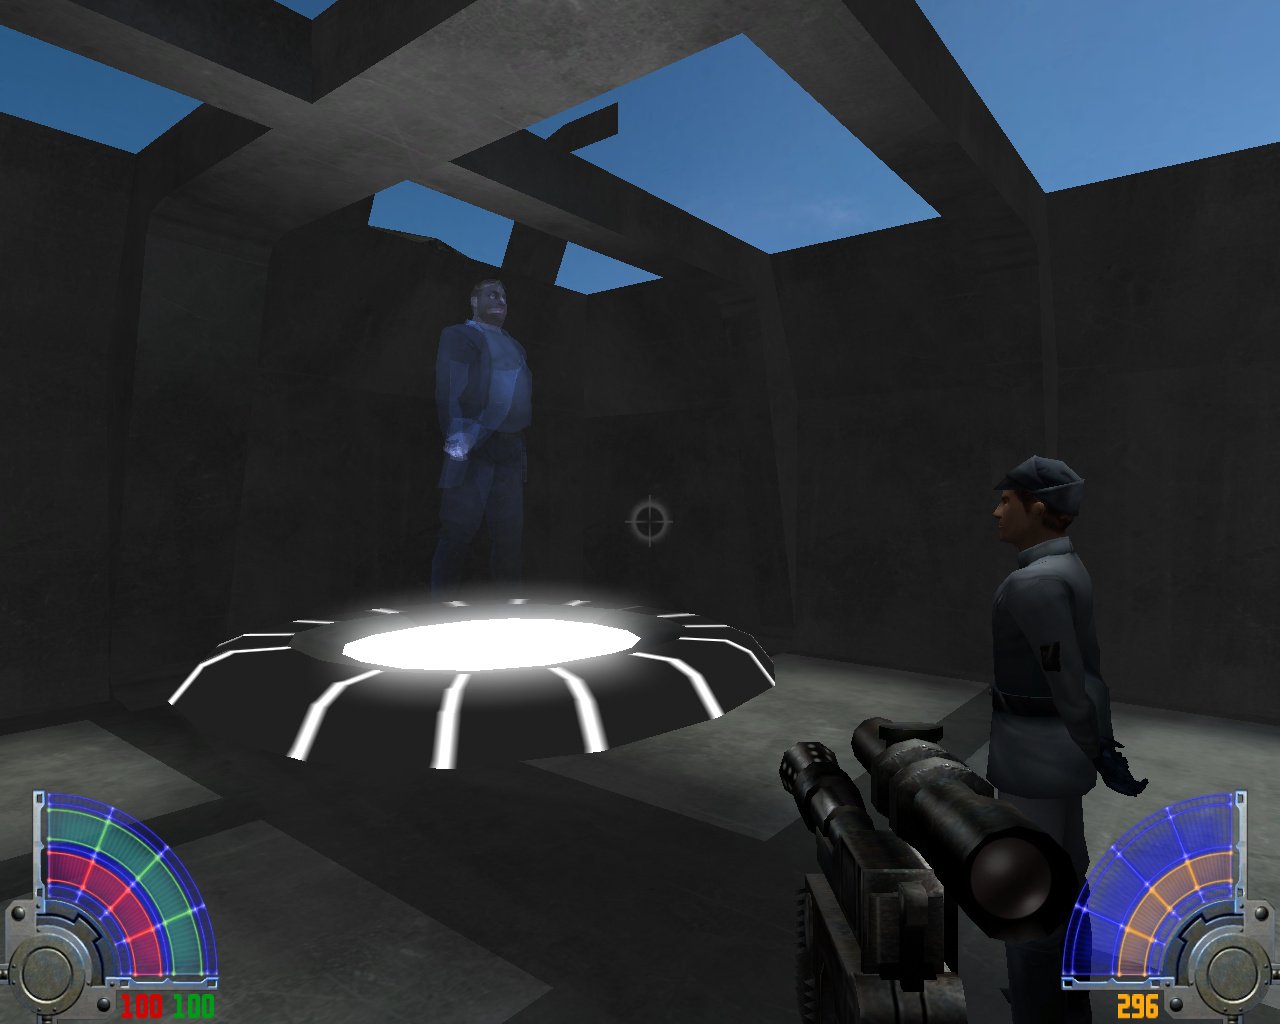
  2. some shaderwork done, not a lot this week, been toying with the cutscene, didnt like the color scheme of my screens so changed a whole bunch of shaders and textures to get more of color scheme i like,, which is more blue / greenish. Not maybe super imperial, but I ll take it. Also added some more detail work to the structure of the warehouse. I am now in the progress of making signs and decals for within the warehouse and later on the tie-hangar pic one is btw from a cutscene, hence the tping animation
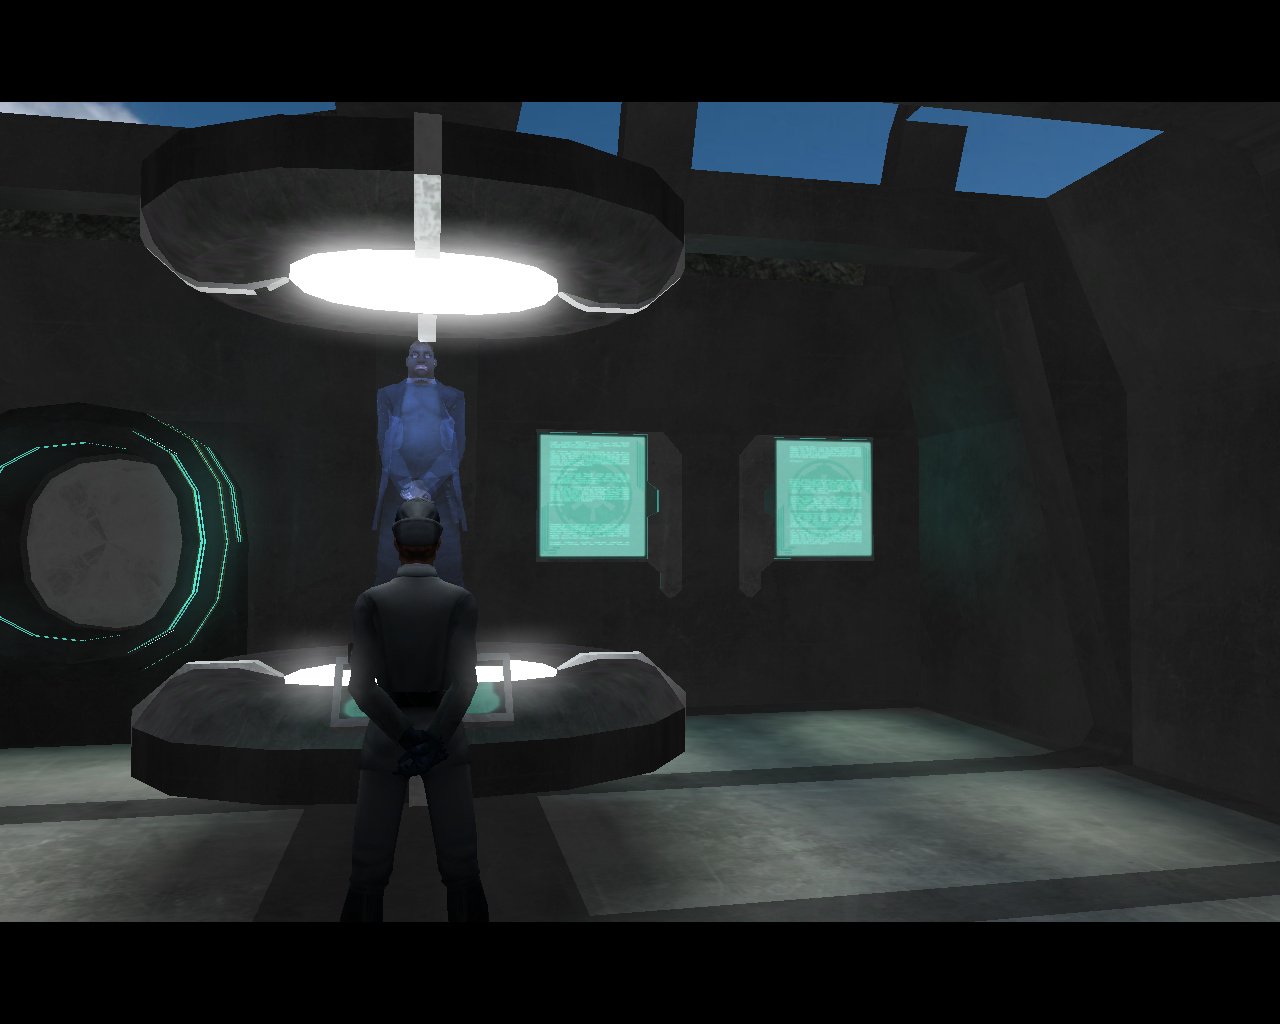
  3. i been fiddling today with the skin files and shaders to create a hologram from Rax Joris (main antagonist in this map serie) for a cutscene. Still some issue with the scan lines and messing with the opacity, but we re slowly getting there.
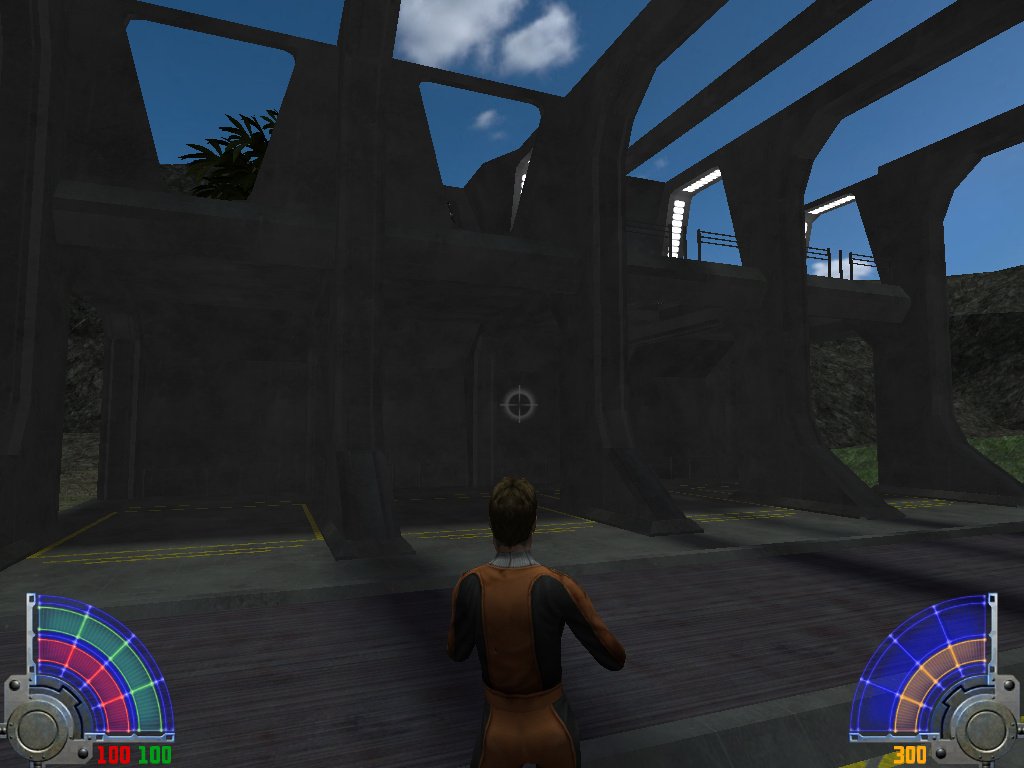
  4. i was fed up with fiddling on scripts, and decided to start with the warehouse next to the tie fighter hangar.
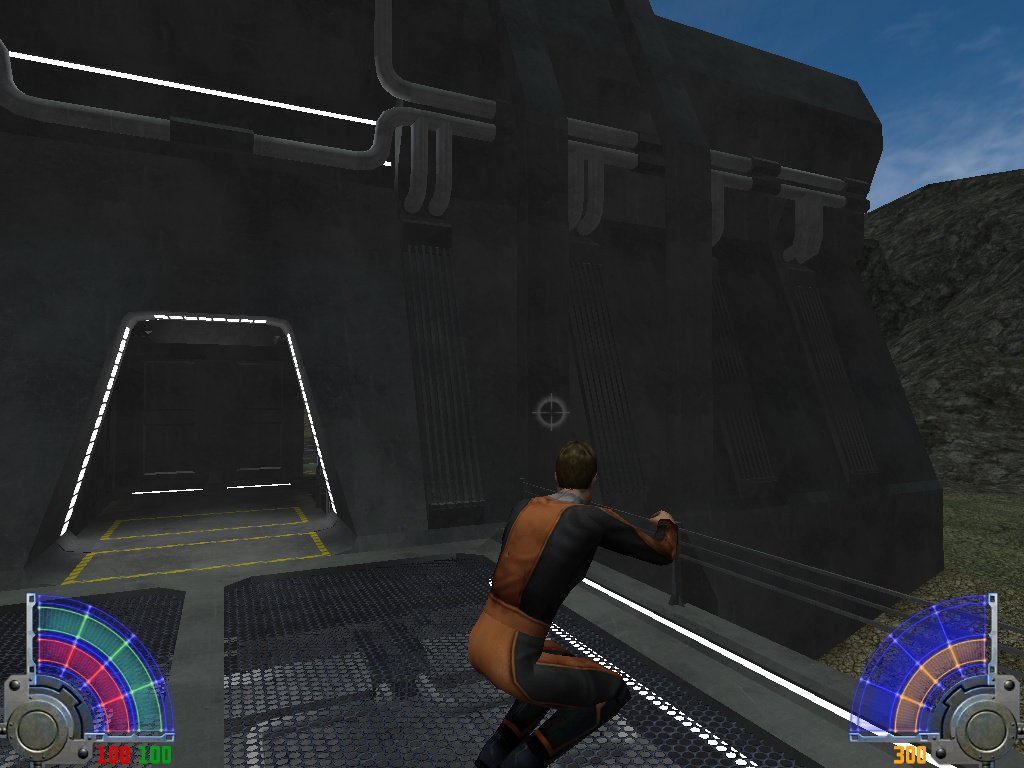
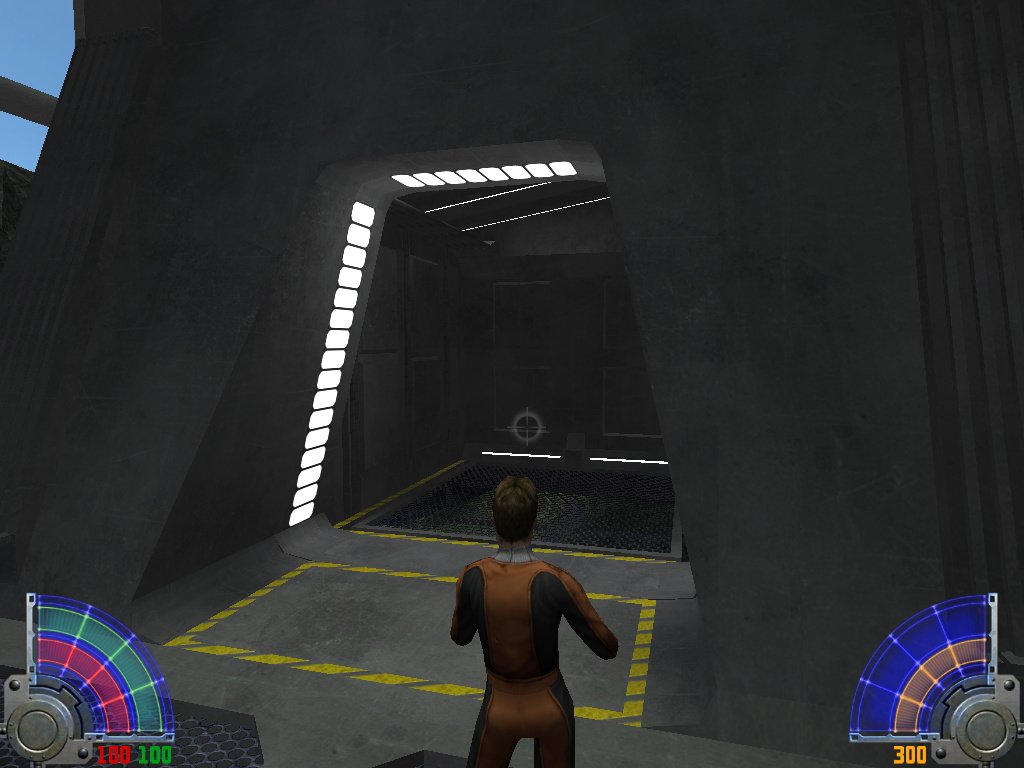
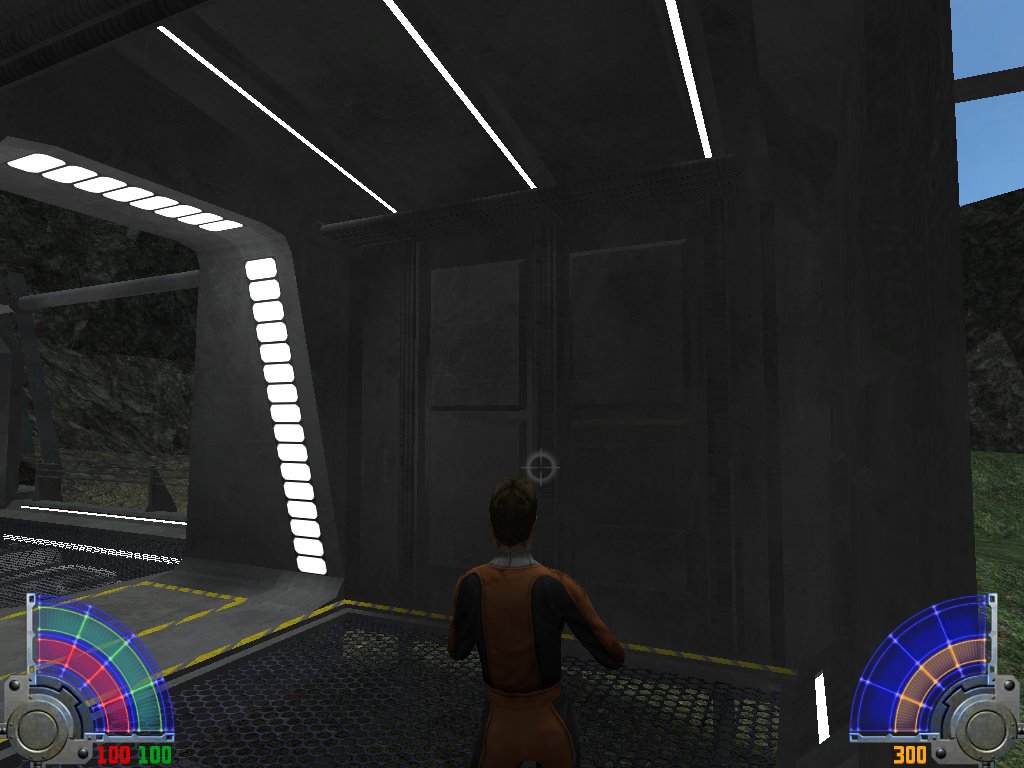
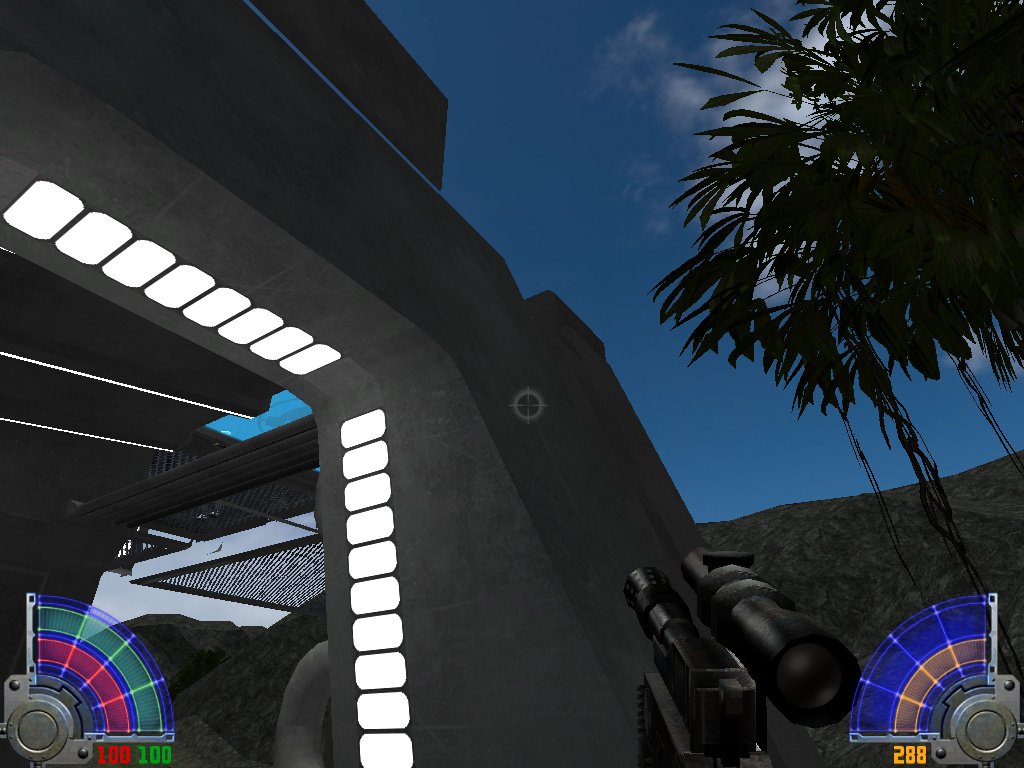
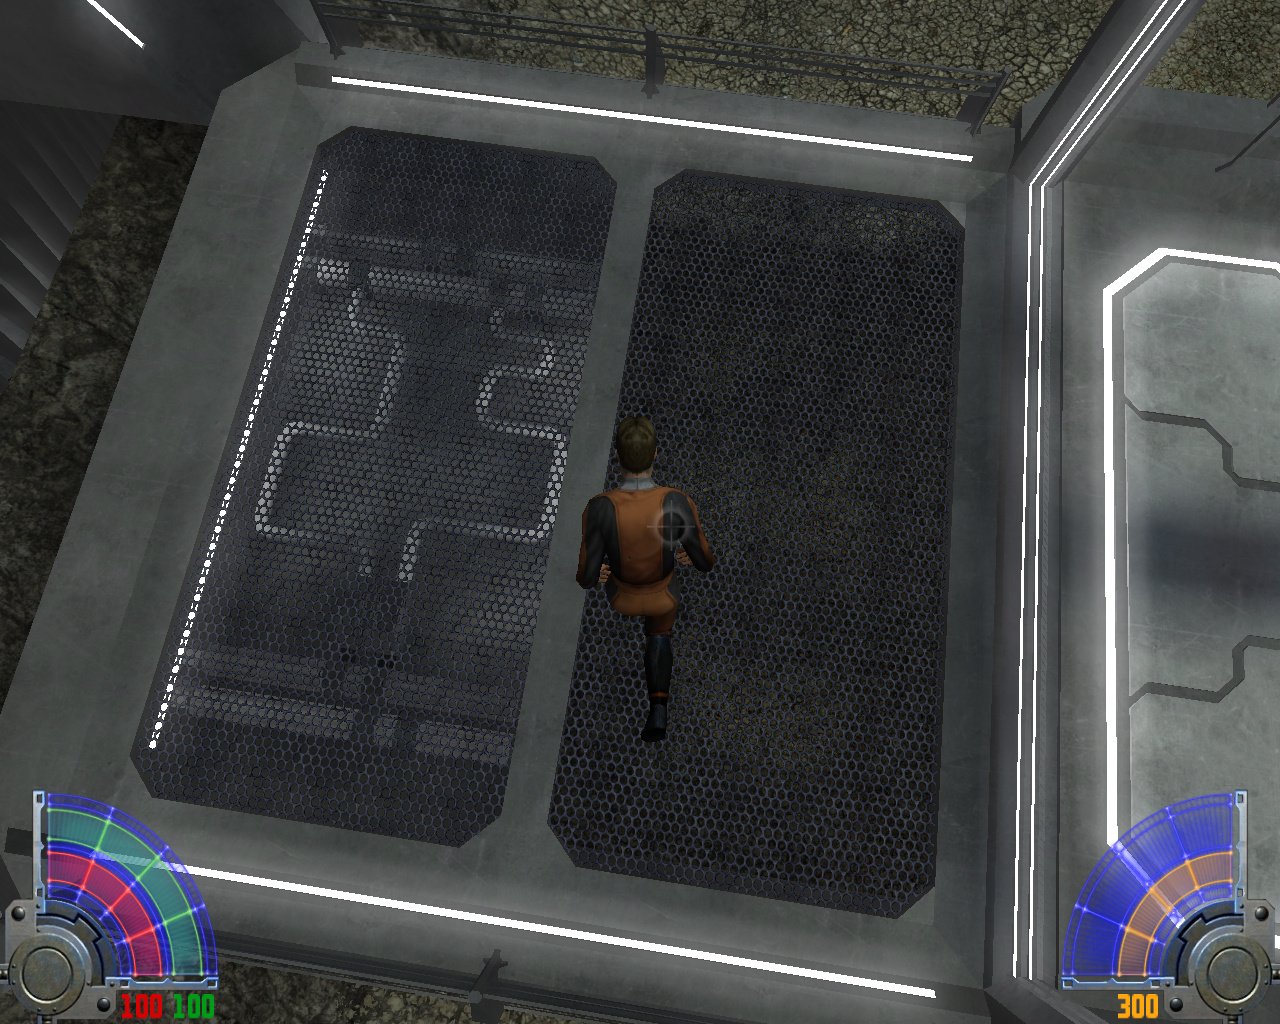
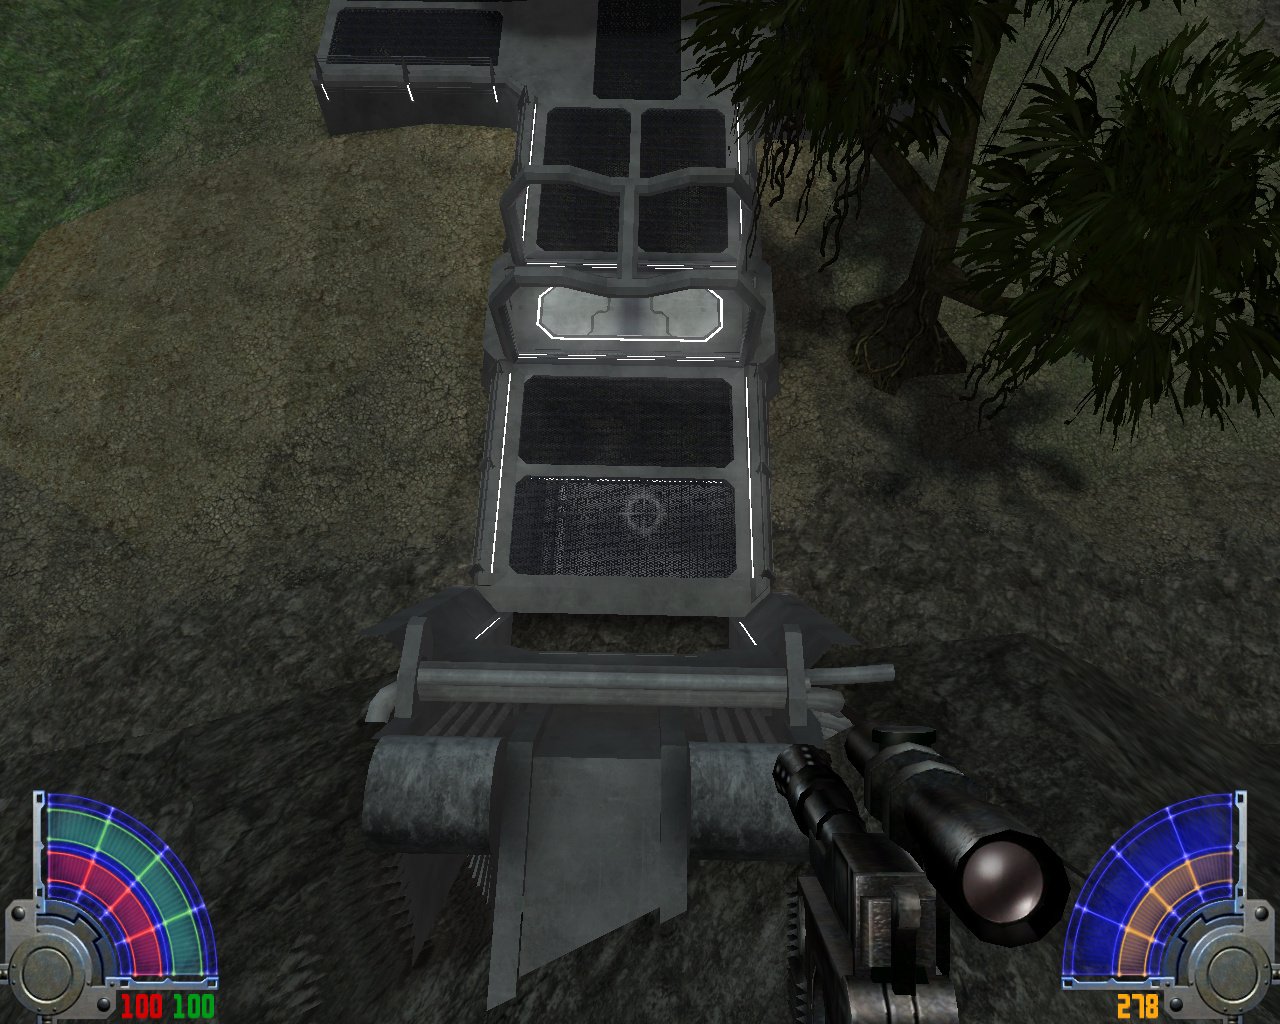
  5. I am playing a bit with geometrie while in the middle of testing new scripts and creating npc's. I changed some ideas of how i want the player to continue on the next level, which requires me some more base work. Having watched some footage of the outlaw game, i came up with the idea of the hallway, stealing the doorway idea from outlaws. Anyway, getting slanted and curved line up was a pain if you work off the grid, so i had to do this with very precision on the lowest grid, but corvering on the top part lines up now nearly (3rd pic) I just need to add now decals, and wrap up the bottom part of the new cargo station, and we then move to the cargo hangar.
  6. How do you texture your water? 1 side water, and all other caulk water? and can you post your water shader?
  7. PK3 link in your in private inbox, Wonko
  8. When i get back from my work appointment, i ll make the pk3.
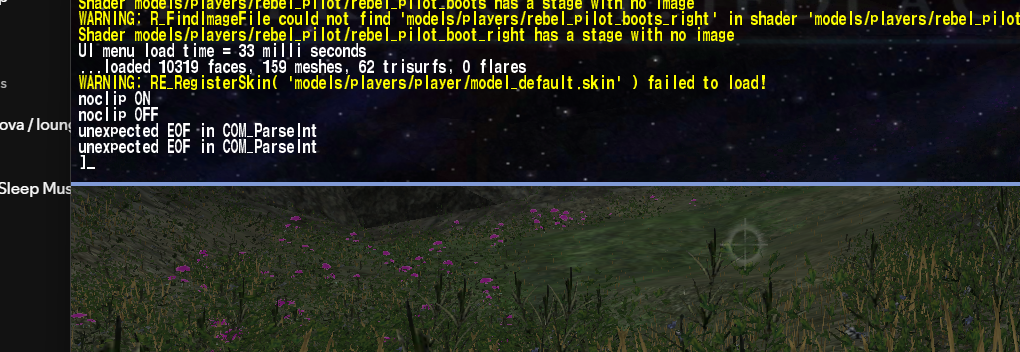
  9. I am doing some test throughs with my single player mod. When i walk through my trigger, i spawn 2 custom npc's. They are there and work just fine, however whenever i walk through the trigger_once this message also pops up in the console (and i see this above in my game), and i cant place this. Is this something i can fix, entity problem or something. I am not sure what the COM_parseInt and what it does. My npc file and the spawner
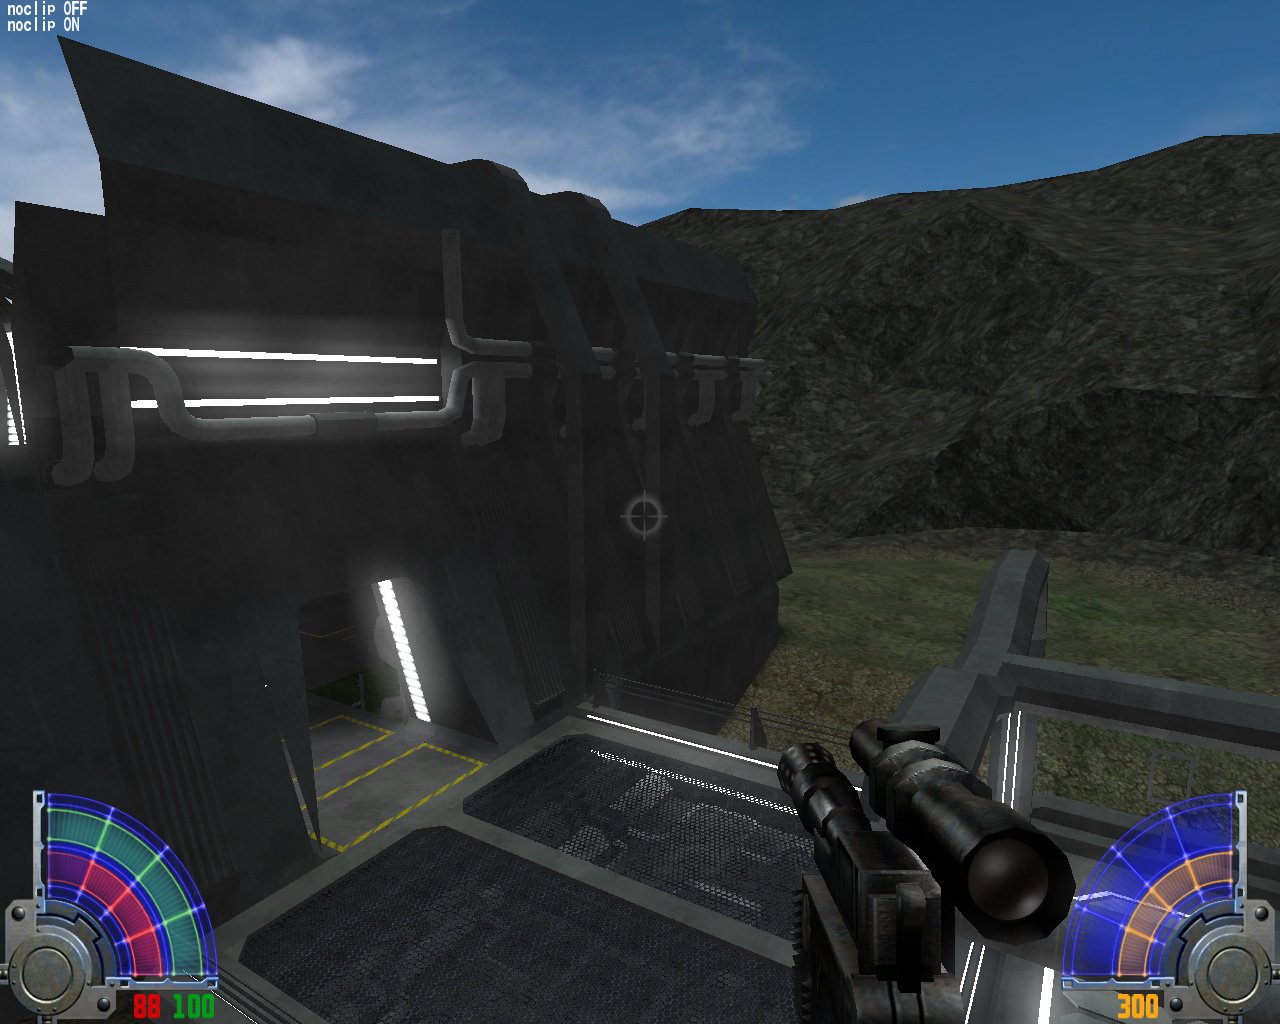
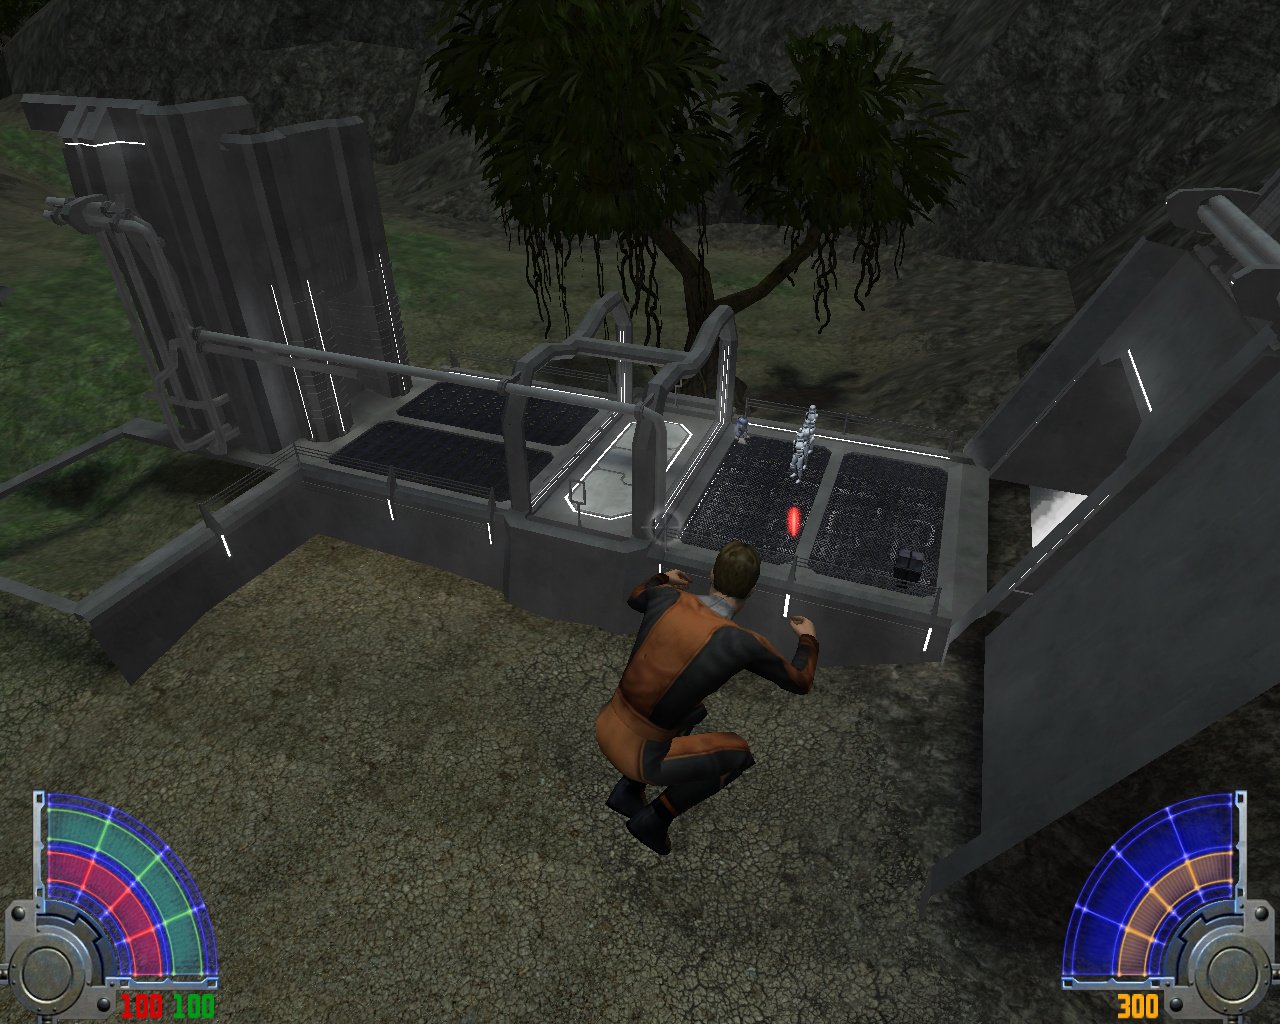
  10. Sorry, I have not looked at his project during the summer time, but back again. I decided to remove part of walkway and build a new imperial outpost building type. I am taking inspiration from several screenshots i found and rewatching Andor (in prep for season 2), and looking at the new Star Wars outlaw game screenshots to get inspiration. Anyway, not much to show, besides some initial layout. and a sad ingame shot dont mind stormie the troopers btw they are there for some objective i am scripting ...
  11. Working on it , its a an idea spirngin in my mind, but need to make some new textures for console lights
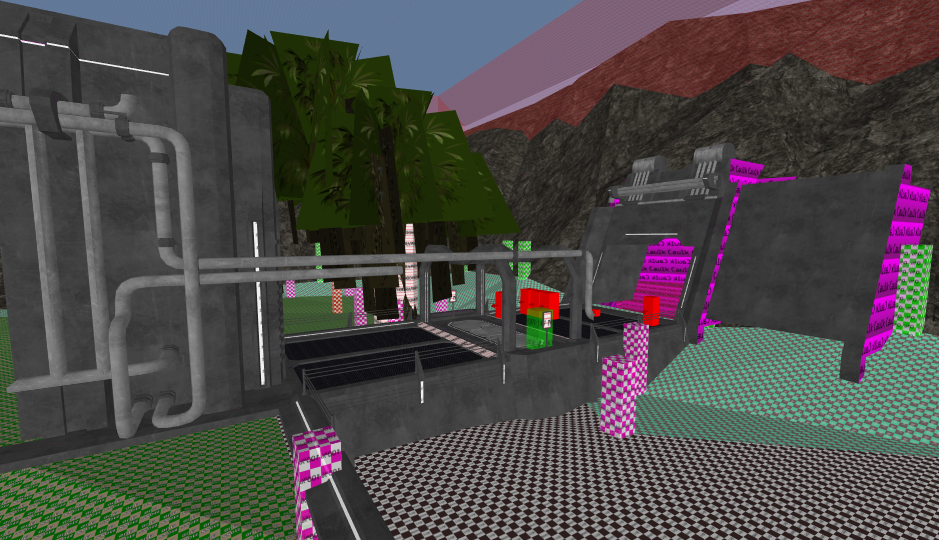
  12. Been playing a bit with idea's and testing new shaders for terrain (not implemented yet) but i need some input. I been working to fill up the area under the grate. Now you can see still through it and i decided to do some pipes, but it just looks odd, i played also arround with lightning, maybe smaller and bigger pipe combinations or something, electric grid ideas .. anyone? Bueller Bueller?
  13. I am messing at the moment with some of the looks of the Imperial installation, but i like all the tiny details i am puttinig in, sinking in the lights, making it very effective. I feel like in this stage, Imperial lighting is simply just "tl" light, same with geometric shapes, slanting to make it look more imperial
  14. Some new progress, i picked the project back up last few days, got the spawnscript fixed that bugged me before i stopped, and working on cutscenes again. Further i started again on the landing pad, this ppic was from last wednessday, i made some more progress but on my other pc, so when i get back there, i ll update it with some new screens.
  15. You can mod the saber file actualy, you can play with that, just change ready animation. My saber holds its position as you have in the Correllia map on the tram. Ahsoka_n { name "Ahsoka Normal" saberType SABER_SINGLE saberModel "models/weapons2/Ahsoka_bh/Ahsoka.glm" soundOn "sound/weapons/saber/saberon.wav" soundLoop "sound/weapons/saber/saberhum4.wav" soundOff "sound/weapons/saber/saberoff.wav" saberLength 40 saberLength2 0 saberRadius2 0 saberColor Blue numBlades 1 saberStyleLearned "fast" saberStyleLearned "strong" saberStyleLearned "medium" saberStyleForbidden "tavion" saberStyleForbidden "desann" saberStyleForbidden "single" saberStyleForbidden "dual" saberStyleForbidden "staff" saberStyle "single" singleBladeStyle "single" readyAnim "BOTH_WIND" lockable 1 lockBonus 1 }
  16. Sorry, had some family stuff going on lately and also took some time to spend with my own family. We came back yesterday from holiday, so hopefuly i can pick this back up.
  17. Lazarus

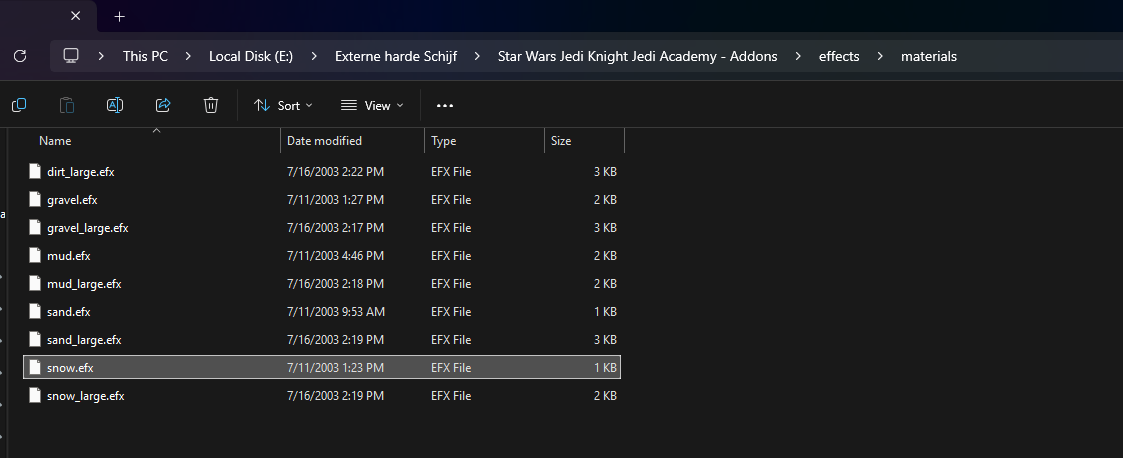
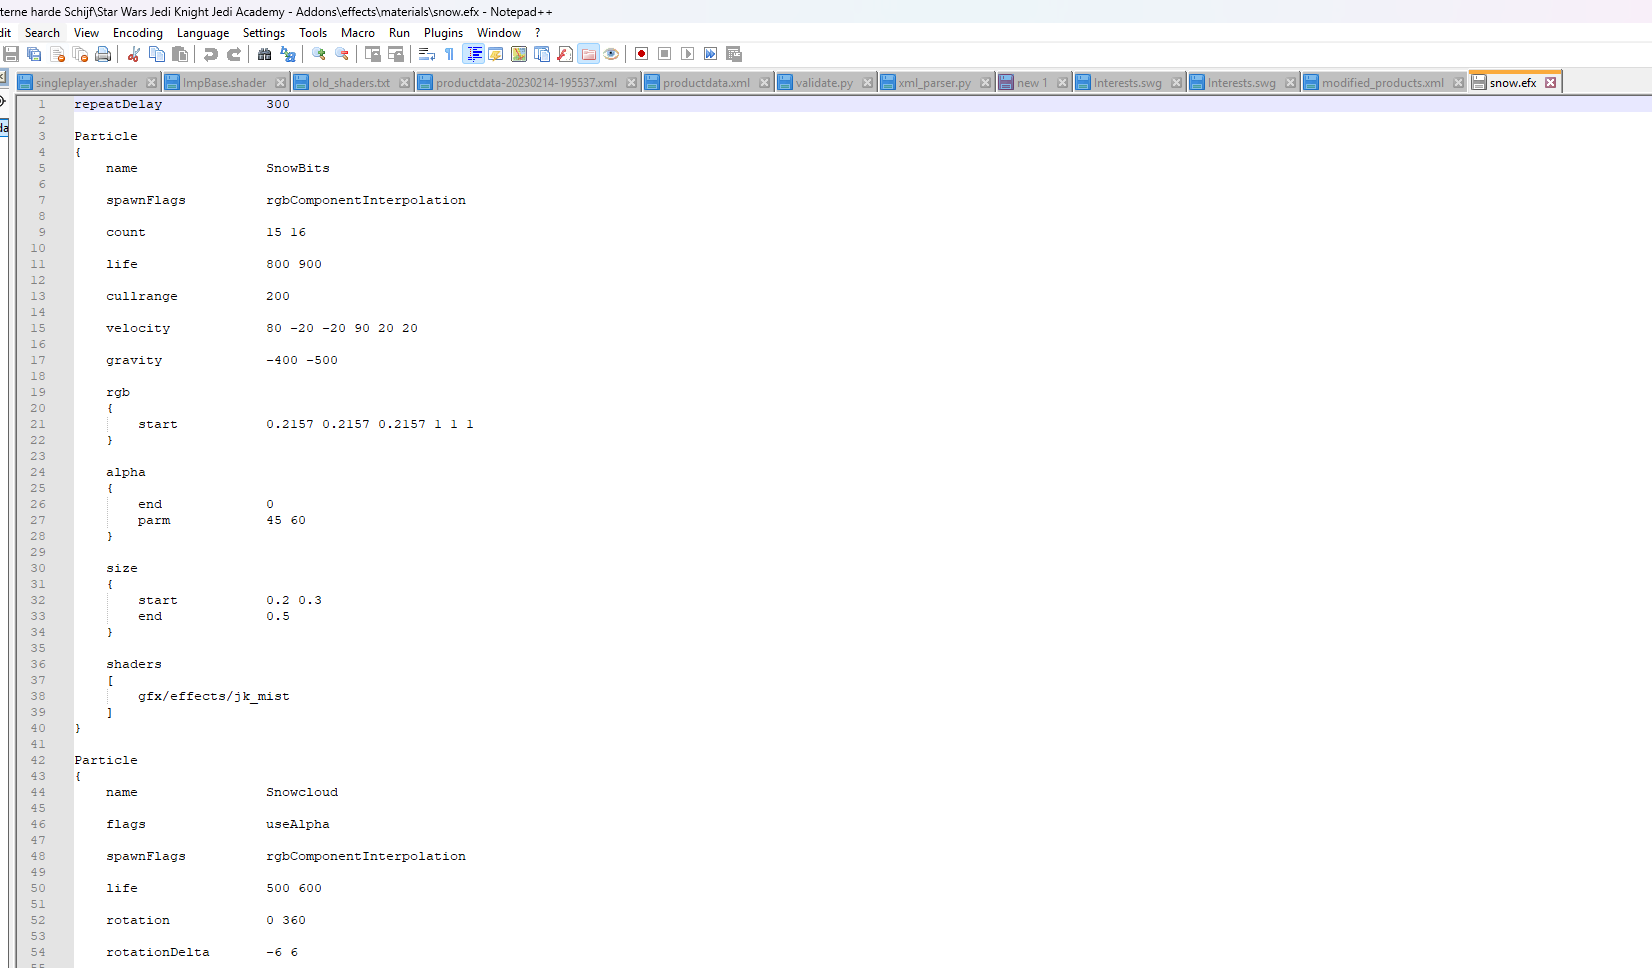
    Scripted Elevators

    Background For some, a real pain in the rear end. Some people think the func_plat will suffice when they are mapping, but for others, not so much. This is because the func_plat always returns to its starting position after it has ran its course. In my opinion, the func_plat is the easy solution, but inadequate of what we truly want. A real elevator works like this: you call, and it stays at your position until you say otherwise. I heard about techniques using the toggle function within a func_door and having that dictate your elevator. Also that has its downfall, because a door you can’t properly set to its height, so you had to drag it out and start from top, leaving an ugly brush to show. Today we are going to do it scriptwise, and its not as hard as you think. Let’s set up radiant first how we want it. Setup in GTK Radiant. Lets first preperate room. Where do you want the elevator and how is it going to run. It It a diagonal one or a vertical one, even horizontal is possible. Everything you think is not possible, is possible with scripting. In common, it may take more time and steps to create it, but if you understand the basics, it’s really easy. So I am going to do a regular vertical elevator. I create my platform and create for show a rail where it is on. On the top position, I placed a platform I can step on and off, with the same below. In between I created the elevator itself, which is nothing more than a visual representation at this point. It consists out of 2 brushes connecting to the rails, and the platform itself. For the sake of appearance, I added a nice feature which will be the button to control the elevator So now we have the visual stuff out of the way, let’s start on the entities. The very first thing you need to do now is create a brush in the middle of your platform (don’t matter about the size, but I made it in the 16 by 16 by 16(which is 2 blocks in the grid of 8). Why? This is going to be the center point for your reference in the script. Cover the brush with the origin texture out of the system map. It’s an orange texture with origin on it. You can’t miss it. That out of the way, lets transform the platform into a usable entity. We will transform the moving part in a func_static. This allows the script to move the platform towards we point it too later. Select everything you want to move, right click in the 2d screen and go to the func menu. Select the func_static. Your brushes should now turn blue lined in the 2d view. So I transformed the platform (with all the parts I want to move, including the origin brush) to a func_static. I opened the entity panel, (press N for those who do not know it) and give your func_static a script_targetname as key. As value, pick what you want. In my case, I called it the implift1. This value we need later in Behaved. Additionally you can use a soundSet for the elevator. This will be played when the platform is moving. I picked platform, but there are tons of soundSets. There is a file called sound in one of the assets. It contains all the soundSets there are in the game, thus making it easier to chose from. Scroll about 2/3 down, cause a lot are ambient sounds for the environment. Next part is the path it should run over. This is where we use ref_tags for. These ref_tags are used for a lot of things in scripting, such as camera usage, but also for reference points for moving objects, in this case, your future elevator. We are going to create 2 of them. One for the top, one for the bottom. Since my elevator as starting at the top, the placement of the ref_tag should be at the same spot as the origin brush we created earlier on. The other one should be on the bottom position of where the elevator should stop. The only thing we need to add to the ref tag is it’s targetname. In my case, the upper one is called elevatorup, and the bottom one is elevatordn as you can see in the image. So now, we simply need something to activate the elevator. Logically I would end up with a trigger, so create 4 of them (we have technically 4 positions to call the elevator from). That means up 2 and down 2. Create a brush and cover it in the trigger texture from the system textures. If you use a static button to move your elevator, don’t mind this explanation but if you use something like I did, I ll elaborate. The elevator goes down, thus it needs to be controlled down as well, since your console is sliding with you it means you need a trigger as well at the bottom part to control the elevator to send it back up. That’s why you need 4 triggers and not 3 as you would count the consoles. Convert the brushes into trigger_multiple and tick the use button box, and the facing. Give it a count of -1 (for infinite uses) a wait of 1 second (so it won’t fire so quickly) and an angle. The angle gives the direction in which you have to face to activate the button. Almost done now. We now only need to tell the triggers to move the object. Now this is where the “magic” happens. We need a 2 target_scriptrunner. One to make the elevator move up, and the other one to move it down. To separate them, I always place one up to point it to the up position, and one down, to point it to the down position. This way I don’t get confused. Create 2 and give them both a usescript key and give it a value of where the script is gonna be and what is called. In my case, I quickly named it test/elevatordn for the lower one, and test/elevatorup for the upper one. (test is the subfolder within the scripts folder). Now you need to connect the respectable triggers to their target_scriptrunners. You do that by first selecting the trigger, then the target_scriptrunner it should run and hit control-k. The following image doesn’t show it clear, but for me the setup is linked to each other. This is all that should happen in radiant. The actual scripting The rest happens somewhere else, namely in the script. In this case, we need to start scripting. If you never scripted before in your life. No worries, cause BeHaved is easy to learn. If you want to learn more about Behaved first, I suggest you look at other tutorials too, and/or follow me. So launch Behaved (find it in the tools section of your gamedata folder) and double click on the rem message (it says comment) on top of your screen (in the big right field). I always tell there what the script does, so I filled in “moves elevator to top”. You can leave it blank if you want to. So this is Behaved, isn’t that scary. Behaved is a drag and drop program that lets you easily create scripts. It has all kinds of functions, as you see, but today we only use 2 of them. The first one is the affect one, you see on the left side. Double click on it and it should move to the right field. Its now in the script. Explaining is simple for the affect. It does what it says. In this block you can specify what you want to affect. So double click on it in you workfield and it should open. Standard, it says default what to affect, but since we don’t have a func_static called default, we need to change that. I called my func_static earlier implift1, so I change default to implift1 and hit okay. Right now you see also affect has an instance. It means you can place something in the affect. Simply said, we have an affect on the implift1 and we want to move it right? Guess what: Behaved has the move option. So lets go pick … oh wait… it has 2 move options. One with <vec,vec,float> and one with <expr,expr>. We need the vector, vector, float one. So double click on that, and its being placed inside the affect (if not, drag it from your workspace inside the affect) and double click on it. Now this is the hardest part of this whole tutorial. Sometimes you miss a step here and this is what screws you up. The first vector is actually where we need to move to. However, we don’t use a vector for this. Remember I told you earlier to place a origin brush? Now we need that one. So hit the expr button next to the left vector and suddenly you screen is expanded You see as 3rd option actually the origin. Hey, we used that! So hit the tag button next to it, and your first box becomes different. It will say “tag( "targetname", ORIGIN)”. Technically for us it says: “Bring the origin of our affect to the targetname.” Since we have an origin brush (which is the origin of the elevator) we are on the right track. Now we need to fill in that targetname. And that’s where we have the ref_tags for. Those are the reference points for the script. So we tell the script that the targetname is “elevatorup” (remember, we are working on the script to go up). You can ignore now the middle box, but we need to fill in the float. The float is right now the amount of miliseconds it will take to reach that destination. Right now it will move from begin point to end point in 1 second. That is very fast, so I changed it to 5 seconds, which is 5000 miliseconds. Hit ok, and that’s it. Don’t forget to check if your quotationmarks are still there around the targetname (elevatorup). If not, it will give an error. This was it. Hit save and save it to the folder and name you specified in your target_scriptrunner. Hit compile and you are done…. Wait, we only can go up now. Lets do the exact same thing but then to go down. But why invent the wheel again. Hit Saveas, save it as the other script we defined to go down for in the other target_scriptrunner and just change one thing. Do you know which one? That’s right. We need to change the targetname in the move section. Change it to the targetname you gave to the ref_tag that is in the lower position (for me that is elevatordn). Save it and compile it. Done and done. Change your comment on the top if you set it too. Compile your map and enjoy. Extra: if you put this in a multiplayer map, it would be smart to add a delay of 6 seconds at least to the target_scriptrunner. This will make sure people don’t start messing with buttons while you are using the elevator and renders the scriptrunner inactive for 6 seconds after use.
  18. It was another script that interfeared.. see post above. i just updated it.
  19. ~~Its being trigger at start, so when player spawns it should run this script, which works fine. It's just that i have the feeling it cant switch to cam03, thus borking out, yet the ref tag is there. The weird thing is, is that this did work a couple of days ago... i am starting to wonder if i corrupted an entity or something. (okay i replaced some ref tags, but that didnt seem to work, also renamed them all to make sure i was working with right ones and didnt label them wrong, by adding the sc1 for scene 1 in front of it - image was taken before the rename, also modified this in the script) rewrote part of the script to see if that worked. No effect //Generated by BehavEd rem ( "Cinematic 001 - SP1 Cove" ); rem ( "- 1 ship lands" ); rem ( "-2 Fornan walks, talking to himself" ); rem ( "---" ); affect ( "fake_player_cin1", /*@AFFECT_TYPE*/ FLUSH ) { set ( /*@SET_TYPES*/ "SET_INVISIBLE", /*@BOOL_TYPES*/ "true" ); wait ( 6000.000 ); set ( /*@SET_TYPES*/ "SET_INVISIBLE", /*@BOOL_TYPES*/ "false" ); set ( /*@SET_TYPES*/ "SET_WALKING", /*@BOOL_TYPES*/ "true" ); set ( /*@SET_TYPES*/ "SET_NAVGOAL", "cin001_end" ); wait ( 8000.000 ); remove ( "fake_player_cin1" ); } affect ( "xwing", /*@AFFECT_TYPE*/ FLUSH ) { use ( "cin001_speaker01" ); move ( $tag( "xwing_begin", ORIGIN)$, < 0.000 0.000 0.000 >, 100.000 ); wait ( 250.000 ); move ( $tag( "xwing_end", ORIGIN)$, < 0.000 0.000 0.000 >, 5000.000 ); rotate ( < 0.000 340.000 0.000 >, 5000.000 ); wait ( 5000.000 ); use ( "cin001_speaker01" ); sound ( /*@CHANNELS*/ CHAN_AUTO, "sound/sp/sp1_cove/vehicles/xwing/land.wav" ); } rem ( "---" ); rem ( "Set up camera move down with the ship" ); camera ( /*@CAMERA_COMMANDS*/ ENABLE ); camera ( /*@CAMERA_COMMANDS*/ MOVE, $tag( "sc1_cam01", ORIGIN)$, 0 ); camera ( /*@CAMERA_COMMANDS*/ PAN, $tag( "sc1_cam01", ANGLES)$, < 0.000 0.000 0.000 >, 0 ); camera ( /*@CAMERA_COMMANDS*/ ZOOM, 40.000, 0 ); wait ( 1000.000 ); camera ( /*@CAMERA_COMMANDS*/ MOVE, $tag( "sc1_cam02", ORIGIN)$, 3000 ); camera ( /*@CAMERA_COMMANDS*/ PAN, $tag( "sc1_cam02", ANGLES)$, < 0.000 0.000 0.000 >, 3000 ); wait ( 5000.000 ); camera ( /*@CAMERA_COMMANDS*/ MOVE, $tag( "sc1_cam03", ORIGIN)$, 0 ); camera ( /*@CAMERA_COMMANDS*/ PAN, $tag( "sc1_cam03", ANGLES)$, < 0.000 0.000 0.000 >, 0 ); wait ( 1000.000 ); camera ( /*@CAMERA_COMMANDS*/ MOVE, $tag( "sc1_cam04", ORIGIN)$, 4000 ); camera ( /*@CAMERA_COMMANDS*/ PAN, $tag( "sc1_cam04", ANGLES)$, < 0.000 0.000 0.000 >, 4000 ); wait ( 5000.000 ); camera ( /*@CAMERA_COMMANDS*/ DISABLE ); edit - I figured it out. It was a borked entity. . I run 2 script at launch, so i have 2 target_scriptrunners. One where I set up the skills, and one that runs the cutscene. I used the spawnscript one to duplicate for a new script runner. Appearantly something went wrong there and it got the name of the new script that indeed stops the camera after 5 seconds. Renamed the script again, and it worked as it should be. Learn from me, always use new entities NetRadiant and copying entities appearantly need some carefull examination.
  20. //Generated by BehavEd rem ( "Cinematic 001 - SP1 Cove" ); rem ( "- 1 ship lands" ); rem ( "-2 Fornan walks, talking to himself" ); rem ( "---" ); affect ( "fake_player_cin1", /*@AFFECT_TYPE*/ FLUSH ) { set ( /*@SET_TYPES*/ "SET_INVISIBLE", /*@BOOL_TYPES*/ "true" ); } affect ( "xwing", /*@AFFECT_TYPE*/ FLUSH ) { move ( $tag( "xwing_begin", ORIGIN)$, < 0.000 0.000 0.000 >, 100.000 ); wait ( 250.000 ); move ( $tag( "xwing_end", ORIGIN)$, < 0.000 0.000 0.000 >, 5000.000 ); rotate ( < 0.000 340.000 0.000 >, 5000.000 ); } rem ( "---" ); rem ( "Set up camera move down with the ship" ); camera ( /*@CAMERA_COMMANDS*/ ENABLE ); camera ( /*@CAMERA_COMMANDS*/ MOVE, $tag( "cam01", ORIGIN)$, 0 ); camera ( /*@CAMERA_COMMANDS*/ PAN, $tag( "cam01", ANGLES)$, < 0.000 0.000 0.000 >, 0 ); camera ( /*@CAMERA_COMMANDS*/ ZOOM, 40.000, 0 ); use ( "cin001_speaker01" ); wait ( 1000.000 ); camera ( /*@CAMERA_COMMANDS*/ MOVE, $tag( "cam02", ORIGIN)$, 3000 ); camera ( /*@CAMERA_COMMANDS*/ PAN, $tag( "cam02", ANGLES)$, < 0.000 0.000 0.000 >, 3000 ); wait ( 4000.000 ); use ( "cin001_speaker01" ); sound ( /*@CHANNELS*/ CHAN_AUTO, "sound/sp/sp1_cove/vehicles/xwing/land.wav" ); camera ( /*@CAMERA_COMMANDS*/ FADE, < 0.000 0.000 0.000 >, 0.000, < 0.000 0.000 0.000 >, 1.000, 1000 ); wait ( 1000.000 ); affect ( "fake_player_cin1", /*@AFFECT_TYPE*/ FLUSH ) { set ( /*@SET_TYPES*/ "SET_INVISIBLE", /*@BOOL_TYPES*/ "false" ); set ( /*@SET_TYPES*/ "SET_WALKING", /*@BOOL_TYPES*/ "true" ); set ( /*@SET_TYPES*/ "SET_NAVGOAL", "cin001_end" ); wait ( 8000.000 ); remove ( "fake_player_cin1" ); } camera ( /*@CAMERA_COMMANDS*/ FADE, < 0.000 0.000 0.000 >, 1.000, < 0.000 0.000 0.000 >, 0.000, 1000 ); camera ( /*@CAMERA_COMMANDS*/ MOVE, $tag( "cam03", ORIGIN)$, 0 ); camera ( /*@CAMERA_COMMANDS*/ PAN, $tag( "cam03", ANGLES)$, < 0.000 0.000 0.000 >, 0 ); wait ( 1000.000 ); camera ( /*@CAMERA_COMMANDS*/ MOVE, $tag( "cam04", ORIGIN)$, 4000 ); camera ( /*@CAMERA_COMMANDS*/ PAN, $tag( "cam04", ANGLES)$, < 0.000 0.000 0.000 >, 4000 ); wait ( 5000.000 ); camera ( /*@CAMERA_COMMANDS*/ DISABLE ); So whenever the ship lands in this part use ( "cin001_speaker01" ); sound ( /*@CHANNELS*/ CHAN_AUTO, "sound/sp/sp1_cove/vehicles/xwing/land.wav" ); camera ( /*@CAMERA_COMMANDS*/ FADE, < 0.000 0.000 0.000 >, 0.000, < 0.000 0.000 0.000 >, 1.000, 1000 ); wait ( 1000.000 ); It shuts down the camera (cam disable), and i cant seem to figure out why? I see all actions happening with the fake player, but the camera's suddenly dont work anymore. https://youtu.be/H6g2j0uroyI
  21. it always saves as txt file, running the compiler should create an ibi file with it .... did you set it up correctly. Its important that it knows where ibize.exe is, since thats the compiler. I i am not sure about the source safe ini btw in my stuff, but i never have encountered an issue.
  22. Sorry for late reply on this thread. lol. I decided for a while to work from upstairs, but summer makes it unbearable there, so i figured lets try laptop again Never mind, figured it out, it was not the distribution that failed me, it was the openJK installation. APpearantly something went wrong in the original files, i grabbed a new set, and re-replaced the files for openJK. Worked like a charm.
  23. before (pic from 2021 when i wrapped this part up) today (june 1st, 2023, after wrapping up the middle island) find the difference
  24. Yes it's absolutely build from scratch with everything happening in my mind. Now although the topic is about 6 years old, The revamp i did I started roughly 2/3 years ago, but you got to consider that i worked on this off and on, meaning sometimes i worked a couple of days on it, left it alone again for months (i have 3 children and they take up a lot of time). I have not counted the hours in it, and I do this also to keep up again with my skills. I must add that my progress curve increased ever since i swapped editor last year. NetRadiant makes alot up for the short comings of GTK Radiant, that I was using (and i was using still 1.4.0, since I ran that back in 2004/2005.
  25. Actually, the trigger here is here the wintergear // Generated by DEvaheb v1.0 // Decompiled from file "E:\Externe harde Schijf\Star Wars Jedi Knight Jedi Academy\GameData\base\scripts\base_scripts\hoth3\setup.ibi" affect ( "player", FLUSH ) { set ( "SET_WINTER_GEAR", "true" ); } Now i can be mistaken, but I think the Jaden model comes already with winter gear that is triggered on the variable winter gear. You could actually maybe Frankenstein a model with Kyle and the winter clothing and just swap it to that specific model for that map.
×
×
  • Create New...