Model Prep:
1. Create or import your object. Creation of a UVMap is assumed - either in another program or in Blender. However, for testing the capability of this tool, I show you where I've used 'Mark Seam' (Ctrl + E menu) and then hit 'Unwrap' (U menu).
2. Go into edit mode and select all. Open the image you want in the UV/Image editor window. Make sure everything looks ok.
Note that the game only supports one UV image per object. In Blender, keep all faces with different textures as different objects (when exported as .md3 with all objects selected, they will form just one .md3).
3. Select all edges that you want to be sharp and select 'Mark Sharp' (Ctrl + E menu). If the object already appears blocky, press T to bring up the tool shelf in the 3D Viewport and hit Smooth.
4. Add an Edge Split modifier (shown bottom left) and disable Edge Angle for ultimate control. This is of course optional if you know what you're doing, but generally speaking and on more complex models, you will need to do the sharp edges manually.
5. Apply the modifier before export.
6. Triangulate the mesh.
MD3 Prep:
7. Assign a Custom Property in the Object tab, and give it the name 'md3shader' and assign it's property as 'textures/blah/blah'.
Note, no file extension. This should be the name of the shader or texture you want applied to that object.
8. Export the MD3. Note that for map objects, you need to type out the exact file path (including extension) in the MD3 Name box. Make sure to save the .md3 into the correct folder.
9. At the time of writing, the exporter often fails the first time. If it does this (see error in image) just go into edit mode, select all, triangulate again, and try exporting it. It should work...


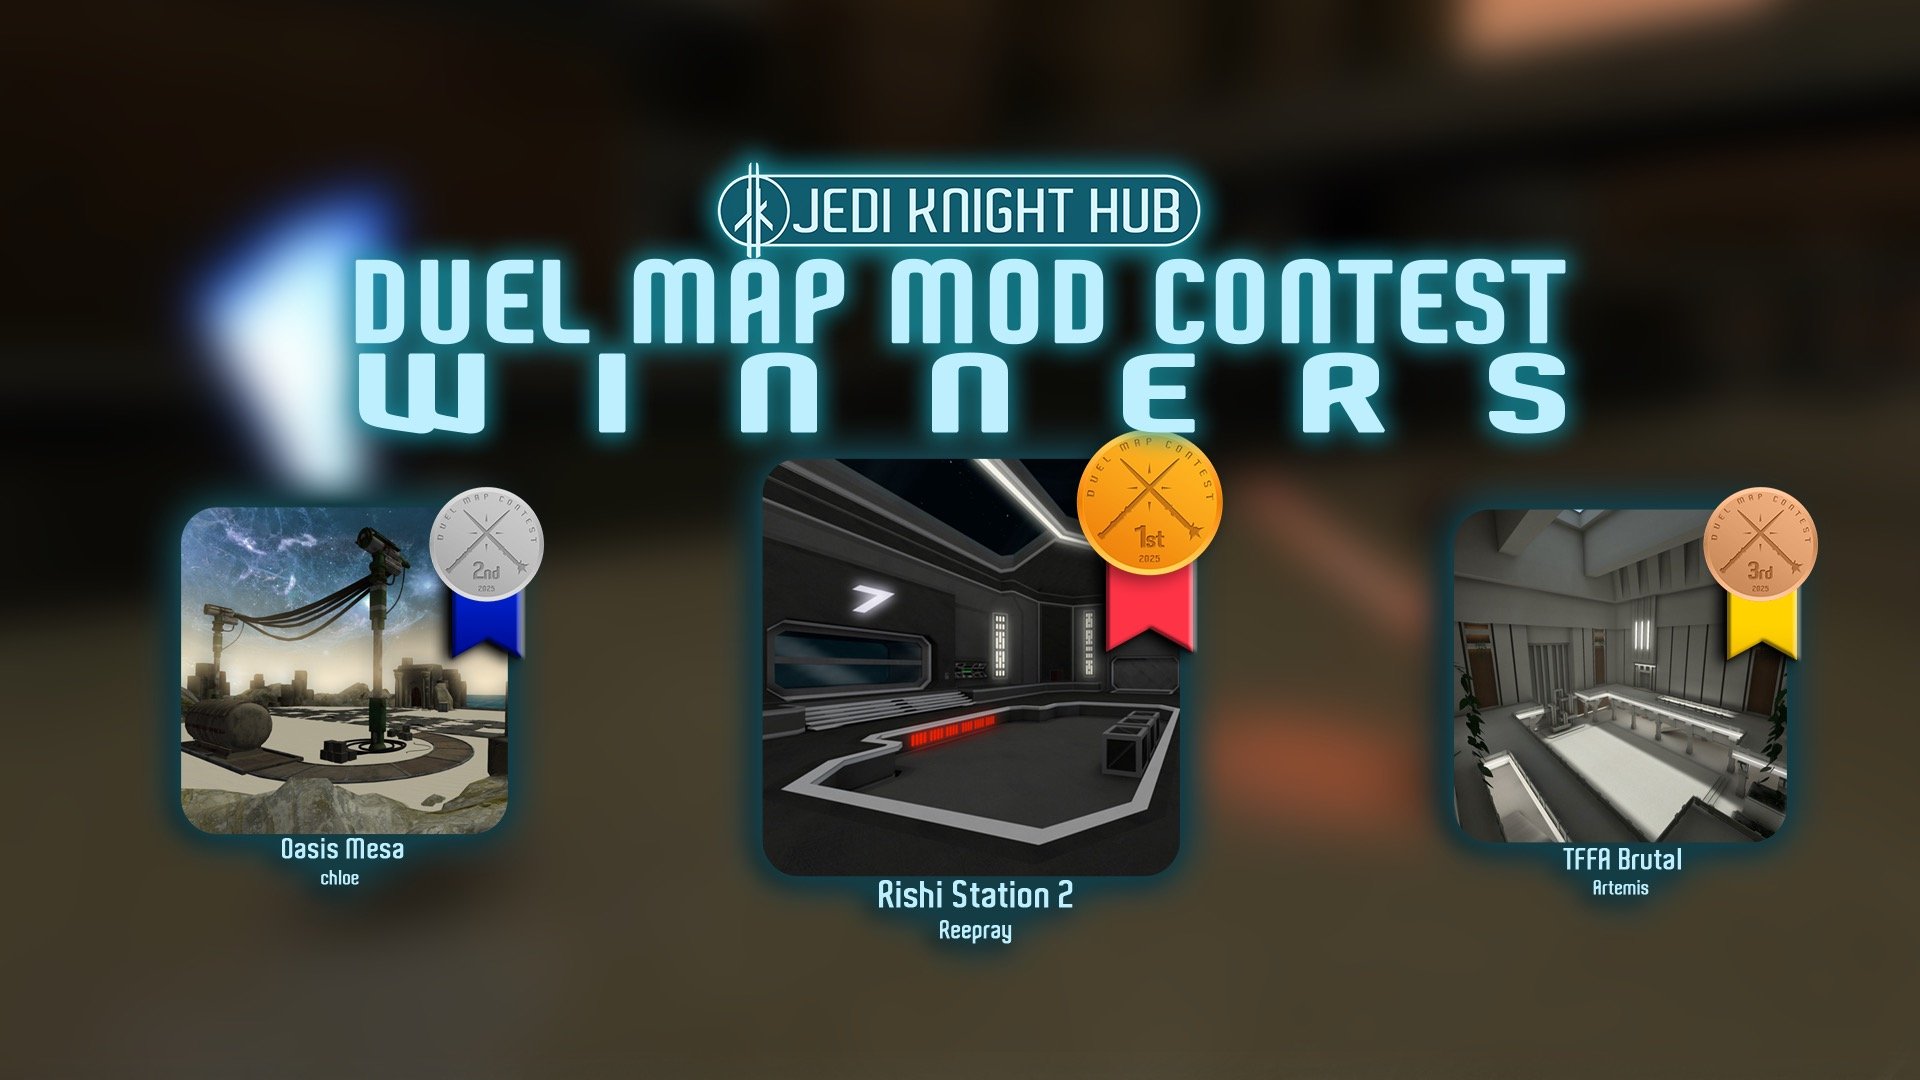
 1st Place Winner Reepray with Rishi Station 2,
  2nd Place Winner chloe with Oasis Mesa, and
  3rd Place Winner Artemis with TFFA Brutal! Amazing submissions by everyone!


Recommended Comments
There are no comments to display.
Create an account or sign in to comment
You need to be a member in order to leave a comment
Create an account
Sign up for a new account in our community. It's easy!
Register a new accountSign in
Already have an account? Sign in here.
Sign In Now