
 1st Place Winner Reepray with Rishi Station 2,
  2nd Place Winner chloe with Oasis Mesa, and
  3rd Place Winner Artemis with TFFA Brutal! Amazing submissions by everyone!


The Textures
First, we take care of the textures we will need. The texture "water" is a normal .jpg (RGB-mode saved in 'Baseline-Standard').
mymap/water.jpg (scaled 50%)
"env_water" is our environment texture and also a .jpg (RGB-mode saved in 'Baseline-Standard'). To get it we have have to build a testmap. That testmap should consist of the skybox (with lighting), a skyportal (if needed) including your basic/background terrain and an info_playerstart. After compile you start the map (devmap [mapname]) and type following two commands into the console:
cg_draw2d 0
cg_drawgun 0
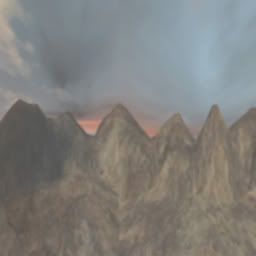
After that you change into first-person view and take 2 screenshots of the map. Just go in the middle of your map and take a shot after every 90° while turning around.
Hint: if possible, avoid very bright spots on those screenshots.
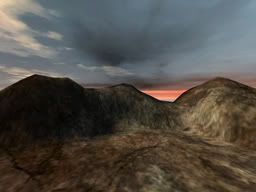

shot1 (scaled 25%) shot2 (scaled 25%)
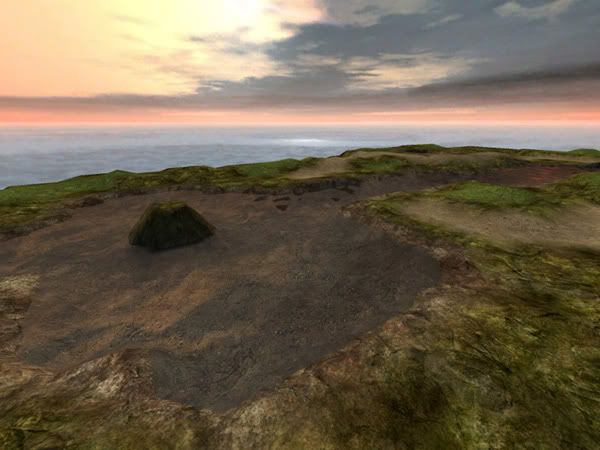
Now merge both pics together by using a graphics program such as Photoshop. Then scale it till it has a texture format (1024x1024 pixel should be more than enough). Now use the Motion Blur Filter to make it unsharp. Last but not least bright it up around 75% and save it as .jpg (RGB-mode saved in 'Baseline-Standard').
mymap/env_water.jpg (scaled 25%)
The Shader
textures/mymap/water // name of the texture (in Radiant)
{
qer_editorimage textures/mymap/water // picture of the shader in Radiant
sort banner // depth sorting of shaders
qer_trans 0.8 // transparency in Radiant
surfaceparm nonsolid // surface is non solid
surfaceparm nonopaque // surface is transparent
surfaceparm trans // surface is transparent 2
surfaceparm water // water characteristics
q3map_material Water // water characteristics 2
tessSize 128 // divides Brushes into 128x128 Brushes
deformvertexes normal 0.1 1.85 // undulation
deformvertexes wave 128 sin 0 1 0.3 2 // undulation 2
{
map textures/mymap/water // basic texture
blendFunc GL_ONE GL_SRC_ALPHA // transparency
rgbGen const ( 0.5 0.5 0.5 ) // weakens colors 50%
alphaFunc GE128 // filters black
alphaGen const 1.0 // alpha-channel attitudes
tcmod scroll 0 -0.25 // texture scrolling (optional)
}
{
map textures/mymap/env_water // environment texture (reflectivity)
tcGen environment // makes this an environment stage
rgbGen const ( 0.5 0.4 0.4 ) // (red stronger than green & blue)
blendFunc GL_ONE GL_ONE // transparency
}
{
map textures/mymap/env_water // environment texture (reflectivity)
tcGen environment // makes this an environment stage
blendFunc GL_DST_COLOR GL_ZERO // transparency
}
{
map $lightmap // lightmap stage
blendFunc GL_DST_COLOR GL_ZERO // transparency
}
}
Pack shader and texturen into a .pk3 and move it into your base folder.
Important: don't forget the shaderlist.txt (...base/shaders) entry!
Ingame
To use the new water, create a brush and give it the "system/caulk_water" texture. Now select the visible sites of the brush (ctrl+shift+alt+left mous button in 3d window) and give those the new "mymap/water" texture.

Now it's time to compile.


Recommended Comments
There are no comments to display.
Create an account or sign in to comment
You need to be a member in order to leave a comment
Create an account
Sign up for a new account in our community. It's easy!
Register a new accountSign in
Already have an account? Sign in here.
Sign In Now