
 1st Place Winner Reepray with Rishi Station 2,
  2nd Place Winner chloe with Oasis Mesa, and
  3rd Place Winner Artemis with TFFA Brutal! Amazing submissions by everyone!


Part I : Mitre
In Radiant terminology, to perform a mitre means to join two brushes at a point by beveling them. The advantages of which include less verts/tris/poly's what have you. In the long term this means better performance. This step is very commonly overlooked. For example, this is where two walls meet. While it could work this way, it's not efficient. Let's have a look at why.

Compiling the walls in this manner, and loading up the map with developer 1 and enabling r_showtris shows us the inefficiency of this design choice.
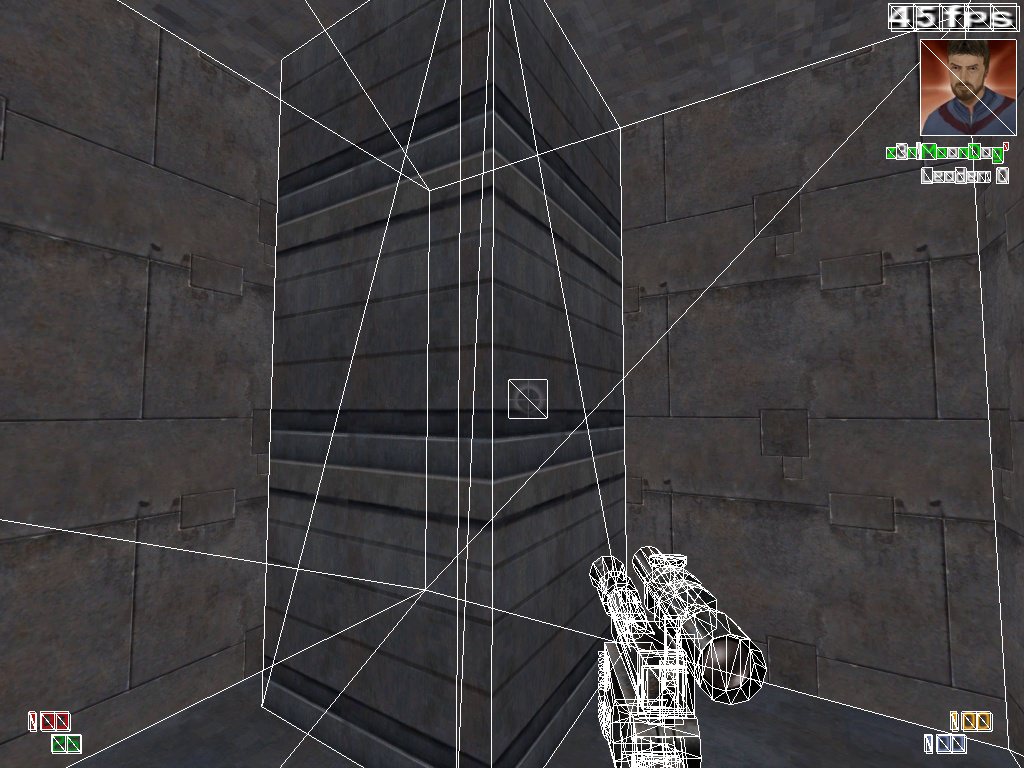
Because we are using two faces of the brush unnecessarily, we have created 6 total triangles as defined by 8 vertices. In this very simple design, that doesn't mean much. If you add that up at the end of a larger, more complex design however, performance will take a hit. To save ourselves trouble, we will "mitre" the brushes together. Step one of the process. Select one of the two brushes. Extend the brush until it occupies the same space as the other brush.


After you have done so, select both brushes at the same time. Enable the clipper (X) and select clip points at the joining corners. In Radiant you can hold control and then right click to quickly place clip points on the grid. (Except for 1.5.0)

Press Shift+Enter to split both brushes along the clip line. Select the two walls and hide them with (H). You'll be left with the two trash brushes we wish to delete. Select them and delete them.

Unhide the walls with Shift+H. You'll notice that both walls have been beveled at the place where they join. This eliminates the use of a face unnecessarily. This means we have eliminated 2 vertices and two triangles.

Let's compile it and take a look! Remember, type /developer 1 in the console followed by /r_showtris 1. You'll notice that we've eliminated two triangles.

Finally, let's look at the two design choices side by side. You'll notice a significant difference.
8 Vetices, 6 Triangles = Bad
6 Vertices, 4 Triangles = Better
***
An alternate(and way better/faster) method to using the clipper is to use vertex manipulation mode(V), or edge manipulation mode(E). In most cases these are faster. If you are comfortable with these two methods, it will streamline your design process that much more. Be careful with your manipulations in this manner as it could trash a brush quite easily.
Here is a gif displaying use of Edge mode manipulation to achieve the same desired outcome.

*********
Additional Examples:


Recommended Comments
There are no comments to display.
Create an account or sign in to comment
You need to be a member in order to leave a comment
Create an account
Sign up for a new account in our community. It's easy!
Register a new accountSign in
Already have an account? Sign in here.
Sign In Now