
General Concepts 101: Lesson 7
Adding More Rooms
So you can build one room, eh? And now you want MORE? You greedy SOB...
In any case, adding a second room also seems a little complicated, but it really isn't. Many tutorials will suggest you use a tool called "CSG Subtract." I will then be the first to tell you that "CSG Subtract" is evil. Oh yes, evil. Never use CSG Subtract under any circumstances. It can cause far more problems - as severe as preventing a compile from functioning - than it is worth.
The following tutorial does not describe a difficult thing to do. Adding a second room isn't hard, it's just difficult to explain. So, to explain, I will be using primarily images of Radiant. Please excuse the large number of graphics. (:
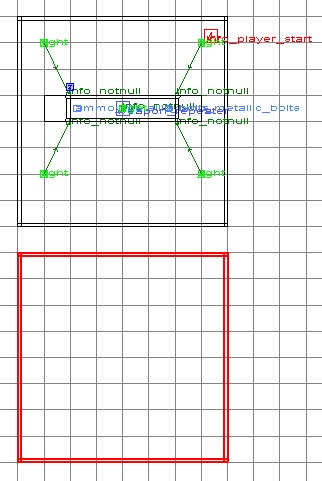
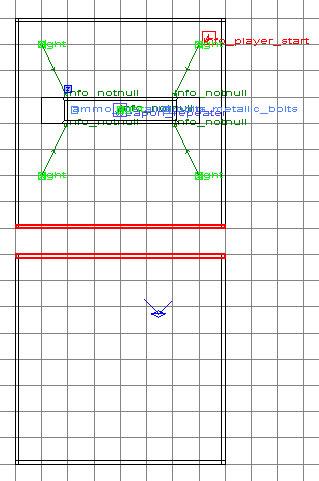
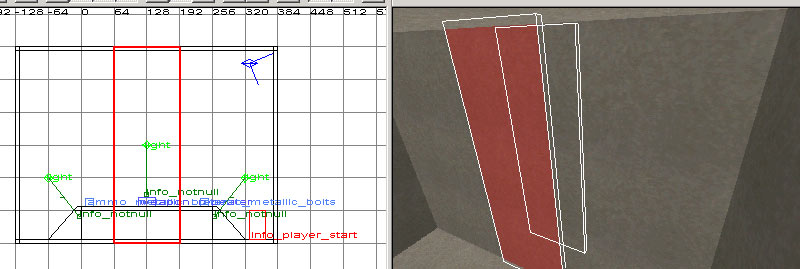
First of all, make your second room. Refer to the fourth lesson if you've forgotten how. Make sure (for the sake of this tutorial) that the new room has the same dimensions as the first (512x512x384) and it exactly 64 units to the south of the first room. Make sure that you have a grid setting at 8 (press the 4 Key) before you hollow out the brush so that the size of the walls are the same. You should have something like this:
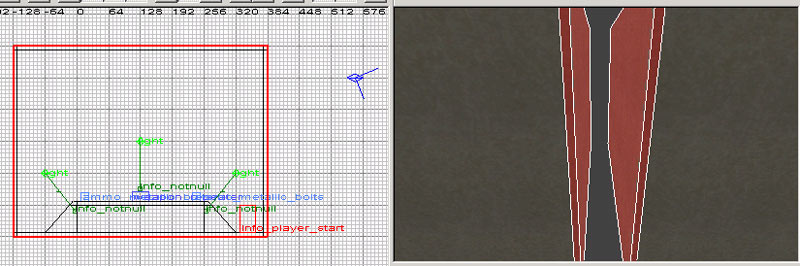
Next, in the 3D View, select the two walls closest to each other that you're trying to connect.
Flip the 2D View so that you can see the entire width of the wall.
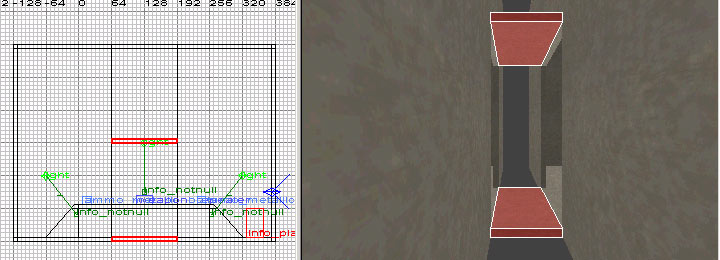
Now, cut the walls with the Clip Tool along where the left and right sides of the door will be. Use Shift+Enter for the final cut on each clipping to keep both sides of each cut.
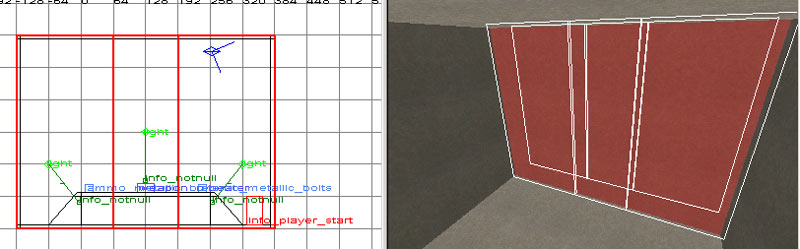
Next, deselect all walls and just select the center two walls.
Cut the walls with the clip tool along where the top edge of your doorway/hallway will be. Clip it so that the top of the brushes remain, while the lower halves of the brushes are cut away.

Now all you need to do is put four brushes in the four gaps around the doorframe...

Add a light in the new room and compile!
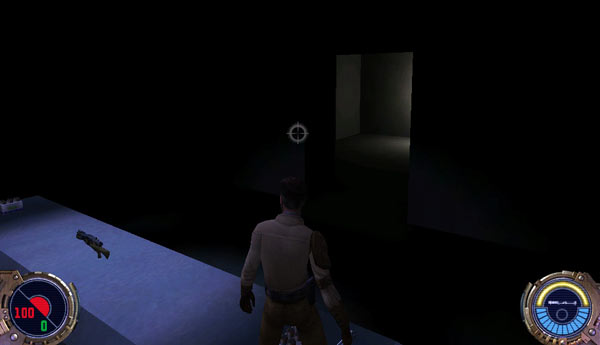
And there you have it! A second room. (: