Shaders 365: Lesson 3
Custom Skyboxes
Shaders can be used to create a skybox for your map. A skybox is a set of
textures that are displayed at an infinite distance in the game world. They
consist of 6 images, an up, down, left, right, front, and back. These images
should be named with the same name at the starting for all six images and
then put the direction suffix after that. To explain that by showing you, it
should look like:
Once you have these 6 images you will need to make a shader that will make them display correctly in the game world. Below is a simple sky shader.
| 01 02 03 04 05 06 07 08 09 10 11
|
textures/float/thesky { qer_editorimage textures/skies/sky surfaceparm nomarks surfaceparm sky surfaceparm noimpact surfaceparm nodlight notc q3map_nolightmap skyParms textures/float/thesky 1024 - }
|
-
Lines 1-14: These lines list how it is displayed in the editor and give it its attributes. It is the body of the shader.
Line 01: This path is what the game uses to determine what shader to use. This will also affect what texture set this shader gets loaded as. This does not have to be the same name as the texture you are using in the shader.
Line 02: This bracket is very important. It opens the main body for the shader commands.
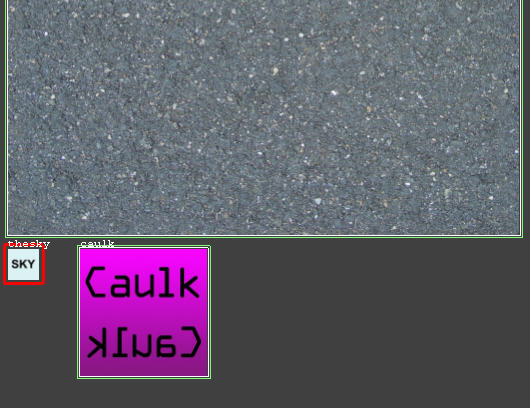
Line 03: This line only effects what gets displayed in the editor. It is needed for a sky shader because it shows a small image that says SKY instead of a really big image.
Line 04: This will make the it so that no decal marks from explosions and laser blasts are left on the sky box.
Line 05: This tells the engine that this is sky.
Line 06: This will stop explosions from impacting on this surface. Such as missiles and lasers.
Line 07: This line stops dynamic lights from hitting the skybox.
Line 08: This will make the texture uncompressed. This is good because skyboxes can look pretty nasty if the images are compressed. I use TGAs which solve the problem entirely but at a cost of texture memory and PK3 space.
Line 09: This will tell the engine that this shader does not have a lightmap stage.
Line 10: This tells the engine where to find the 6 images. You should put the path to your skybox images here. The next number is the cloud height. This is only used if you have a cloud layer. So leave it at whatever. The last - is non-functional. It was supposed to be like a portalsky kind of but it never got coded.
Line 11: This bracket will close the shader. It is
very important that you remember this. If you forget it, it will mess up all
the shaders that are in front of it.
That explains to you how to make a basic sky shader that does not emit
light. Now if you want a sky that emits light then you will need to add a
few more lines to the shader.
Lets take a look at the same shader that is shown in above with the added
lines to make it emit light.
| 01 02 03 04 05 06 07 08 09 10 11 12 13 14 15
|
textures/float/thesky { qer_editorimage textures/skies/sky q3map_lightRGB 0.923568 0.959106 1.000000 q3map_skylight 200 5 surfaceparm nomarks surfaceparm sky surfaceparm noimpact surfaceparm nodlight q3map_lightmapFilterRadius 0 8 q3map_sunExt 1.000000 0.997119 0.857641 350 142 35 1 2 notc q3map_nolightmap skyParms textures/float/thesky 1024 - }
|
-
Line 04:This tells the engine what color to make the light that the sky will cast. These are the Red Green Blue color values. This has nothing to do with the suns color. No number here should exceed 1. If you need help open Radiant make a light entity and press "K" with the light entity selected. Mess with the color picker and in your entity window you will see the value conversion for that color.
-
Line 05: This is the sky light. The first value is the amount of light that the sky will cast. This should be lower than the amount of light that the sun is casting. This is only a filler light to make outdoor lighting seem a bit more real looking. The second value is the iterations. This value should not go below 3 if you want quality and speed in your compiles. Higher numbers make it better looking but a longer compile.
-
Line 10: This line applies a filter blur to the lighting. This is good if you are looking to make shadows smoother. I found it to add a nice touch to any outdoor map. It also helps get rid of the stadium light affect.
-
Line 11: This line actually makes the shader emit a sun light. Please note that this is q3map_sunExt and not just q3map_sun. Q3map_sunExt is much better. The first 3 values are Red Green Blue color values. The 4th value is the amount of light that it casts. This should be higher than the q3map_skylight value. The 5th line is the sun's heading. This is the direction that the light will come from in a degree value. The 6th line is the sun's altitude. This is also in degrees ranging from 90 to -90, 0 being the horizon and 90 up and -90 down. The 7th value is the deviance, the number of degrees for the half-shadow. General values up to 2 or 3 are acceptable. The real sun has a solid angle of about half a degree. The 8th value is the samples, which are the number of random jitters distributed over the solid arc (~16).
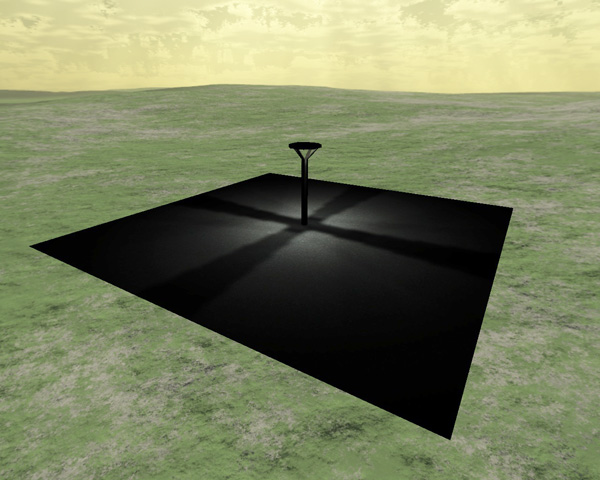
Now that you have your shaders, lets test them!
The first one will not emit light. This is good if you are using entity suns
(which I strongly dislike) or if you have a night map. The second shader,
which has a sun, is good for simulating a real sun. Shader suns always look
better than entity suns.
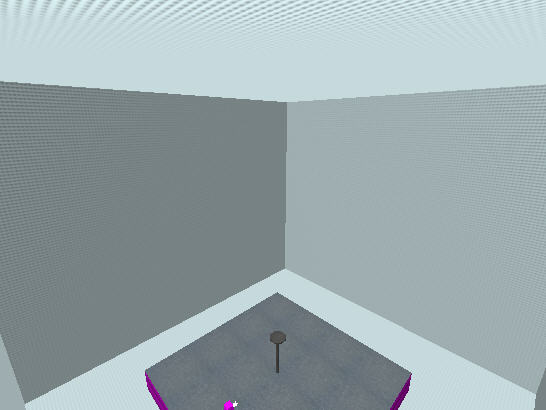
You will need to add the shader to the shaderlist.txt and then load it in
the textures menu. You should see a texture that is blue with the words SKY
on it. This is the one you want. Make a box around your map and texture the
insides with this texture. DO NOT use each picture from your skybox to do
this.
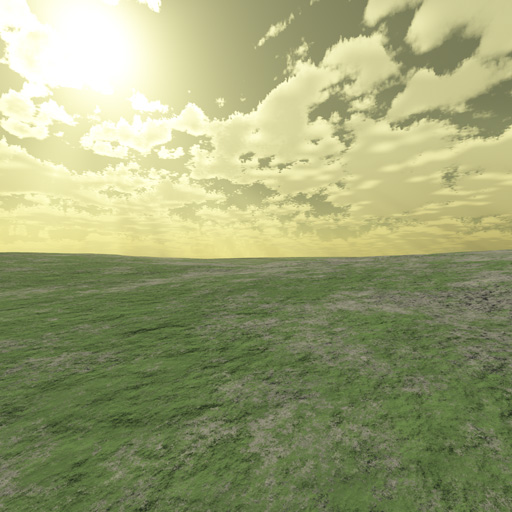
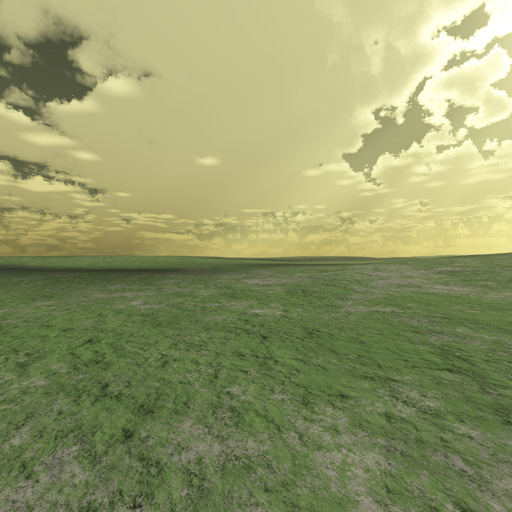
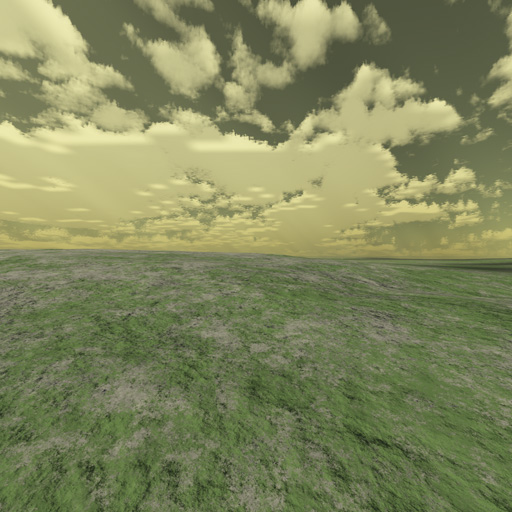
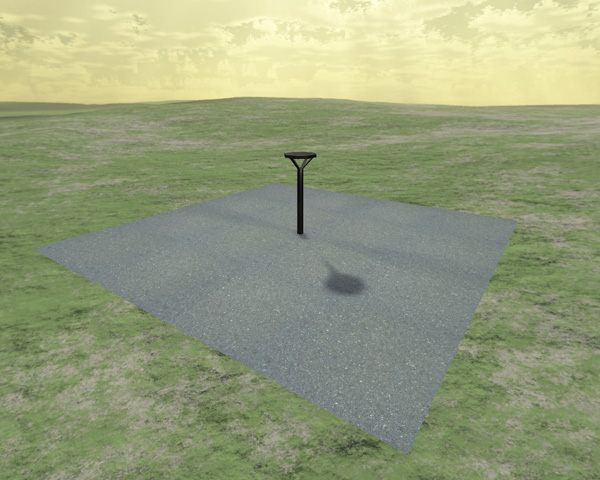
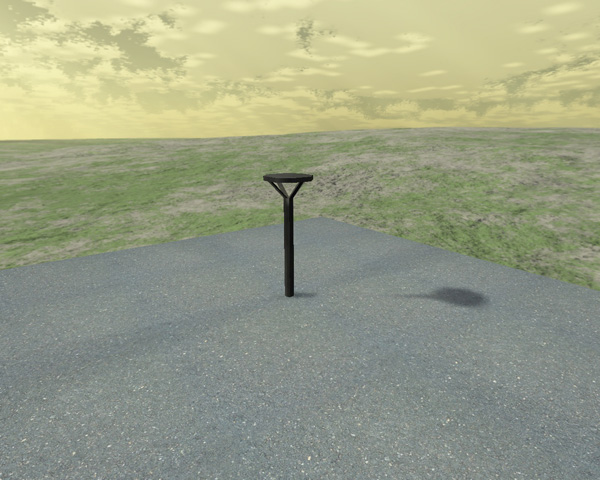
Here are the results:
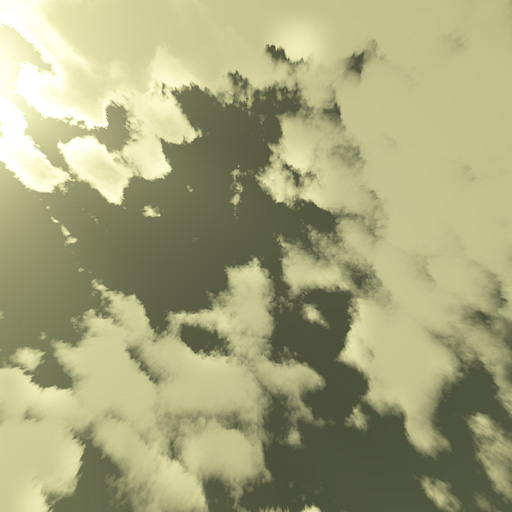
These are without a sun in the shader.
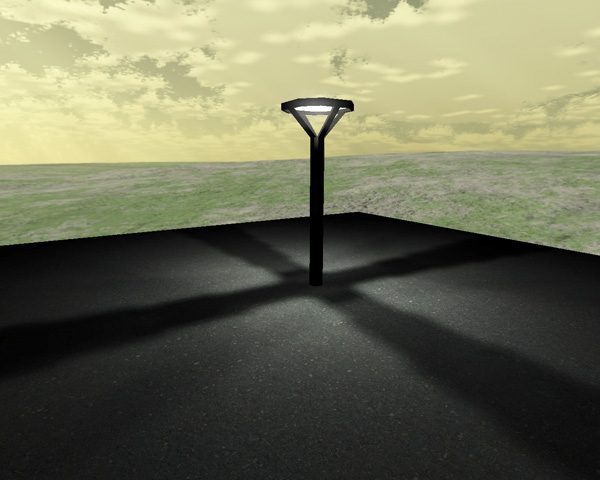
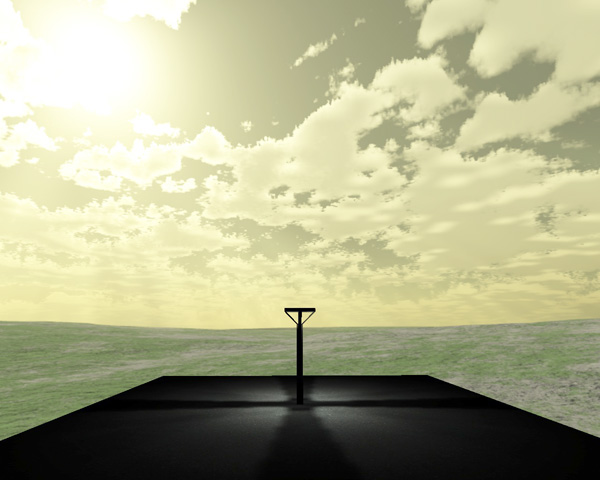
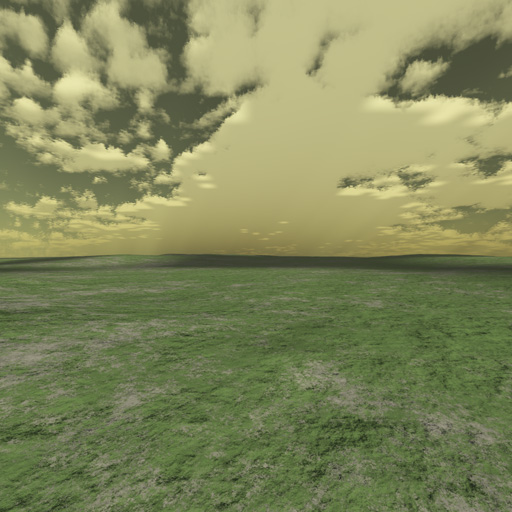
These are with a sun in the shader.
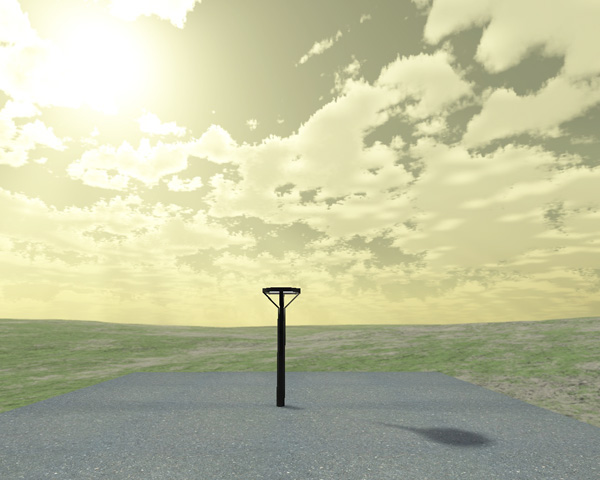
As you can see, there is a big difference between the two. So if you want a nice daylight map then a shader sun is the way to go. Also if you want a nice night map the shader sun is also extremely useful.