Importing Custom MD3 Models from GMax/3DS Max into Radiant

By Volrathxp

You can acquire all the original document and all associated files for this tutorial here

I have heard a lot from mappers who have been playing around with making their own models inside a program like Gmax or 3ds Max 4 on how to get their models workable in their maps.  I did some custom modeling (while small things (i.e. a can, fork and knife)) I did do them in Gmax and was able to use them in my map “The Rave House.”  The purpose of this tutorial is to explain usage of custom models in maps as well as explain the dreaded quake 3 control file.


Ok let’s get started shall we?


Things you need:


  • Gmax: : Gmax is a slimmed down version of 3ds Max that is available for free.
  • Gmax Tempest Plugin: : Gmax does not have the ability to export to MD3 by itself.  Gmax uses what is known as “Game Packs” which are specialized packages created by game companies so their game can be edited and supported by Gmax. THIS NEW LINK PROVIDES THE TEMPEST PLUGIN.  “Tempest” is a beta Quake 3 gamepack.
  • Milkshape 3D Demo: : for this tutorial purposes I am assuming version 1.5.1.0.   Version 1.60 is out now but I have been unable to test any of this with it yet.


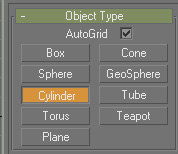
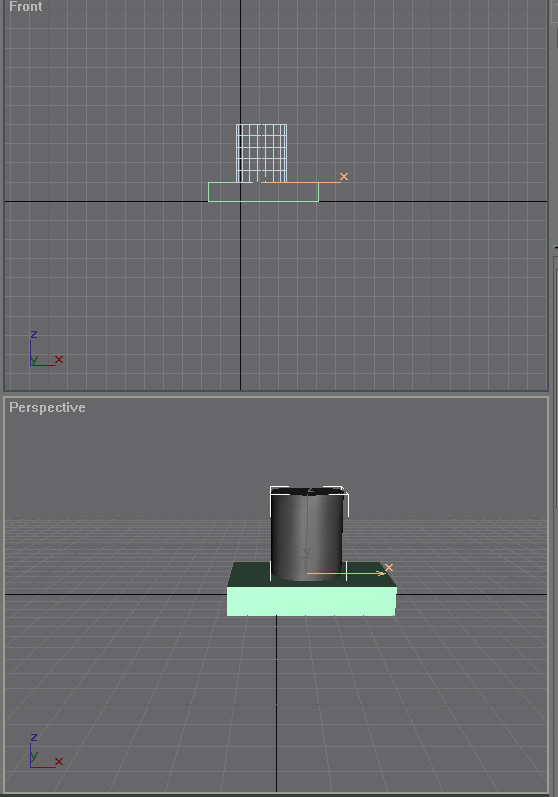
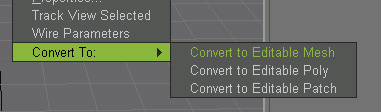
For those of you who have the cash you can get 3D Studio Max 4 and download the Pop ‘N Fresh MD3 exporter plugin.  I recommend using Gmax and most of this tutorial is geared toward it.


The first part of this tutorial is a Max primer and involves creating a simple model.  If you already know how to do this, skip down to step 10.


Now let’s get into this.

  1. Open up Gmax/3ds Max.  For purposes I’ll just be using the word Max to mean both of them.  The basic procedure for creating a simple model is the same in Gmax as it is for 3ds Max you just have much more control and power in 3ds max.

  •  Now if you’re unfamiliar with Max, read through the tutorials that come with Gmax (especially the first one, it’s about the options and features of the software.  Really nice).  Click on the window labeled “Top” to select it.


  1. Look over on the right and select the “Box” button.  Click on a grid unit on the “Top” window and drag it so it’s a small square. You will notice that in the perspective view (i.e. Camera view) you will see your flat square.  When you let go of the mouse button you can set the boxes height by moving the mouse up or down.  Set the boxes height at 1 grid unit and left click the mouse again.  Depending on the color Max assigns to the box, you should have a colored box sitting in your perspective view.


  1. Next find the “Cylinder” button (It’s two buttons below Box) and select it.  There is an option that appears called “Auto-Grid”. Check it.  Right click in the perspective view.  Using right click allows you to select the view and still be able to use your tool you have selected (i.e. the cylinder button).  If you were to left click in it, the cursor would start the cylinder wherever you clicked

  1. Click in the center of the top of the box and drag out ward.  You will notice that the cylinder is created on top of the box instead of on the plane.  The Auto- Grid option allows you to do this.  Drag the cylinder radius out and let go of the mouse button.  Then you can set the height.  Move the mouse up three grid units and left click.  Ta Da! A cylinder!


  1. Next we are going to create another cylinder to rest on top of the other one but this next one is going to be shorter and wider.  Select the cylinder button and make sure Auto-Grid is selected and click in the middle of the other cylinder and drag outward.  When you let go, take the height of the cylinder up by half a grid unit.  Then click out.  Now it’s starting to look like some sort of table!

  1. Now, click on the top cylinder to select it.  Right click it and select “Convert to: -> Editable Mesh”.  Do the same for the box and the other cylinder.


  1. Now if you haven’t already for normal mapping, copy the Bespin textures out of your assets0.pk3.  For our purposes copy the first three textures, Basic.jpg, Basic2.jpg, and Basic6.jpg to a folder under models/map_objects called modeltut.


  1. On Gmax’s toolbar there is a button with a red ball partly covered with a checkerboard.  This is the Material Editor (In 3ds Max it is in the same place but it is 4 colored balls).  Click on this to bring up the window.  Next to the drop down combo box is a button that consists of three colored balls (one red, one blue, one yellow).  Click this and find the option “Filesystem.”  It will show an explorer window.  Browse to the the modeltut folder that we created in the last step and select the Basic2.jpg texture.  Drag this texture to the top cylinder.  It will texture the cylinder.  Next click Basic.jpg and drag it to the other cylinder.  Finally, click Basic6.jpg and drag it to the box.

  • NOTE: In 3ds Max, the Material Editor is much harder to understand and use than the one in Gmax.  I will be revising this tutorial as soon as I can figure it out.


  1. Now.  Close out of Material Editor.  Select the top cylinder.  You will notice the texture did not apply correctly.  Click on the “Modify” tab  on the right.  You will see a modifier list.  Click on the drop down menu and scroll to “UVW Map”.  When you select it you will notice that your cylinder is suddenly textured.  Do  the same for the other cylinder and the box.

  1. Before continuing, save your work as “custommodeltut.gmax” or (.max)

  • Now it’s time to convert our model with the Tempest Plugin.

  1. Close Gmax.  Open Gmax Tempest.  Load your scene.

  1. Go to the File menu and select Export.  Choose Quake III (MD3) and browse to the modeltut folder where the textures are.  Name the file cooltable.md3.  When it asks you what frames to export, simply put 1.  (Static MD3 files only have one frame generally anyways) 

  1. Close Tempest.

  •  Now we can use Milkshape to read our exported MD3.

  1. Open Milkshape 3D.  Click on File -> Import -> Quake III Arena MD3… and browse to your model file. 

  1. Select the Materials tab.  Click on New.  Above you will see two buttons with the word “<none>” on them.  Select the top button and open Basic2.jpg. Create two more materials and and assign Basic.jpg to one and Basic6.jpg to the other.

  1. Click on the groups tab.  There you will see the groups “Box01”, “Cylinder01” and “Cylinder02.”  Click the “Select” button below the group listing with “Cylinder02” highlighted.  The whole top cylinder will be selected.  Click on the Materials tab again and highlight Material01.  Click the Assign button.  Now I can you hear saying “Wait a minute!  It didn’t texture it!”  Right click in the camera view and select the “Textured” option.


  1. To deselect the top cylinder go back to the “Groups” tab and hit the Select button again.  Perform the same procedure for the other cylinder and box, except Assign Material02 to the other cylinder and Material03 to the box.  You now have a nice neat and textured table in Milkshape.


  1. Now go to the Tools menu and scroll to Quake III Arena -> Generate Control File…  It will ask you for a file name.  Type in “cooltable.qc” and hit enter.  Now if you’ve never edited qc files before it will ask you what you want to open it with.  Use Notepad.  Once you have it opened you will see the following:


// Quake III Arena MD3 control file, generated by MilkShape 3D

//

$model "models/players/model/model.md3"

// reference frame

//$frames -1 -1

// frame 1-30

$frames 1 30

$flags 0

$numskins 0


// you can have one or no parent tag


// tags


// meshes (surfaces)

$mesh "Box01"

$skin "models/players/model/skin.tga"

$flags 0


$mesh "Cylinder01"

$skin "models/players/model/skin.tga"

$flags 0


$mesh "Cylinder02"

$skin "models/players/model/skin.tga"

$flags 0


  • Now, as part of this tut, I promised I’d say what all this means.   The way I’ve seen it is this:  An MD3 file consists of two things.  The actual model and a header.  The header tells the model where it’s supposed to go and what it’s textures are.  That’s why custom MD3s don’t work if you move them out of their specified folder.  Now this header is the control file, and without one you will be unable to export to MD3.  Look at this line here:


$model "models/players/model/model.md3"

// reference frame

//$frames -1 -1

// frame 1-30

$frames 1 30

$flags 0

$numskins 0


  • This part defines the model.  How many frames there are, the flags, and the model path name.

  • Change the first line to:

    $model “models/map_objects/../images/cooltable.md3”

    Keep all other lines the same.


  • Now, look at this part of the qc file:


// meshes (surfaces)

$mesh "Box01"

$skin "models/players/model/skin.tga"

$flags 0


$mesh "Cylinder01"

$skin "models/players/model/skin.tga"

$flags 0


$mesh "Cylinder02"

$skin "models/players/model/skin.tga"

$flags 0

  • This part defines the different groups and the skins associated with them.  Change the values as such:


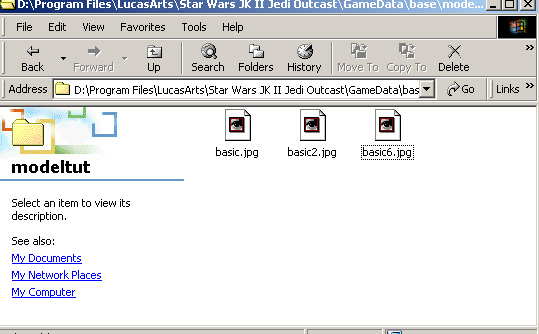
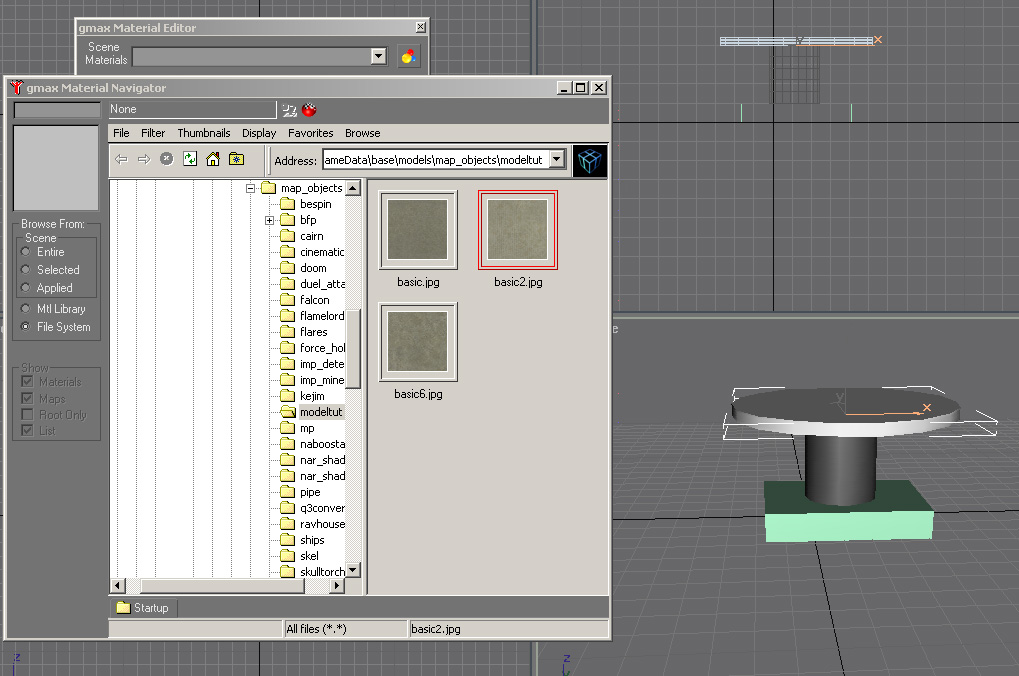
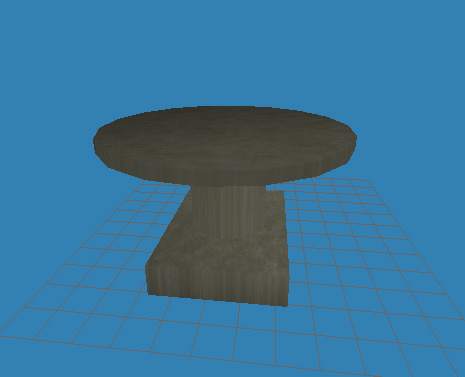
                                    Box01 = $skin “models/map_objects/../images/Basic6.jpg”

                                    Cylinder01 = $skin “models/map_objects/../images/Basic.jpg”

                                    Cylinder02 = $skin “models/map_objects/../images/Basic2.jpg”

  • Leave the group names and flags alone.


  1. Save the control file.  Close it out and go back to Milkshape.  Go to File -> Export -> Quake III Arena MD3.  You’ll notice the previous “cooltable.md3” file in the folder.  Click on it and overwrite the old one with the new one.  Close out of Milkshape and save if you’d like.

  1.  Now open up Radiant.  Create a simple hollowed box to stand in.  Texture it with any texture set you please.

  1. Right click anywhere on one of the 2D views and go to Misc -> misc_model.  Browse to the model file and select it.  For JK2Rad users, you’ll have to cut the full path it uses down to just “models/map_objects/../images/cooltable.md3” and hit enter.  GTK doesn’t put full path in so there’s no need to worry there.  Then your model will appear.  Position it in the room, add some lights and compile.  Voila!     


Back to Home