CutScene Part: 1
This tutorial will, hopefully, get you better acquainted with the process of making a cutscene for Jedi Knight Jedi Academy. First off we have to make the map. Just make a box and texture it however you want, the texture set I'm using in this tutorial is the bespin set (just incase you wanted it to look exactly like it is in the pictures). So once you make the box hollow it out (even though a ton of people hate it, it will work just fine for now). So once you've done that it should look something like this (yes I know, I messed around with my views, sue me).
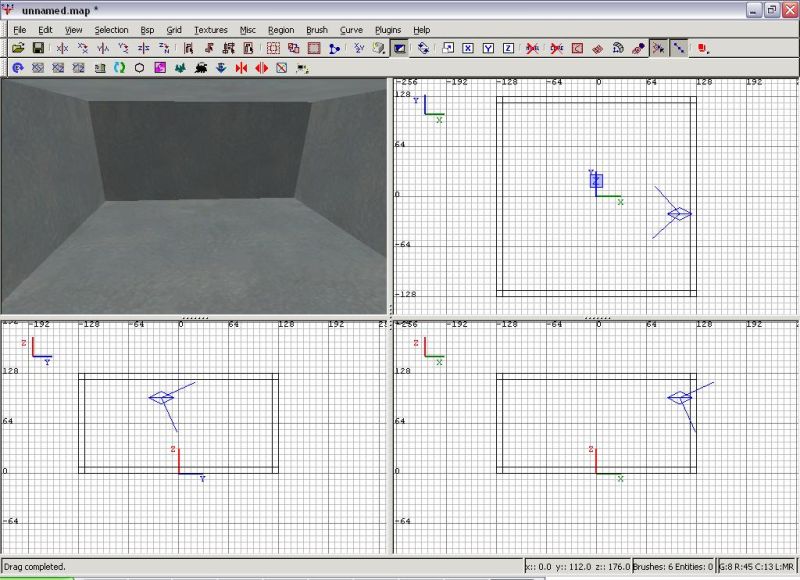
Next create a player spawn and a light (yes I know basic, but we have to get through them).
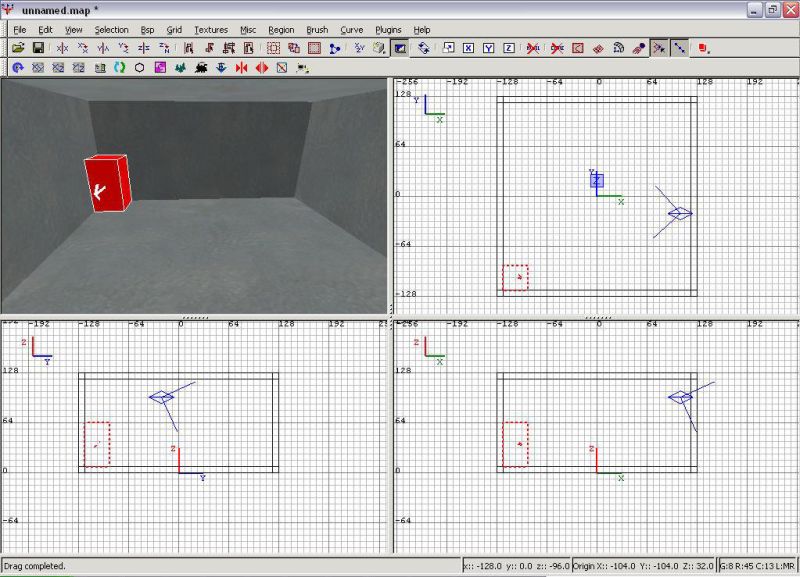
Next switch the texture set to the system textures, by going to the textures menu then clicking the system button, and selecting the trigger texture as shown here:

Now draw a box around the player spawn, also shown here (yes I have a lot of pictures):
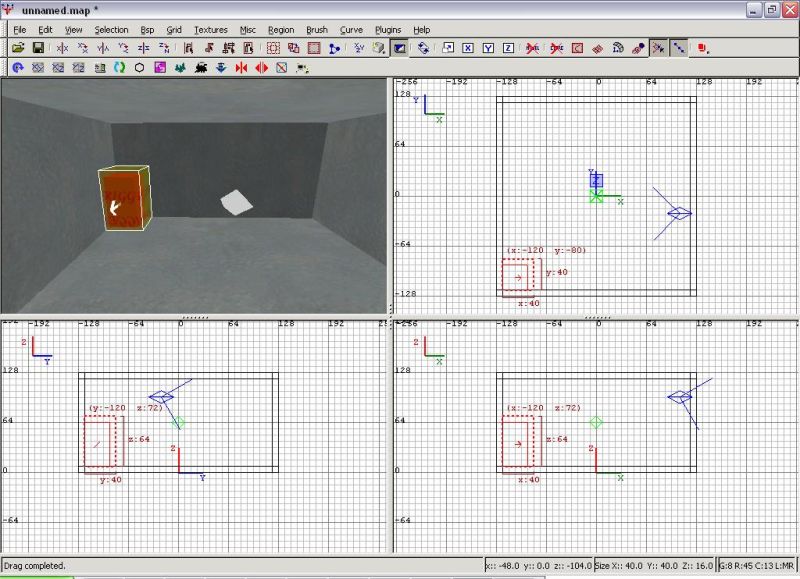
Now right click, while still having it selected, and select trigger once.
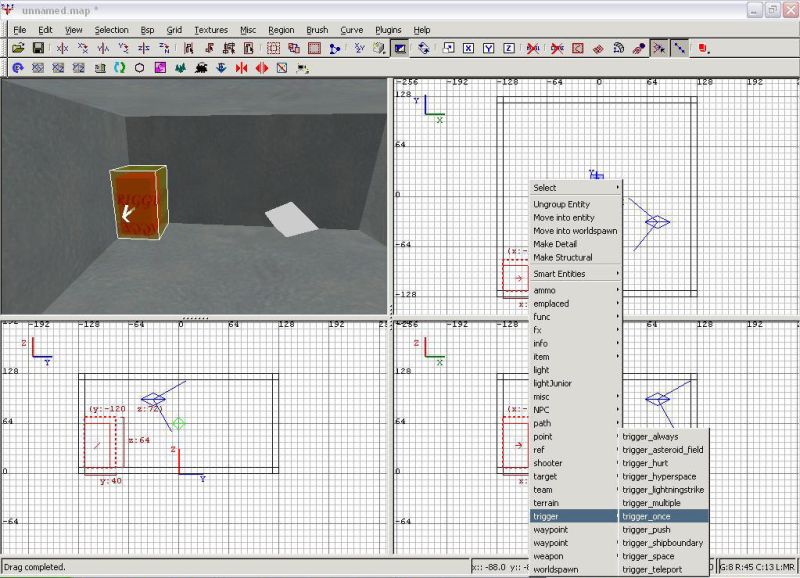
Now we want to make a target_scriptrunner by deselecting everything (esc) and right clicking an area of the grid and going to target > target_scriptrunner.

Now, deselect everything again, and select the trigger first, then the target_scriptrunner, and hit crtl + k to link them together. Like this:

Next, press 'N' and the entity window will pop up. In the field labeled 'Key' enter: Usescript
and in the field labeled 'value' enter: cin/cutscenetutorial

Next deselect everything (again), and right click somewhere across from the player spawn and go to ref --> ref_tag.
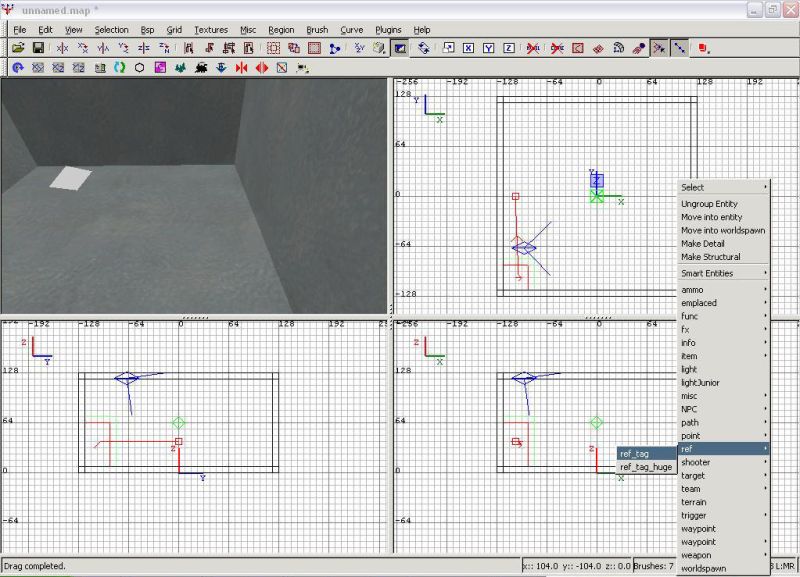
with the ref_tag still selected, press 'N' to bring up the entity window, and in the Key field enter, 'targetname', and in the Value field enter, 'cam1'.

Now deselect everything yet again, and right click in front of the player spawn and go to info --> info_null.

Now do the same process you did earlier, of deselecting and selecting the ref_tag, and then the info_null and press crtl + k to link them.

Now save the map, lets name it cutscenetutorial. (Hey look another picture!!!)

And then we have to compile it using one of the test options under the bsp menu.

Now once that's done you can close radient and open up BeHaved.
Back to Home