General Concepts 102: Lesson 5
Models
Models are objects that someone created in a 3D modeling program to be used in JK2. Because they don't actually consist of brushes or patches, you must make references to them in entities.
To see the list of models, open up your GameData/base/assets0.pk3 file in a program like WinZIP and look at the models/map_objects/ folders. Each .md3 file that you see is a model you can use in the game.
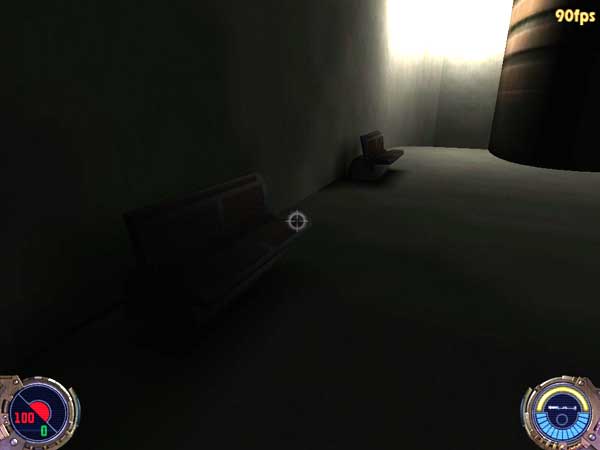
Since we have a Bespin-themed map, we will use the bench.md3 from models/map_objects/bespin/. First, create a "misc_model." A window will pop up asking you to select the model you want - just hit Cancel, as this feature does not work in JK2Radiant. Add the key model and the value models\map_objects\bespin\bench.md3.
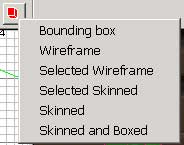
Look in the 3D View. You should see the model appear as it would in the game. If you just see a colored box, that means you don't have entity skinning turned on. Press the Entity Appearance Button and select Skinned and Boxed. You'll want to leave it on this setting unless a particular skinned entity in your map causes Radiant to lag in drawing the 3D View.
But the model is turned the wrong way! First of all, your instinct by now should be to use the Flip/Rotation Tools. Don't. Those tools will do absolutely nothing to entities (in fact, they might cause compile errors), so instead, set the facing of a model the same way you set the facing of your info_player_start. Open up the entity window (N Key) and click on one of the angles at the bottom of the panel to face it in that direction.
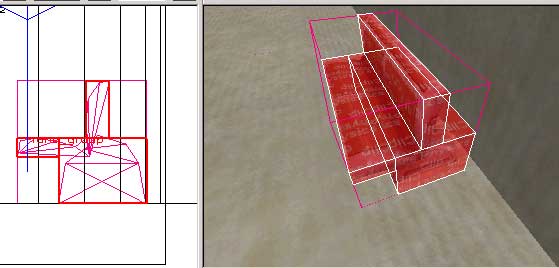
Now we have a problem. misc_models in and of themselves aren't solid, so if you want to MAKE them solid, you need lay down something called a clip brush, which is just a brush with the system/clip shader applied to it. The clip shaders work similarly to caulk in that you can't actually see the in the game, however they have certain properties. There are primarily two clip shaders that you will use, system/clip and system/physics_clip. The difference is basically thus: when you shoot at physics_clip, it will make a spark. Thus, if you place clip only roughly around an object, you'll want to use system/clip, as you don't want guns to spark in midair. In this case, the model is relatively easy to place accurate clip brushes around, so we'll use system/physics_clip.
Place brushes on/around each piece of the bench and apply the system/physics_clip shader to them (the whole brushes, not just one face). Then select all of your clip brushes (Shift-Click each) and right-click in the 2D View. Select func_group in the func submenu. This makes it so that when you shift-click any of your three physics_clip, all three will be selected. Func_group is ignored during/after compile. You should now have something that looks like this.
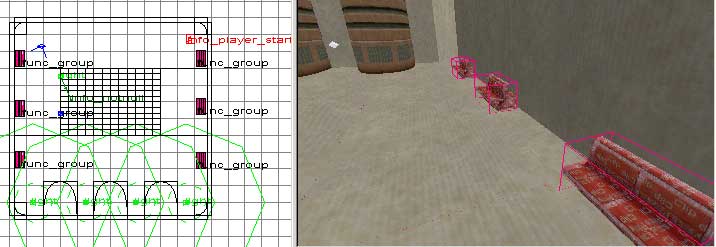
Duplicate your func_group (the physics_clip brushes) and place two more copies along that wall. Then duplicate your model and move it to match them.
Next, duplicate your func_group and move it to the opposite wall. Use the Flip/Rotation Tools to flip the clip brushes along the X-Axis so that they will match the benches when you move them. Then copy the misc_model to the opposite wall. Make sure you use the Entity window (N Key) to flip the entity around instead of the Flip/Rotation Tools. If you accidentally use the Flip/Rotation Tools on a misc_model, delete the entity and remake it.
With all six placed, you should end up with this:
You can add any model from the assets0.pk3 in this way. Add appropriate lighting, compile, and look at the result!