


Hello, today I will show you how to build your openjk code on a Mac. You will need three things to build your code.
Homebrew, which you can install right here: https://brew.sh/
SDL2 which you can install by typing into terminal.
brew install cmake sdl2
OpenJK Source Code
https://github.com/JACoders/OpenJK
Considering that you have already edited your code you are ready to build it. I recommend putting your OpenJK-master folder (which is the name of the code folder) on your desktop.
Open up terminal, and type
cd
Then press space. Drag your code into terminal and press enter.
After each of these commands press enter.
mkdir build

cd build

cmake -G "Unix Makefiles" -DUseInternalPNG=On ../
After you typed the previous command you should see something like this.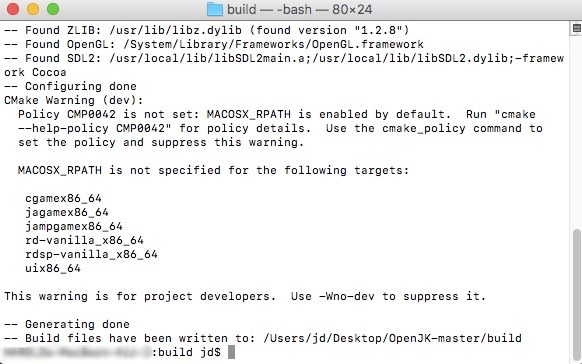
Next type
make -j4
Press enter, and you should see something like this.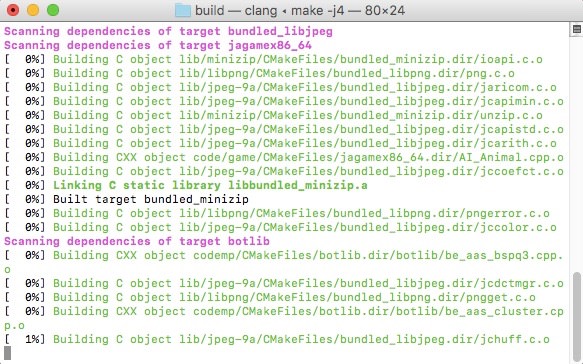
After it is 100% built, go into your code folder and look for a folder called build and go inside of it. Quick Note: OpenJK and OpenJK SP need their respected .dylib files. Let's start off with OpenJK.
Inside of your build folder right click on OpenJK and press Show Package Contents.
Then go to Contents/MacOS/ and you should see this.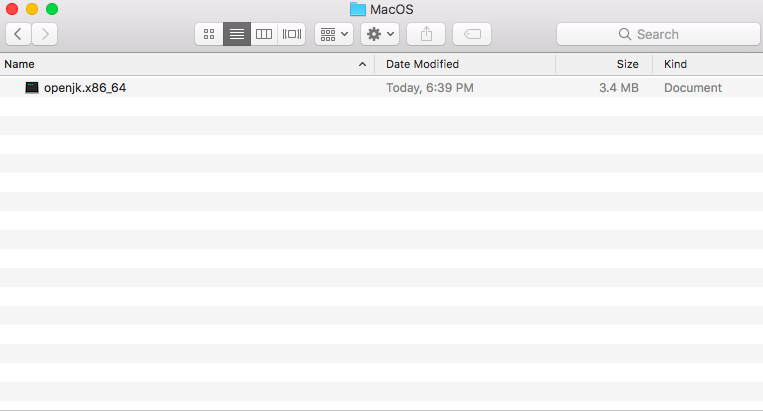
Create a folder called base. Now go back to your build folder and search for these names.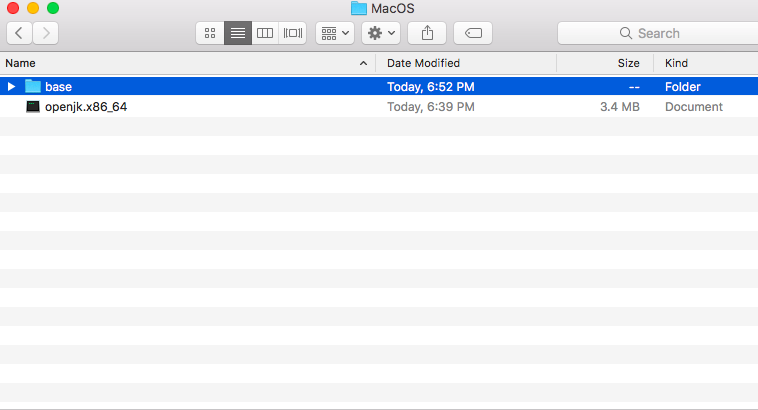
cgamex86_64.dylib

jampgamex86_64.dylib

uix86_64.dylib
Put these .dylib files in the base folder that you just made. Now right click on the base folder and press duplicate. Rename this new folder OpenJK.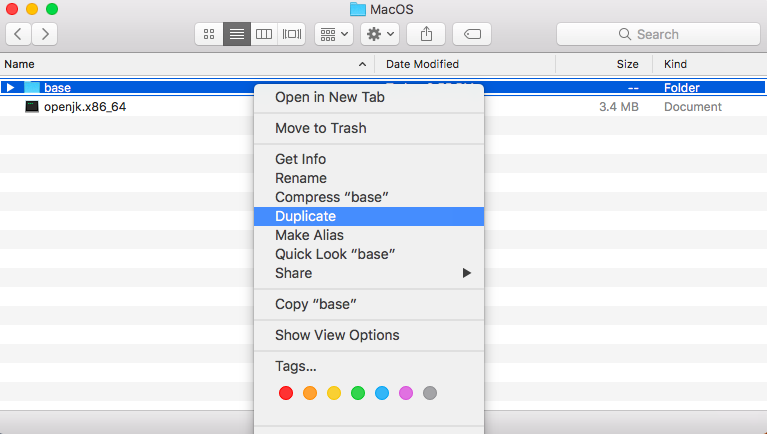
Now go back to your build folder and search for:
rd-vanilla_x86_64.dylib
And put it along side the base folder and the OpenJK folder.
Now lets do OpenJK SP
Inside of your build folder right click on OpenJK SP and press Show Package Contents.
Then go to: Contents/MacOS/ and you should see this.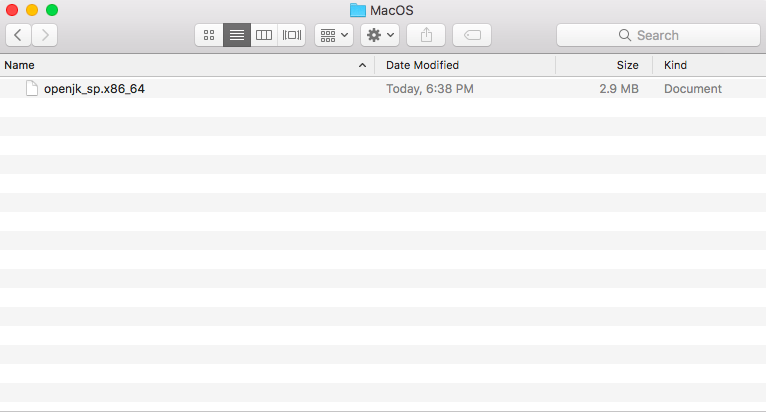
Create a new folder called OpenJK
Now go back to your build folder and search for:
jagamex86_64.dylib
Put the jagamex86_64.dylib file inside of your OpenJK folder that you just made.
Now go back to your build folder and search for:
rdsp-vanilla_x86_64.dylib
And put it along side the OpenJK folder.
Finally, you are all done now just put the OpenJK, OpenJK SP, and openjkded.x86_64 into your contents folder!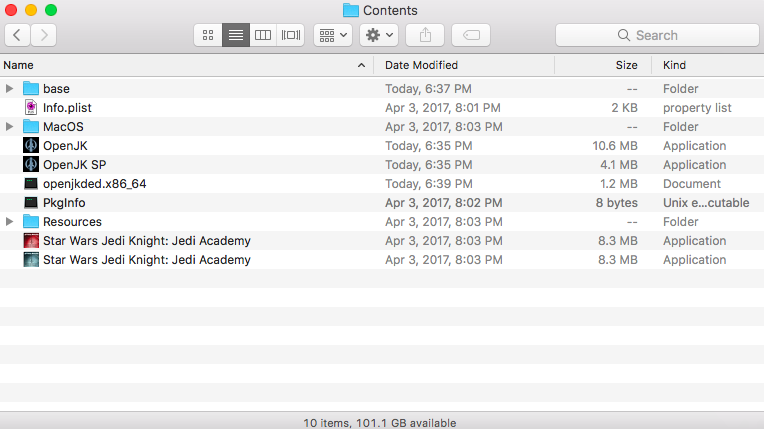


Recommended Comments
There are no comments to display.
Create an account or sign in to comment
You need to be a member in order to leave a comment
Create an account
Sign up for a new account in our community. It's easy!
Register a new accountSign in
Already have an account? Sign in here.
Sign In Now