


Originally written by Seto
- Title: Shader Remapping
- Subject: How to Remap shaders (Swap one for another on the fly)
- Written by: Seto
- Tutorial written for: Jedi Academy
- Similar concept work like in: N/A
- Difficulty level: 5/10
- Expected time to complete for first attempt: 15 mins
- Prerequisites: Intermediate familiarity with mapping, entities, shaders, and GTK Radiant
Overview
Shader remapping is a technique that is not obvious in GTK Radiant, but knowledge of its uses can lead to many interesting and unique features in your map. There are two entity keys called "targetshadername" and "targetshadernewname" that can be applied to certain target and trigger entities to have the game instantly remap all instances of a particular shader (or plain texture) to another.
Any entity that triggers targets should work, but the best options are trigger_always for permanent changes, target_relay for controlled changes, and target_delay for timed changes (the remap will occur after these entities trigger their targets, so you can create delayed remaps with target_delay). Do note that it will remap every single instance of one shader to another; there is no way to pick just one particular case.
Also, remapping shaders that contain a lightmap might cause odd results, and certain properties of shaders are not inherited and cannot be transmitted, such as portals.
Application
Shader remapping can be used with any shader or texture, including those used by default on items and other entities. Let's say we decide to change the appearance of an item_force_boon entity. As we know, Force Boons look like this:
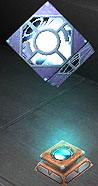
This item uses a number of shaders, so for our example we will focus only on the two shaders of the "box" part: the outer hollow cube and the inner glow within. If the name of a shader is not known, we can find it by looking in the appropriate .shader file. In this case, we can look in assets1.pk3 to find the right .shader file (models.shader), and then use a text editor to scan this file until we find the names of the two shaders used by the Force Boon:
- models/map_objects/mp/force_boon -> the outer cube shader
- models/map_objects/mp/boon -> the inner glow shader
Now that we know our two target shaders to be changed, we need to pick two new shaders to change them into. There are many, many possibilities here, but for this example I am going to choose these two:
- textures/common/glass_security_hex -> glass with a hexagonal design
- gfx/misc/mine -> the shiny yellow mine that Imperial Shuttle vehicles can drop
Of course, you could use your own shaders too, just remember to use the full shader name. Now that we know both our shaders to remap and what to remap them to, we can add a remap entity to perform this for us. As mentioned earlier, the three most useful shader remap entities are trigger_always, target_relay, and target_delay (note that trigger_always is not compatible with the latest versions of Lugormod, but works fine anywhere else). If we want the remap to appear instantly when the map loads, we use trigger_always, while if we want the remap to appear only after being triggered by a specific action, we use either target_relay or target_delay.
For this example, we will use target_relay. You will need to create two target_relay entities total, because we have two different shaders to remap. After linking them to an activator (like trigger_multiple), you will need to manually add the shader remap keys (targetshadername and targetshadernewname). Your final entities should look like this:
{
"classname" "target_relay"
"targetname" "remap_boon"
"targetshadername" "models/map_objects/mp/force_boon"
"targetshadernewname" "textures/common/glass_security_hex"
}
{
"classname" "target_relay"
"targetname" "remap_boon"
"targetshadername" "models/map_objects/mp/boon"
"targetshadernewname" "gfx/misc/mine"
}
Assuming "remap_boon" is the target of your activator, upon use it will cause your default Force Boon items to change appearance from there normal form into something like this:
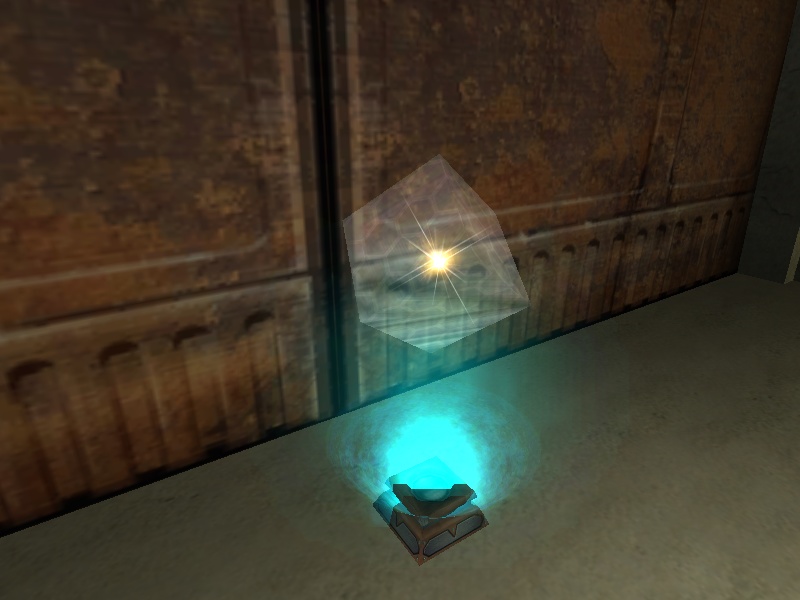
Now if we want to change it back to its original appearance, we can follow a similar process of creating two target_relay entities, only this time they should look like this:
{
"classname" "target_relay"
"targetname" "remap_boon"
"targetshadername" "models/map_objects/mp/force_boon"
"targetshadernewname" "models/map_objects/mp/force_boon"
}
{
"classname" "target_relay"
"targetname" "remap_boon"
"targetshadername" "models/map_objects/mp/boon"
"targetshadernewname" "models/map_objects/mp/boon"
}
Notice that we refer to the target shader by its original name, despite the fact that it has already been remapped to take a different appearance. When remapping shaders, always use the original shader name as the targetshadername, not any new shader you use in the remap.
Further Uses and Restrictions
- To cause any shader to appear totally invisible, simply use "clear" as the value of targetshadernewname. This can be useful to create effects such as vanishing lava or forcefields.
- Shader remapping works with sky shaders, but when a skybox shader is remapped, any clients who are experiencing the remap for the first time will be hit by a brief moment of lag due to shader precaching. This only applies to skybox shaders, and does not affect any client who has already rendered the remap previously. Furthermore, if a skybox shader is remapped to a non-skybox shader, there is a high probability that clients will crash upon coming into view with it, so ALWAYS remap skies to skies.
- Remapping certain special shaders such as caulk and clips will be refused; remember, the primary purpose of shader remapping is simply to change the visual appearance of things, not their actual properties.
- Shader remapping may cause certain shaders to lose lightmap info.
- Shader remapping can be used on non-map shaders as well, such as UI components (console, chat icon, HUD images, etc) and even NPC/player textures.
Screenshots
Here are some screenshots of various shader remapping techniques in action.
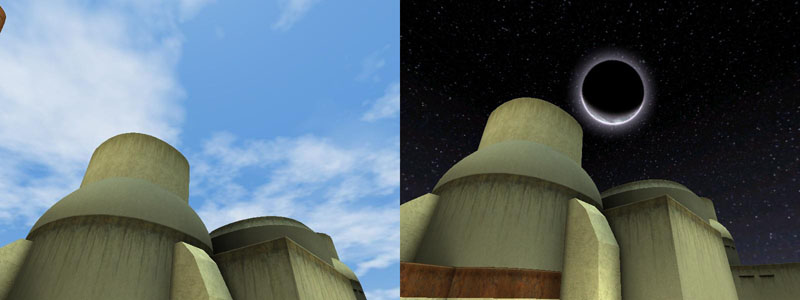
Tatooine sky shown in day and remapped to night.
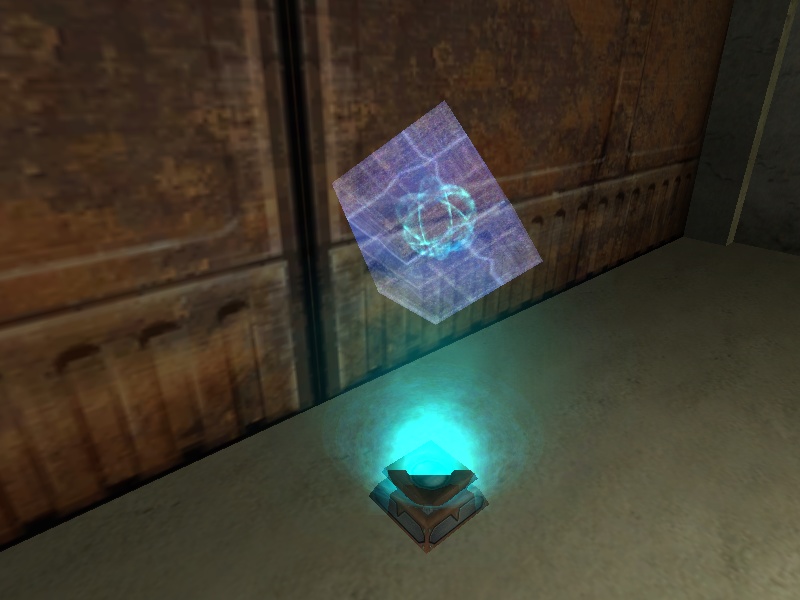
A different Force Boon remap, this one for a more evening feel.
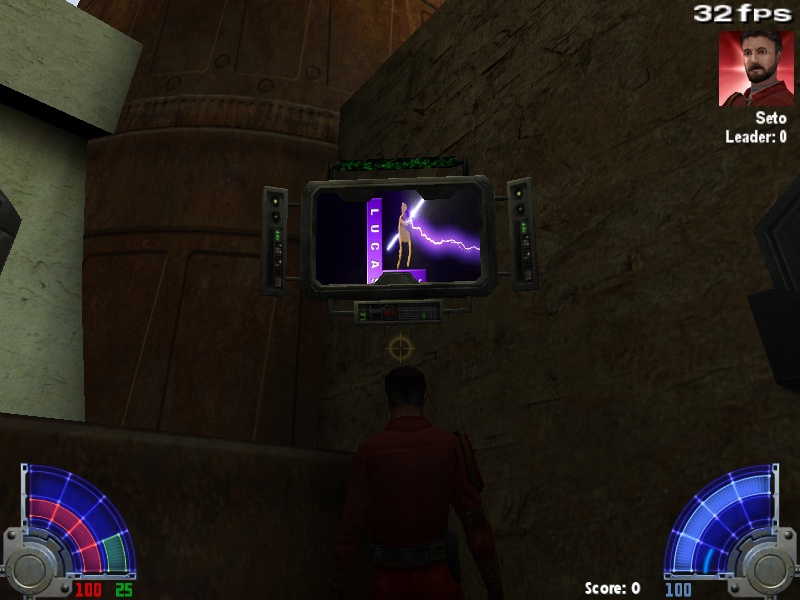
A view panel model with remapped screen to show the opening game logos.
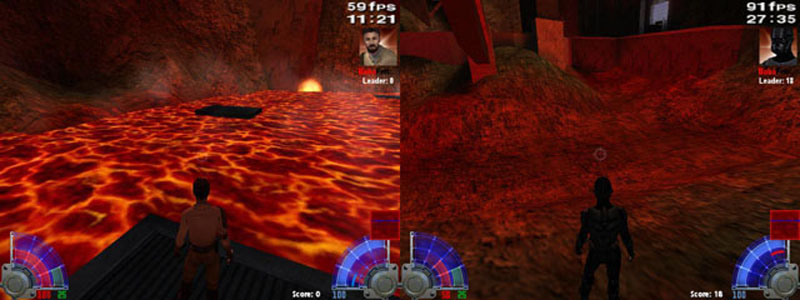
A lava pool shown normally and with the lava shader cleared (courtesy of BobaFett).
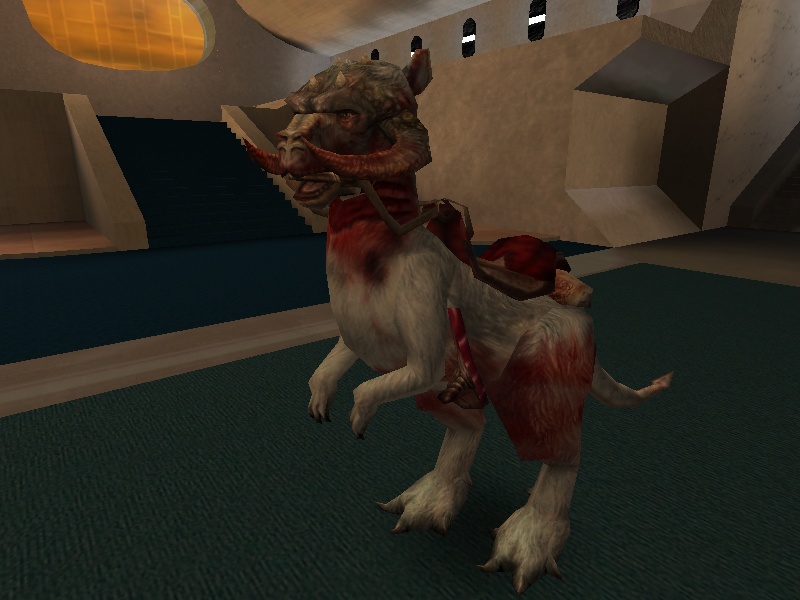
The tauntaun vehicle NPC with remapped textures to match the dead tauntaun model.
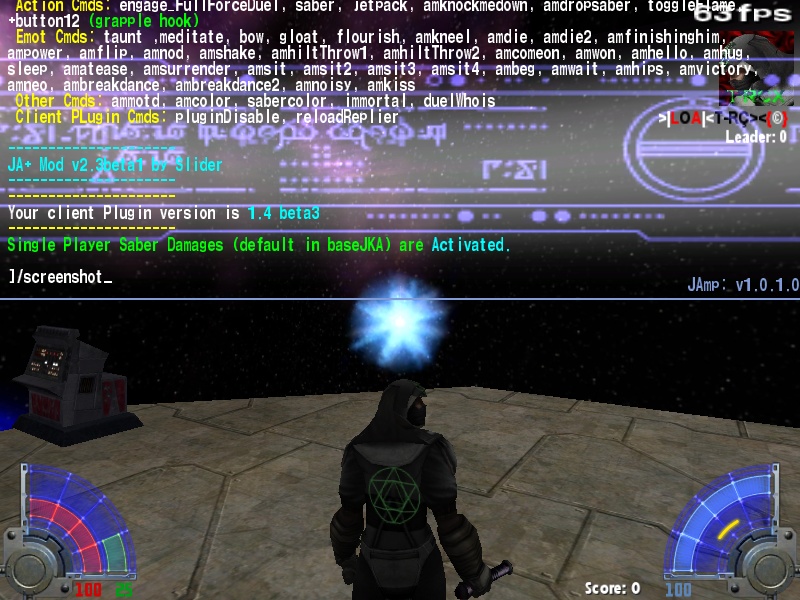
A remap of the chat icon and console. Both new shaders are animated.
This concludes our lesson in shader remapping. Experiment on your own to create your own unique shader combinations.


Recommended Comments
There are no comments to display.
Create an account or sign in to comment
You need to be a member in order to leave a comment
Create an account
Sign up for a new account in our community. It's easy!
Register a new accountSign in
Already have an account? Sign in here.
Sign In Now