


Things you need:
- GTK Radiant 1.4 or 1.5
- Adobe Photoshop
- Nvidia Normal map Filter Plugin for PS
- Any program you can use to edit/make textures (such as Photoshop or Gimp)
- And of course the game itself.
First, you need to make a texture. Heres the one I made, it does '''not''' have to be exactly like this to work.

Once you have the texture, and the Nvidia Normal map plugin installed, load up Photoshop (If it isn't already) And load your texture.
When your texture is loaded, go to Filter>Nvidia Tools> Normal map filter. This window should pop up.
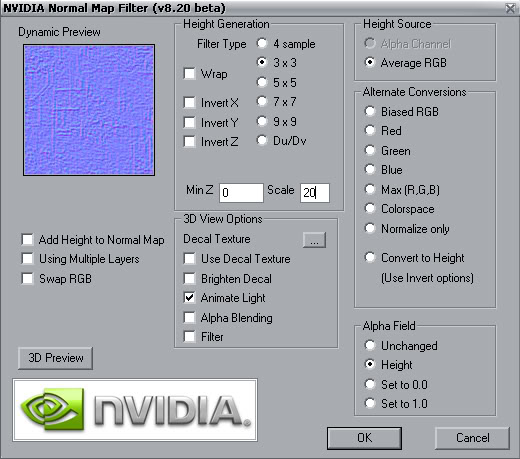
There you have to play with some of the settings till you get a result you like. Note: With JKA you do not want a highly detailed normal map. Use the scale window to change how much depth it will have. 10-20 should be alright for now.
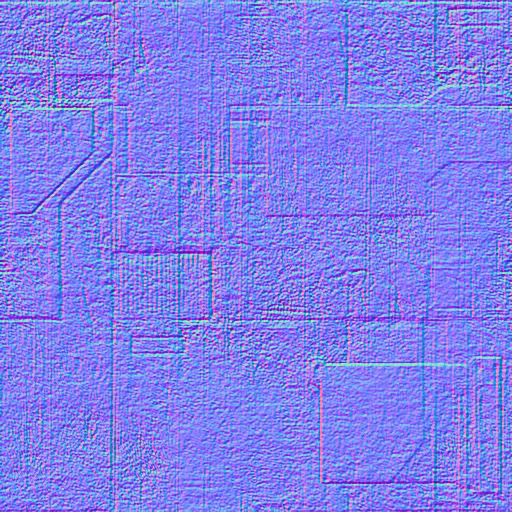
When you are done you should have something similar to this.
Now before we go and try to compile this, we need a shader. Its very simple and easy to use, here ya go:
[i] textures/amace_leviathan/wall3
{
q3map_normalimage textures/amace_leviathan/wall3_normalmap
qer_editorimage textures/amace_leviathan/wall3
q3map_lightmapsamplesize 1x1
{
map $lightmap
rgbGen identity
}
{
map textures/amace_leviathan/wall3
blendFunc GL_DST_COLOR GL_ZERO
}
}[/i]
The q3map_normalimage is of course your actual Normal map image file location. the Q3map_lightmapsamplesize is what quality it will be made during the compile, lower number = higher quality but more space on the BSP.
(Of course edit it for your own texture paths and other needs)
Now once you have the shader, the images, and the shader applied somewhere in your map close to a good lighting source you should get a good result, although it is very picky at times. (Once you compile)
How to apply Func_Groups in-editor to make your map less GFX intensive.
Here is how you should put this method into your maps. Select whichever brushes or patches you wish to have the normal map on. Right click on the grid and go to func> Func_Group in the menu.
Once that is done and you still have the brushes or patches selected hit N on your keyboard. 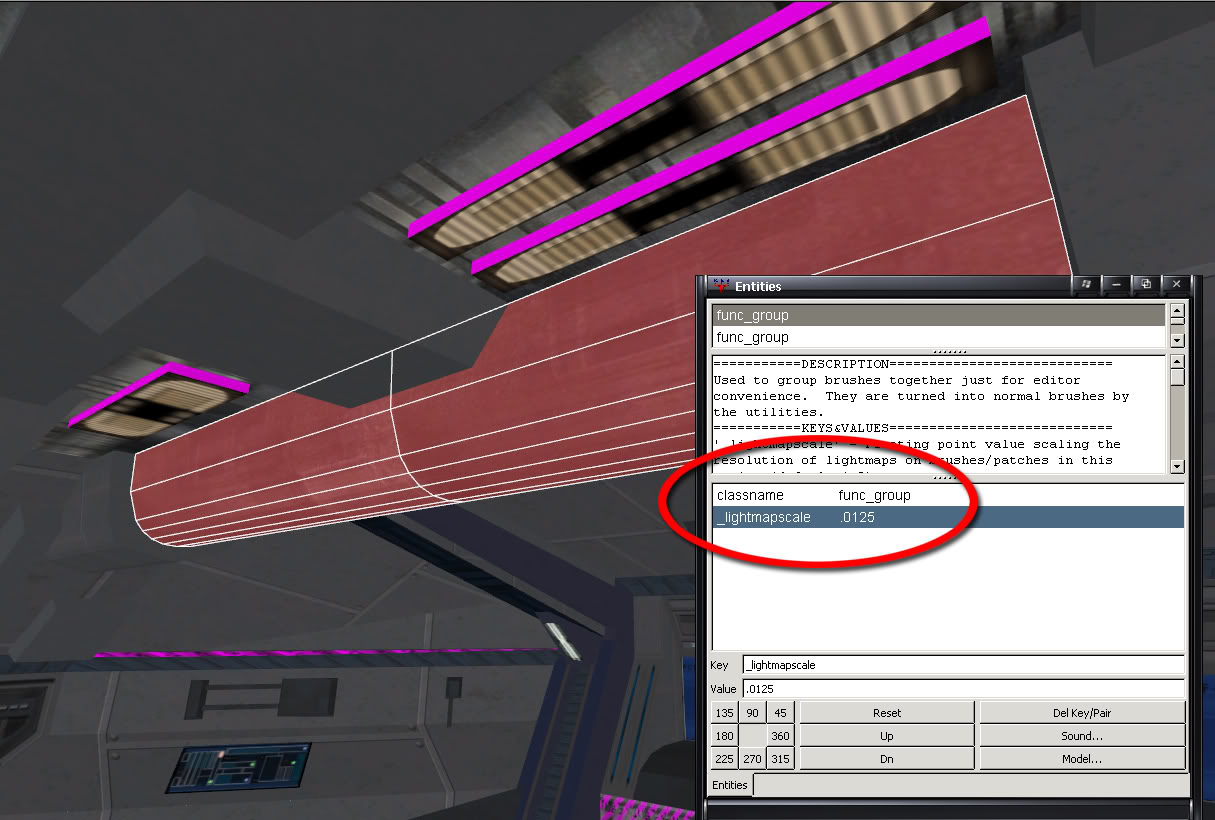
Add these keys and values into the properties of the func_group.
Key: _lightmapscale
Value: .0125
The value number you may choose for yourself. The lower the number, the higher the quality. The High the number the lower the quality. (Default is 1)
This allows it to single the high lightmapscale to the one area rather than the whole map, making your map more optimized and better performing as well as taking less time to compile.
Now compile your level and go check it out!
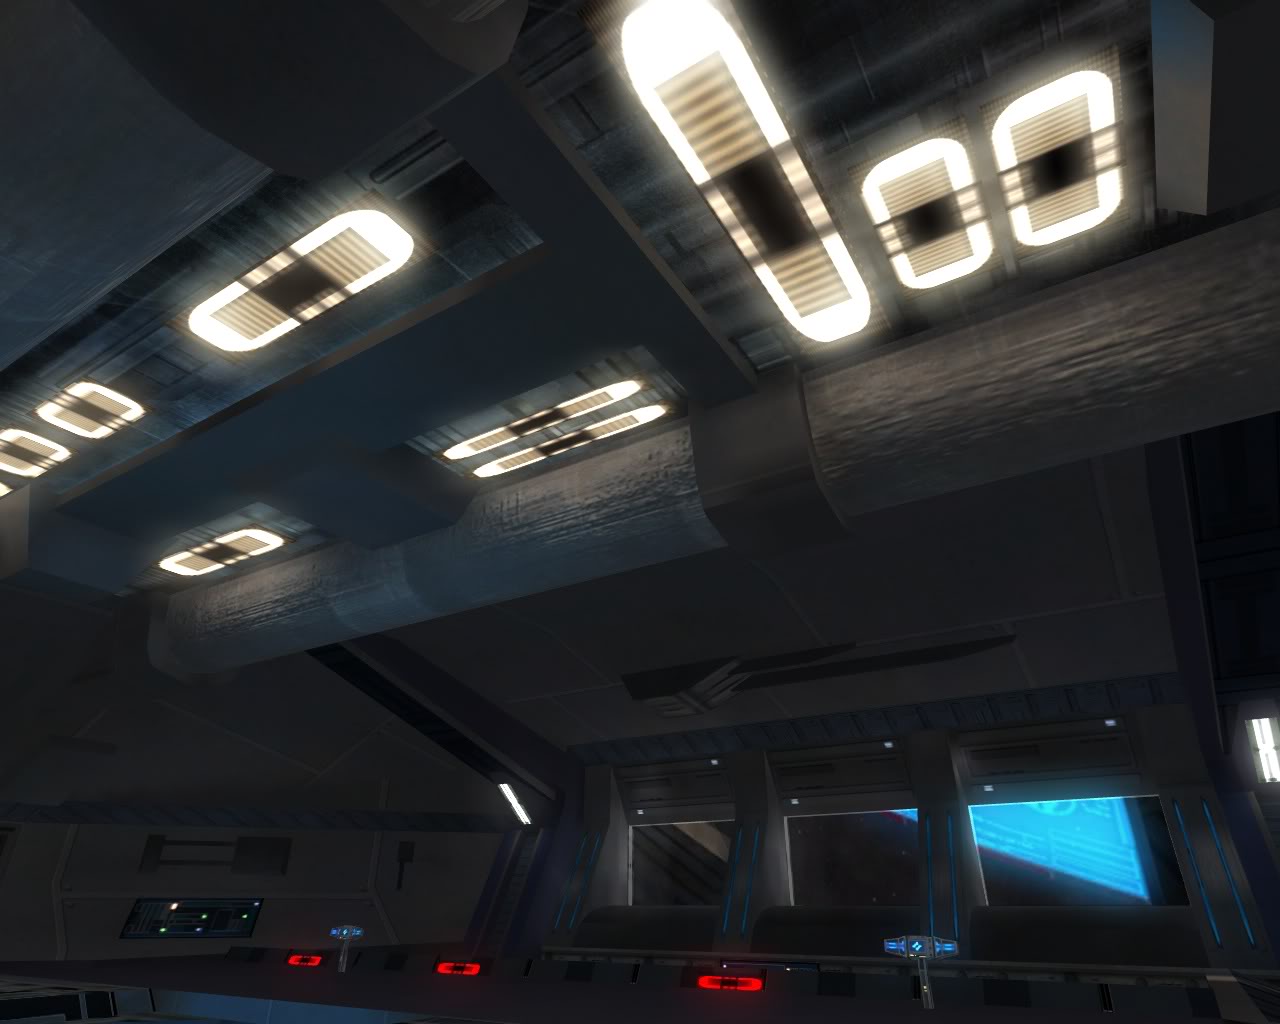
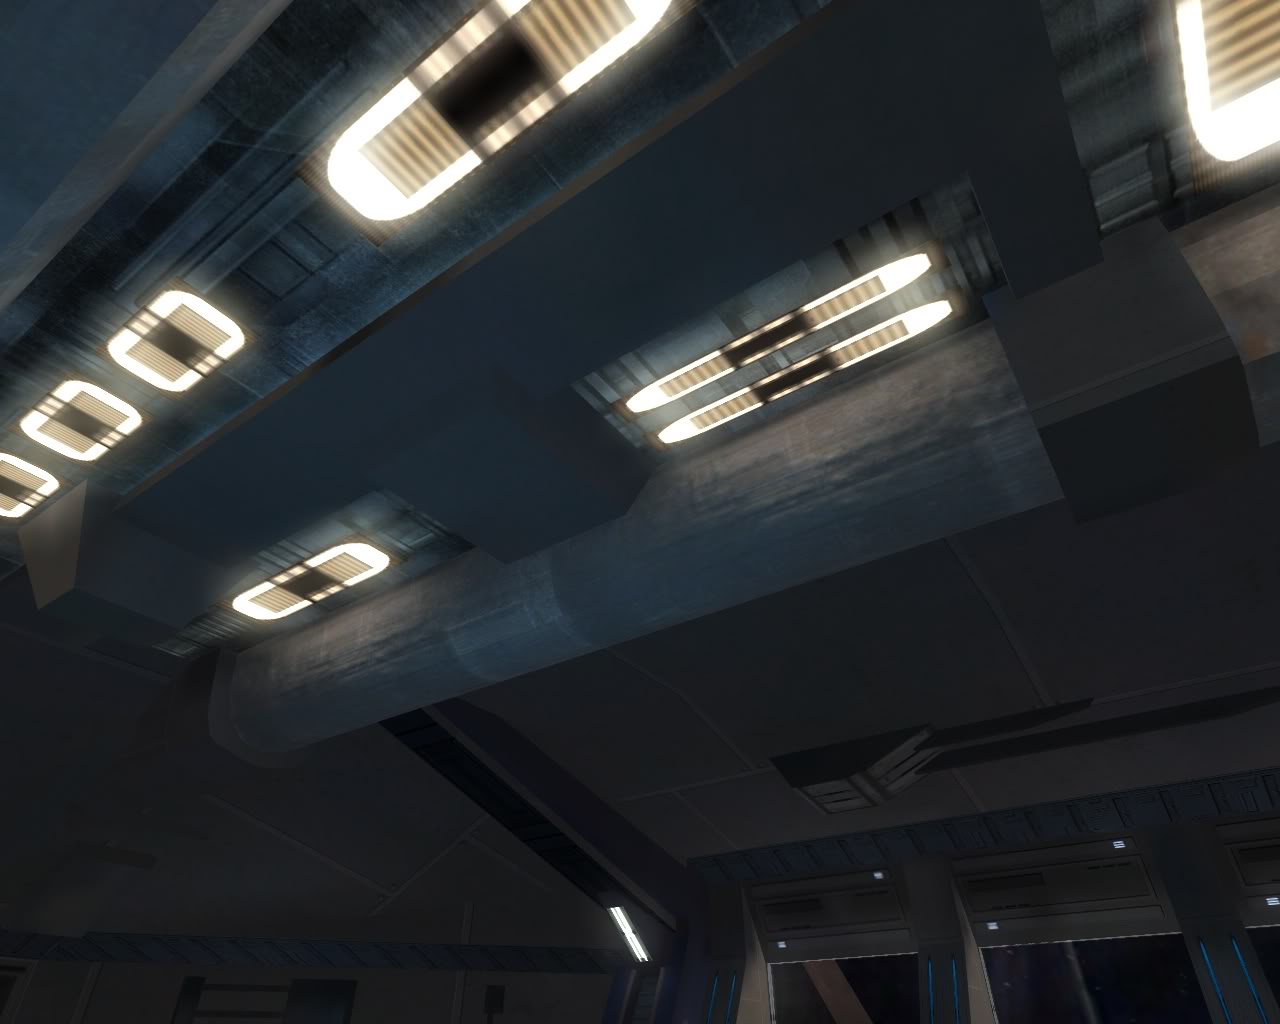
Here is my result after getting it in-game.
For those that are wondering in the comments, there are many ways to changing how the normal maps work. One of them is just using -patchshadows compile line in the Light stage of the compile. (That one you see above, with everything else the same)
Note: This only works when using your normal maps on Patches.
Among that being one method to changing how your normal maps look, you can also use this line which you see in the shader above:
q3map_lightmapsamplesize 1x1
Increasing the numbers lessens the quality and amount of Light Data needed in the normal map.
-MaceMadunusus
===Mac notes===
Note that there is no mac-compatible Nvidia Normalmap Filter Plugin for PS. Normal Map Generator achieves pretty much the same thing.


Recommended Comments
There are no comments to display.
Create an account or sign in to comment
You need to be a member in order to leave a comment
Create an account
Sign up for a new account in our community. It's easy!
Register a new accountSign in
Already have an account? Sign in here.
Sign In Now