


This tutorial is running off of a few assumptions. The first being you have a model ready to go that has been rigged, weighed, skinned, textured, and practically game-ready. This also assumes you have Microsoft Paint, GIMP, and Modview.
This is my first tutorial, and I'd love some feedback. 
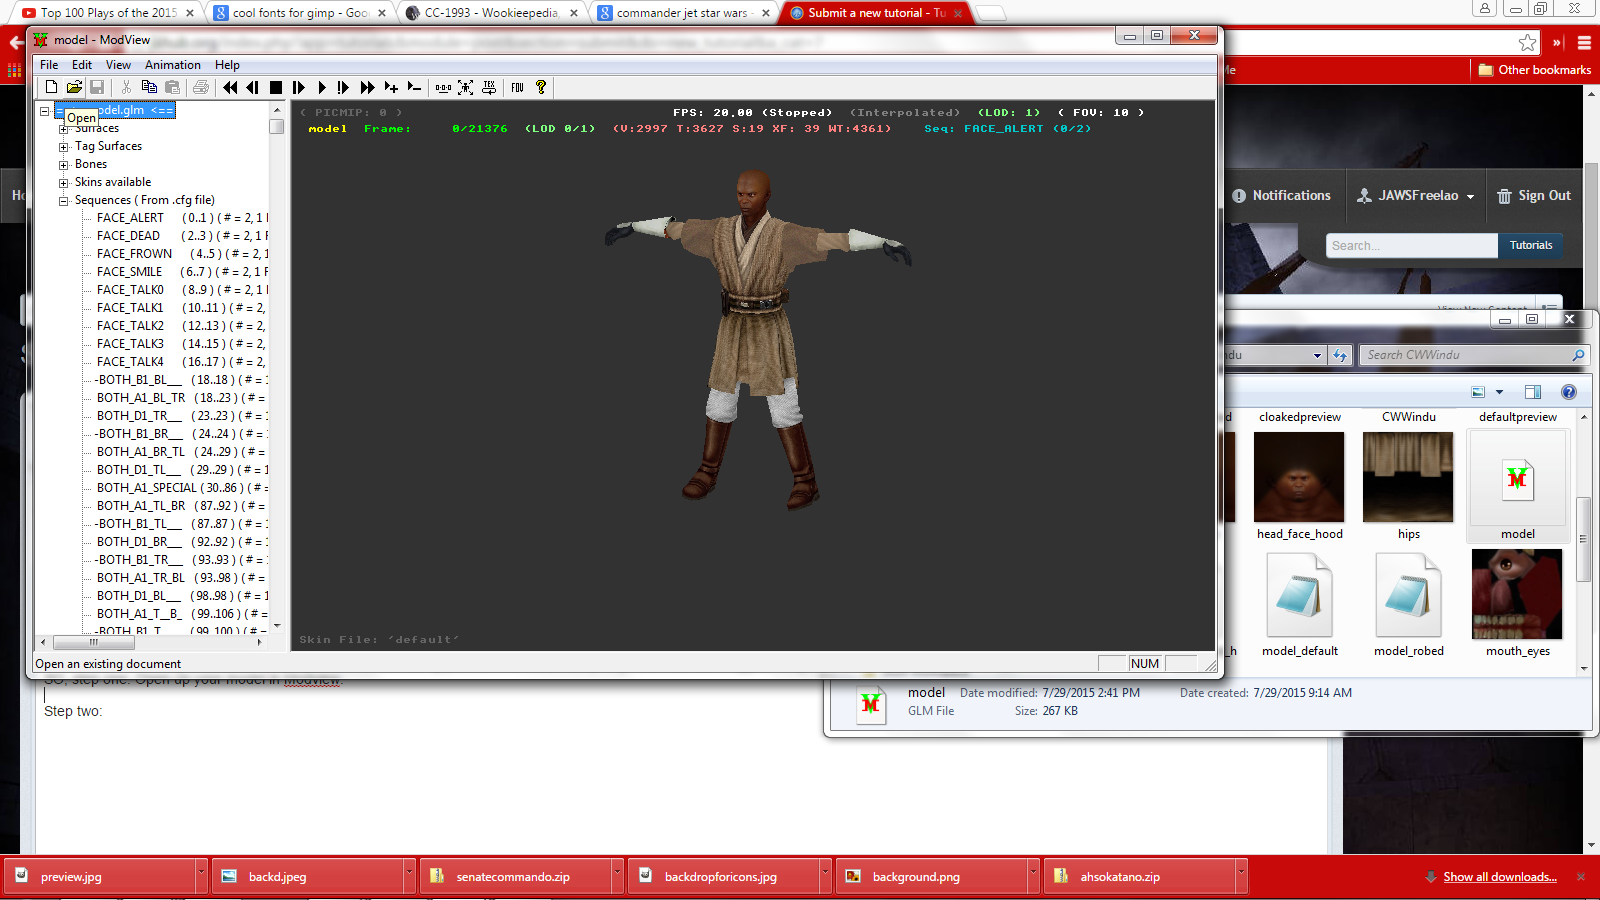
SO, step one: Open up your model in Modview.

Step two: Click the + sign next to "Sequences," and go through animations. To make a good preview, you'll want to be able to see the entire body. Pick an animation without clipping (clipping is when part of the model moves through another- like the shoulder pads moving through the ARC trooper pauldron). I personally enjoy both_jumpattack6. Play the anim and wait until the very end. Your model should be in this position:
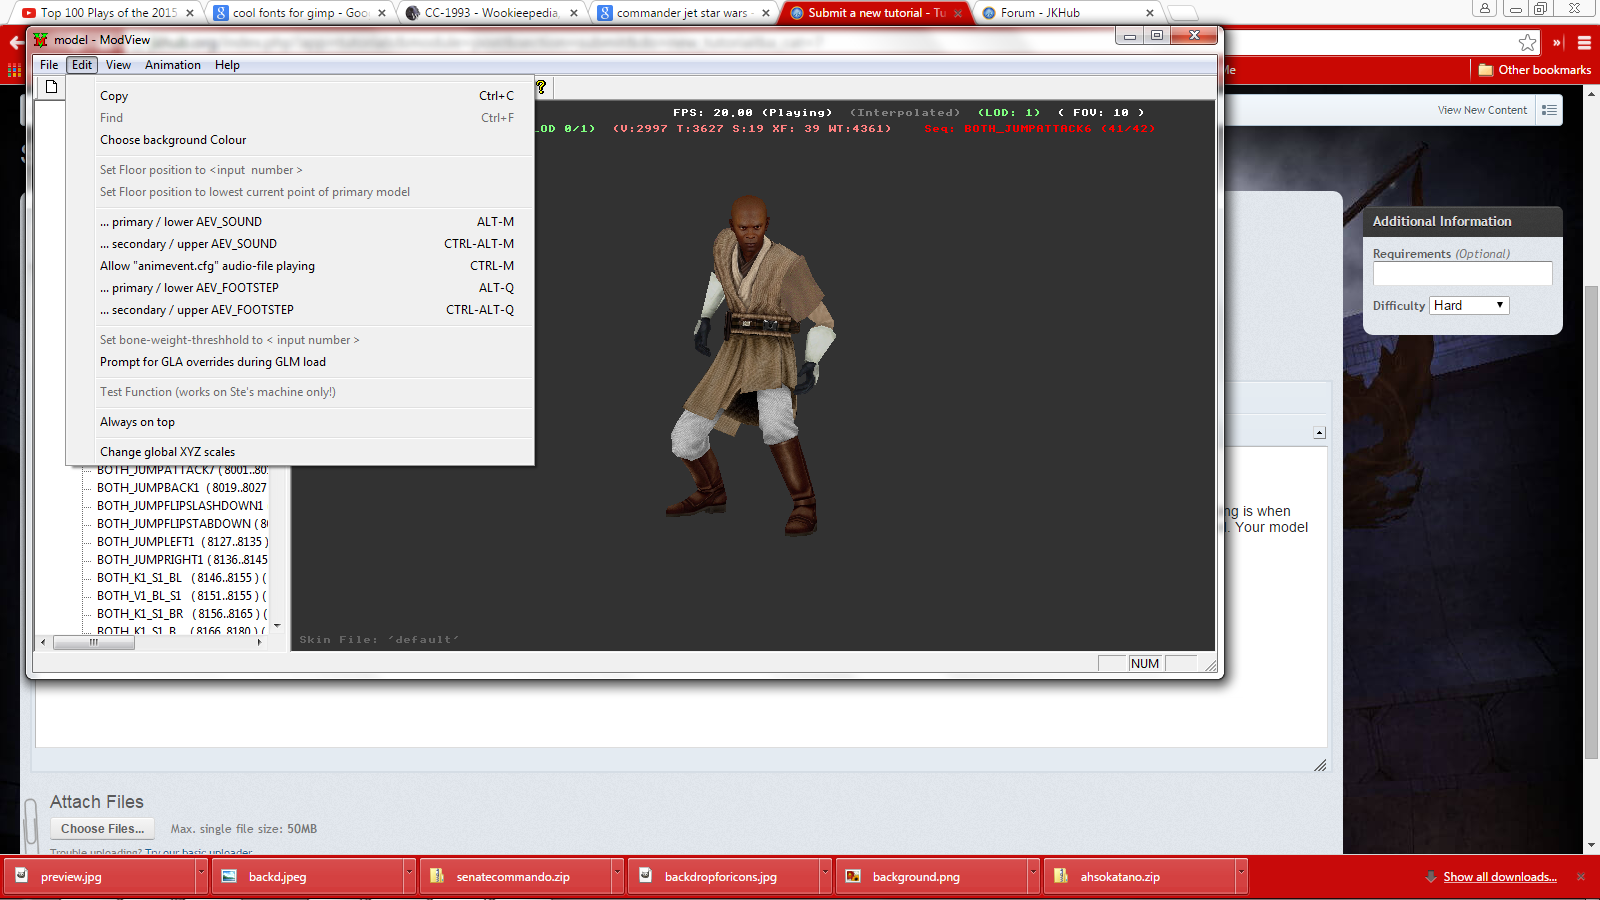
Step three: On the top of Modview, press "Edit." Scroll down, and select "Choose background color." Pick a bright color that isn't going to possibly be anywhere on the model.. If you choose black or grey or white or anything like that, you might later end up with "holes" in your character when we edit our preview/icons.
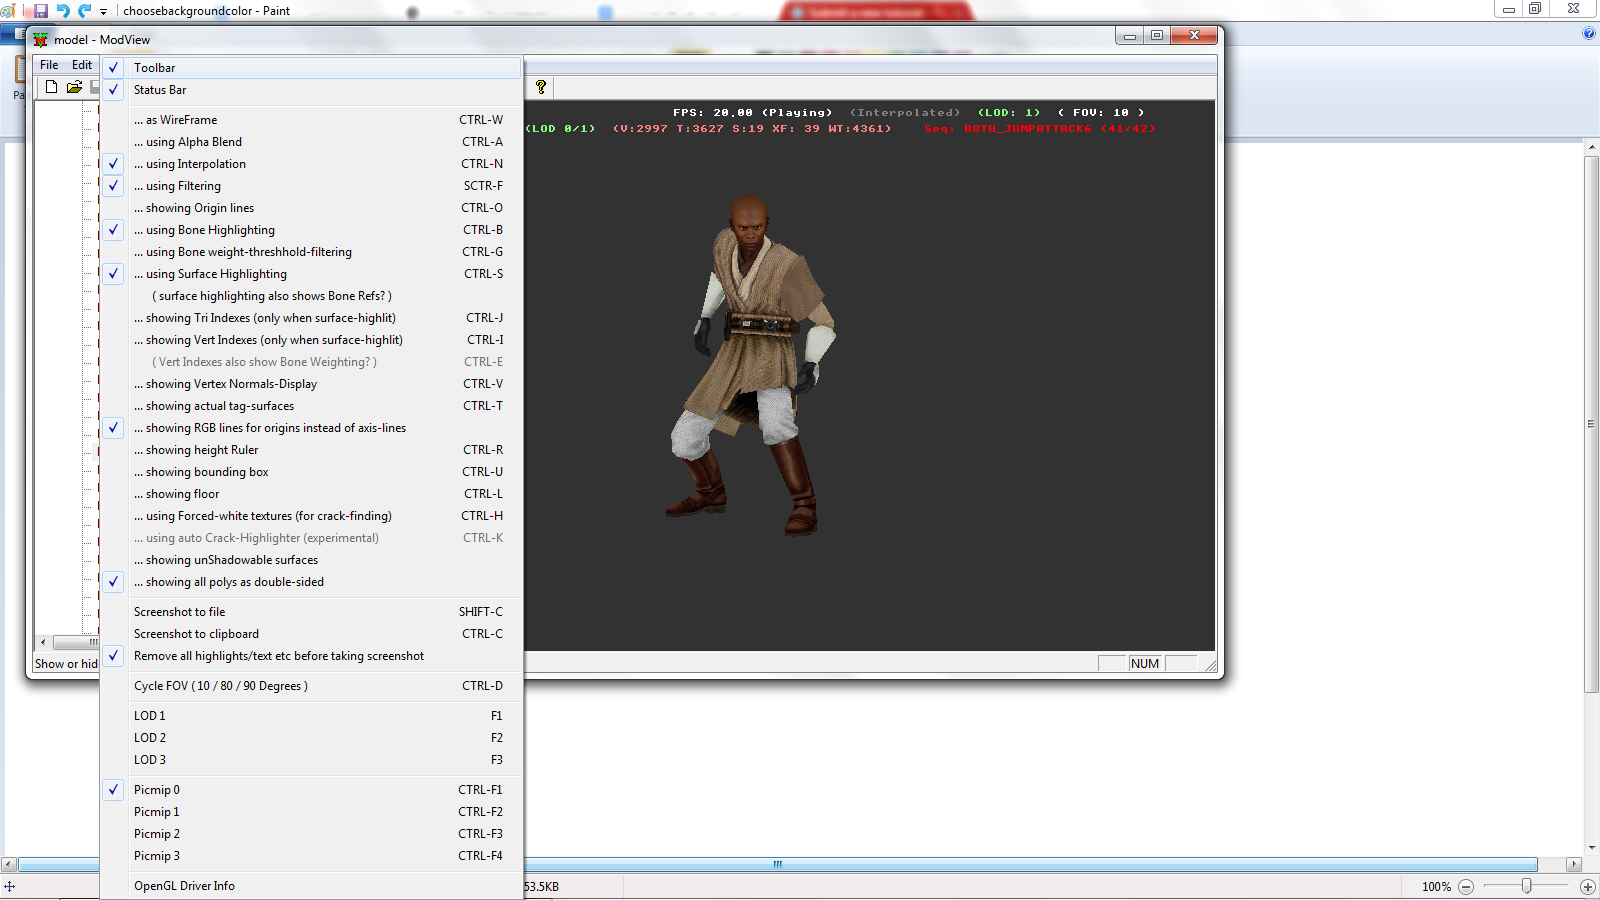
Step four: After selecting your background color, press "view" and choose "paste screenshot to clipboard."
Step five: Open up Paint.On the top (underneath the save icon) select paste, or hit CTRL+V. Your screenshot should appear.
Step six: Save this as a PNG. Name it to icon_default (or whatever icon you're creating) and save it into the folder your model is in.
Step seven: Choose a background image. I personally love using large scenic views, such as the beautiful view above Coruscant. For this tutorial we'll use that. Save the image you select as "Backdrop." The file type doesn't matter much here.
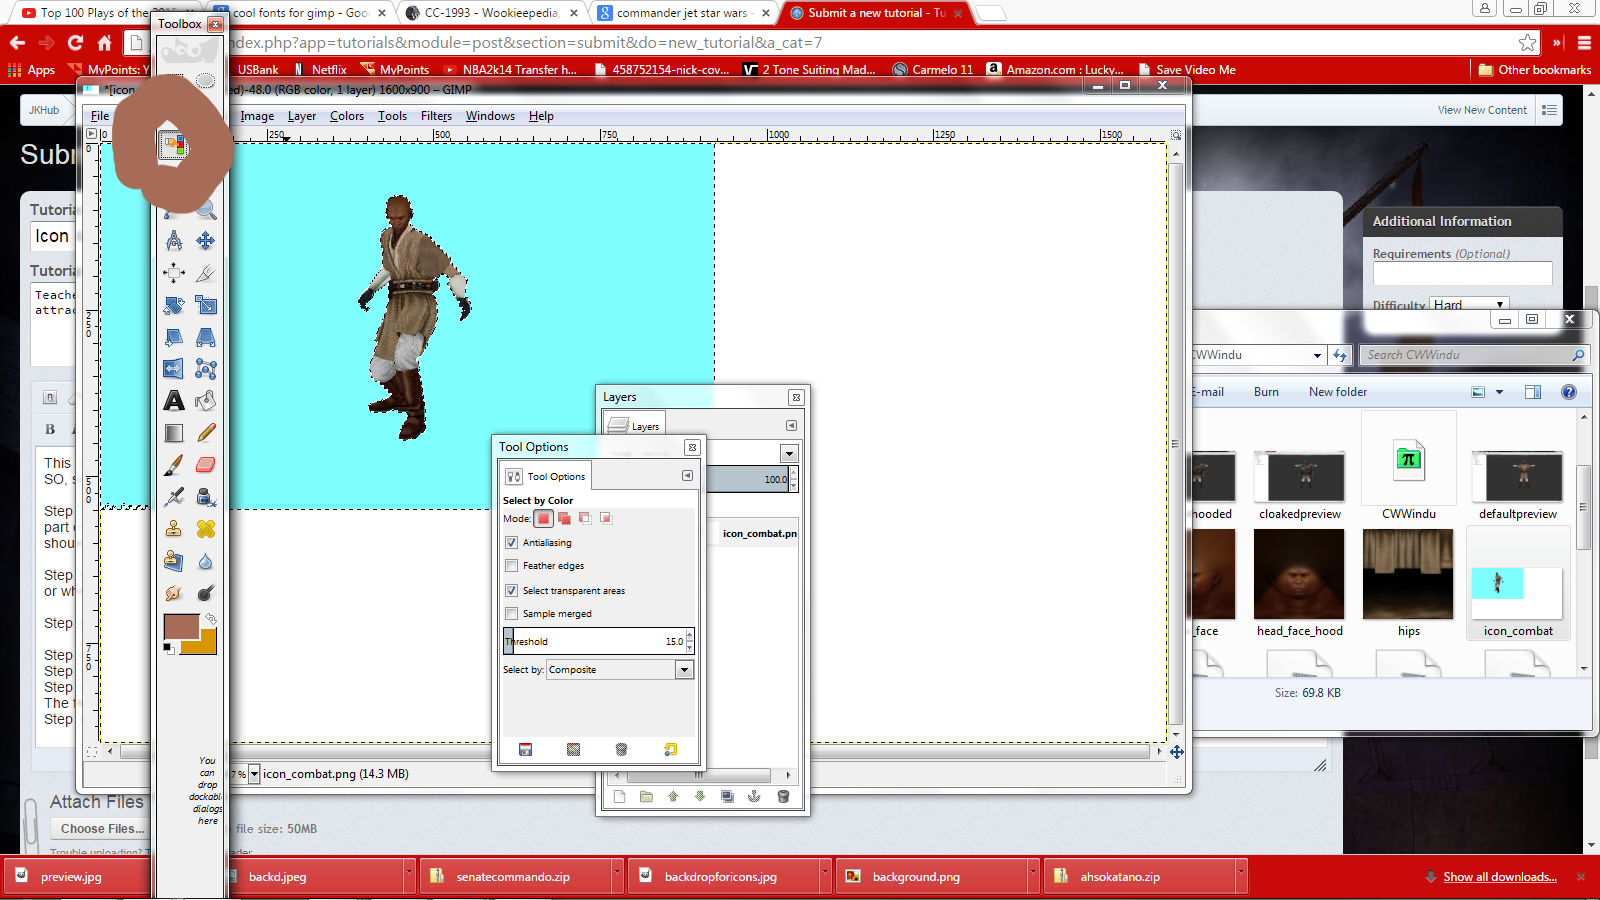
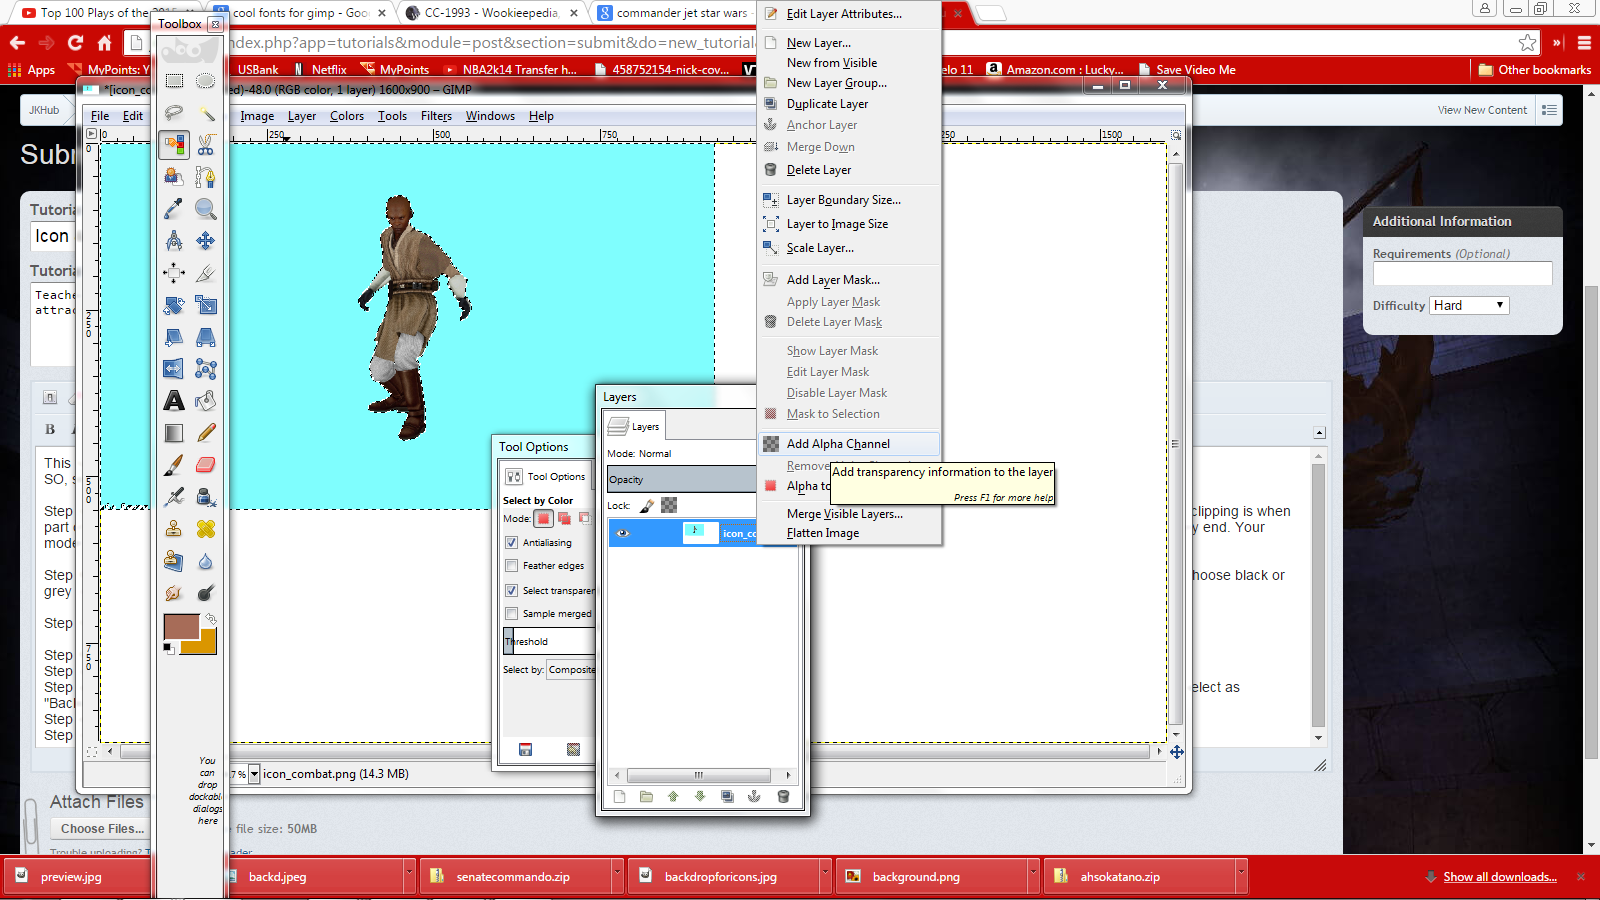
Step eight: Open your icon in GIMP. Press "color select," and select the color your chose for your background. As you can see, I've outlined the button you need to press in brown.
Step nine: Open up the "layers" tab by pressing CTRL+ L. Right click on the layer, and select "Add alpha channel." This is so when we erase the background color we won't automatically have a white background. We'll just have our character. *NOTE, keep the layers tab open.
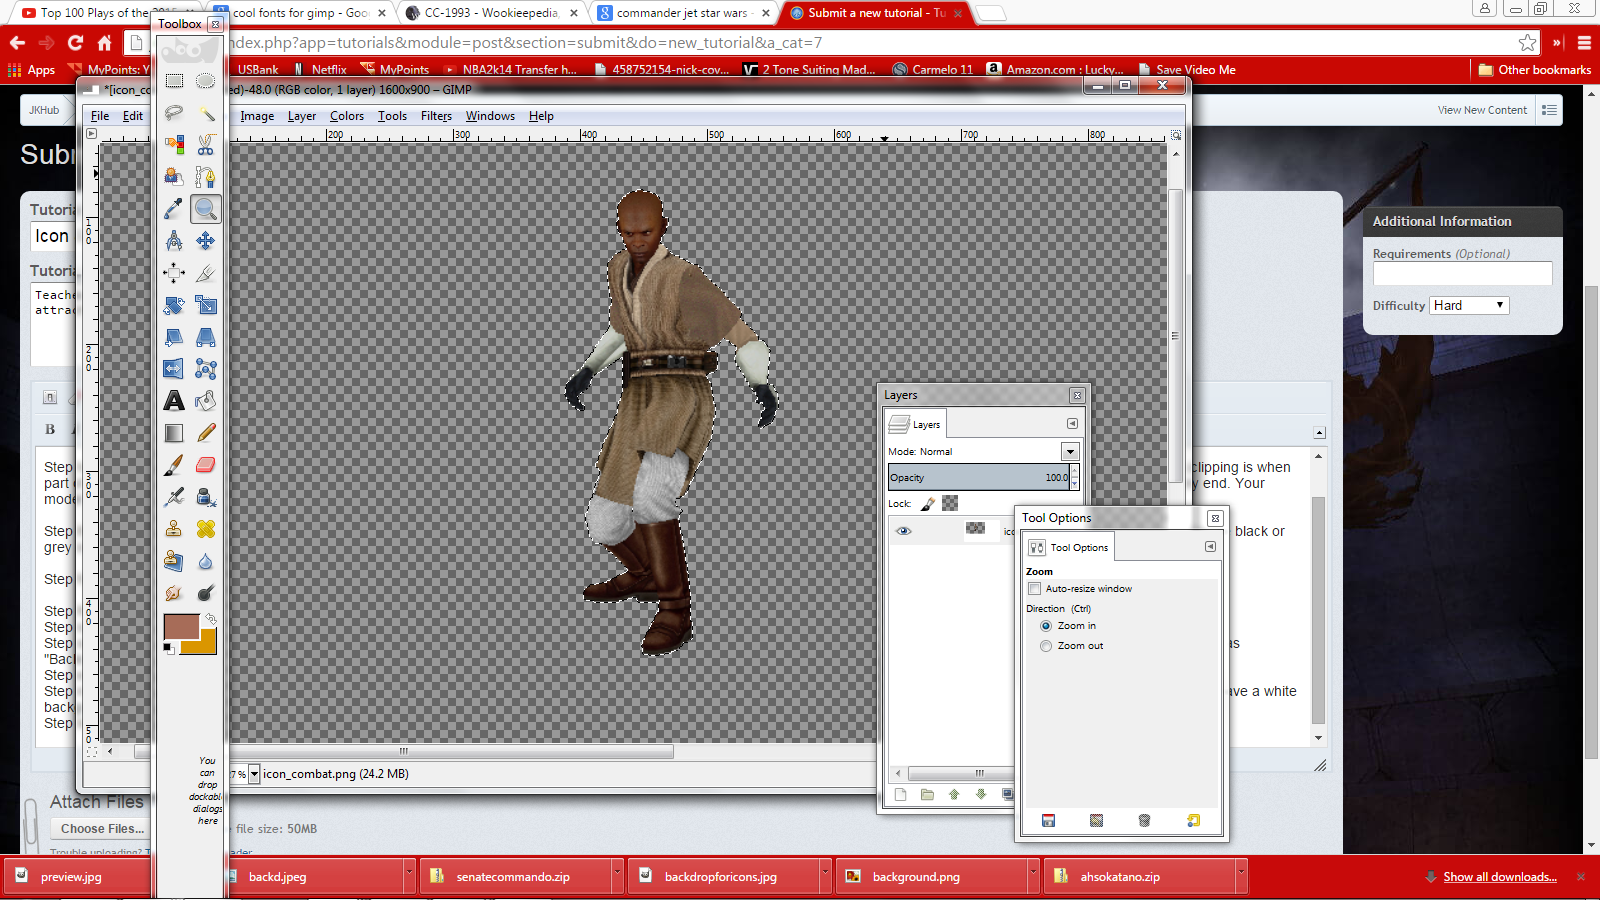
Step ten: After you have added the alpha, click back onto the Icon and press "DELETE." This is what it should look like.
Step eleven: Open your "backdrop." Resize the image to 128 by 128. This is as large as icons can be. DO NOT zoom in yet, this is just the start.

Step twelve: Go back to your Icon picture. On the top, there should be a tab that says "select." Click on it, and select the "All" option. Press CTRL+C or Copy.
Step thirteen: Open backdrop, and paste onto it. Your character seems huge compared to that picture right? Well we're going to fix that. Press "scale" on the Toolbox and click on your character. Now when you scale him down, he will move. He will become invisible for a moment. But that's because he's not on top of the image. So? Move him to be above the backdrop image and he/she will reappear. I personally scale to where I can see the entire character but also leave room for text.
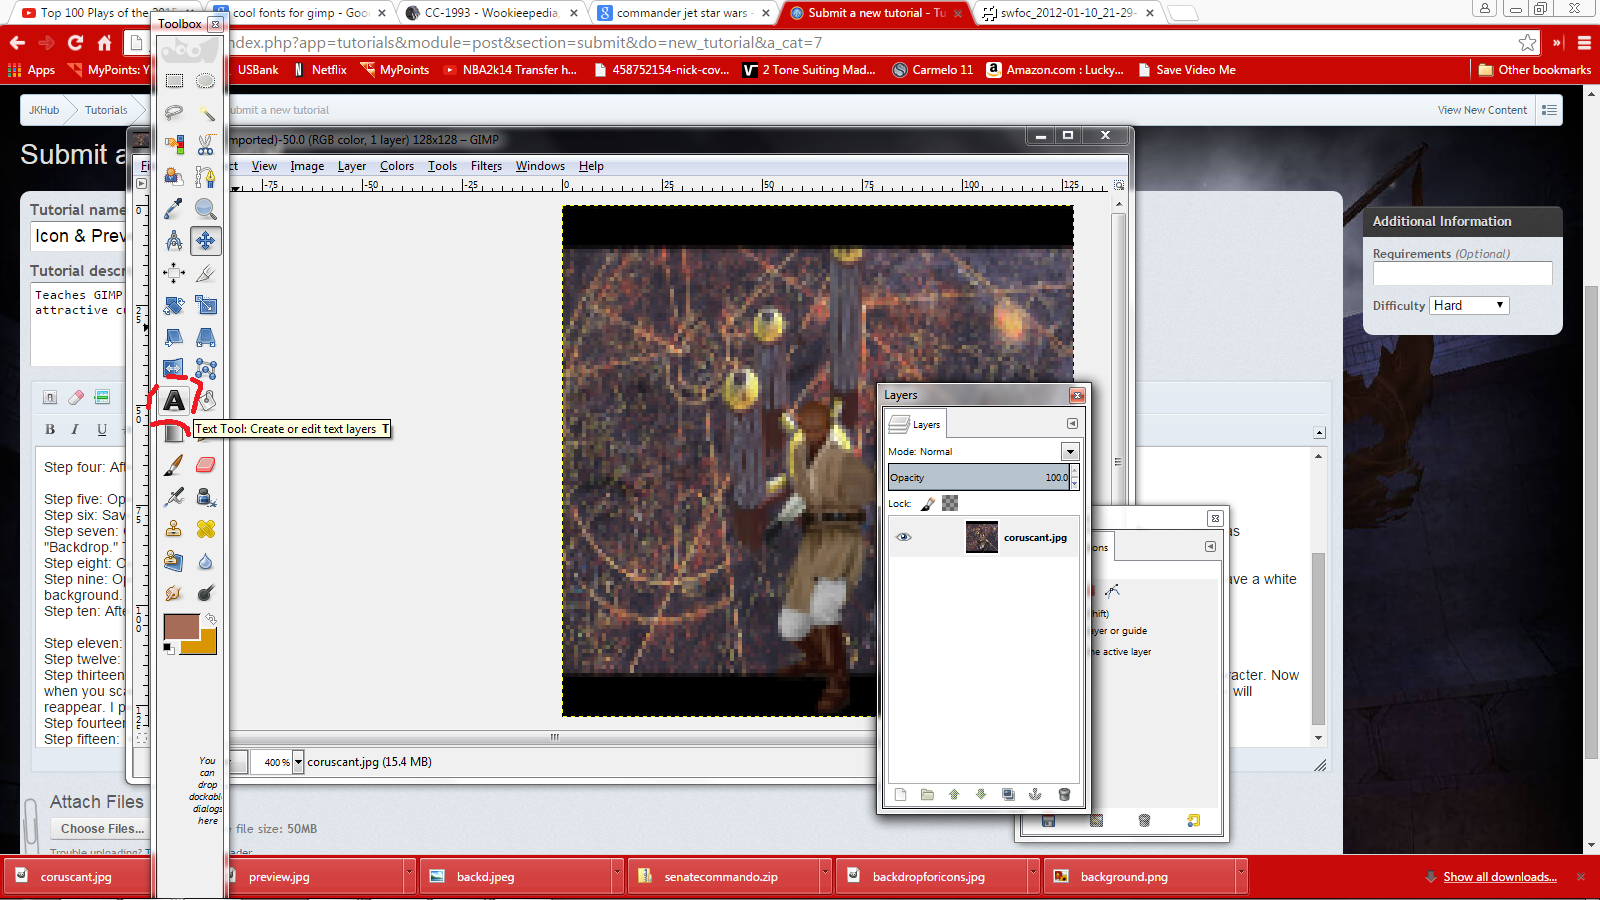
Step fourteen: Zoom in to where you can see what's going on! Press as many times as you need to.
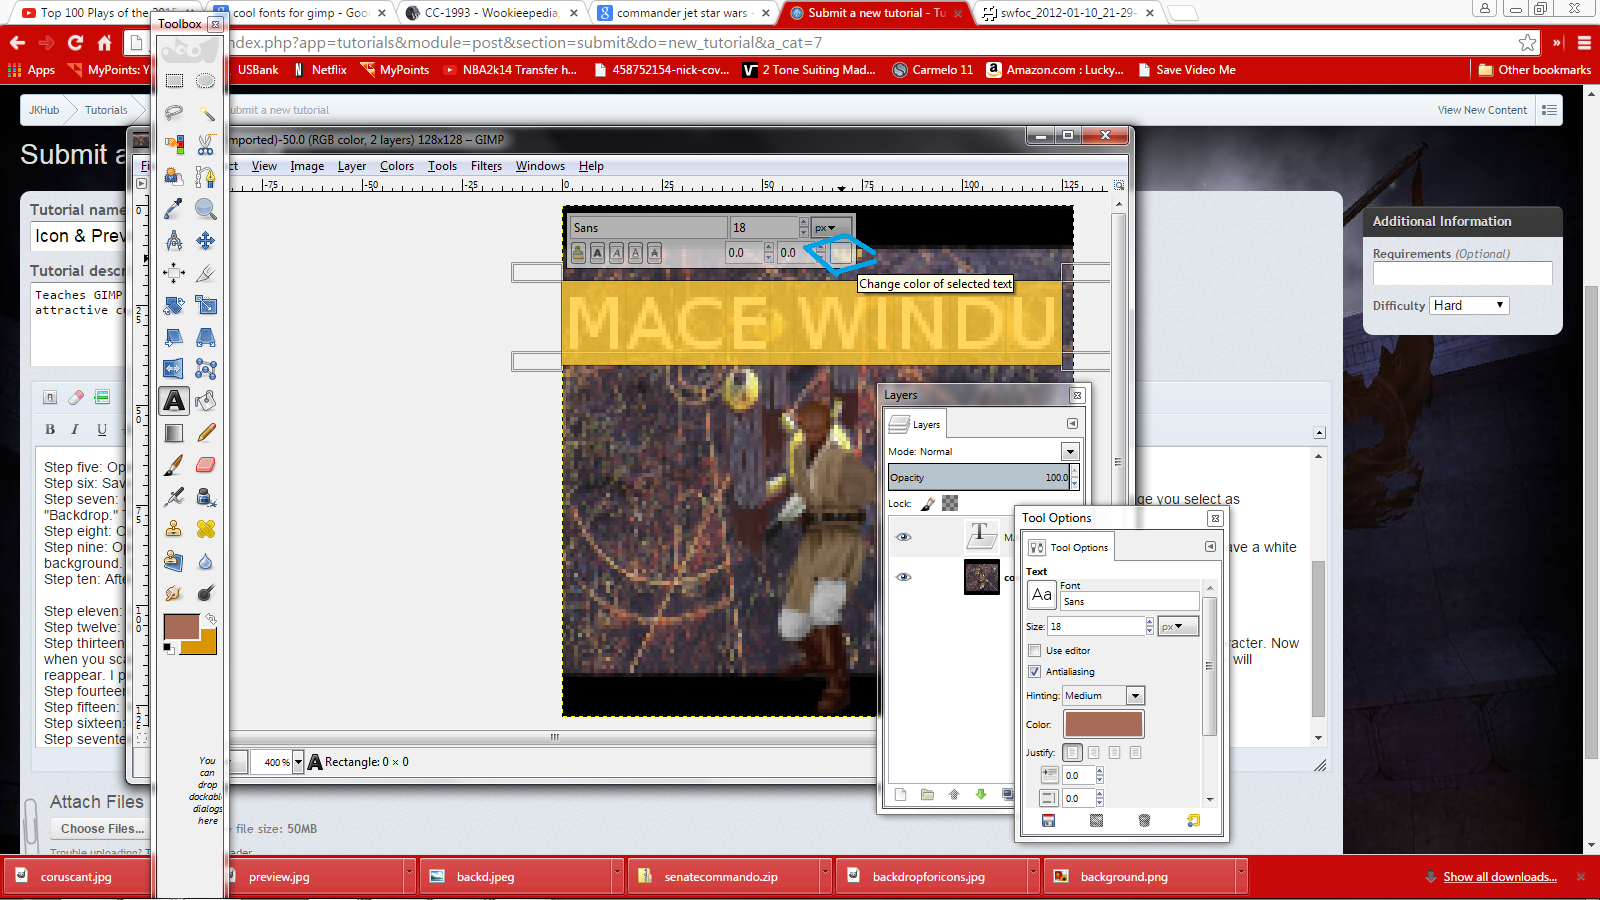
Step fifteen: Now that you can see, press the letter "A" icon on the toolbox. We're about to create the name displayed above the character.
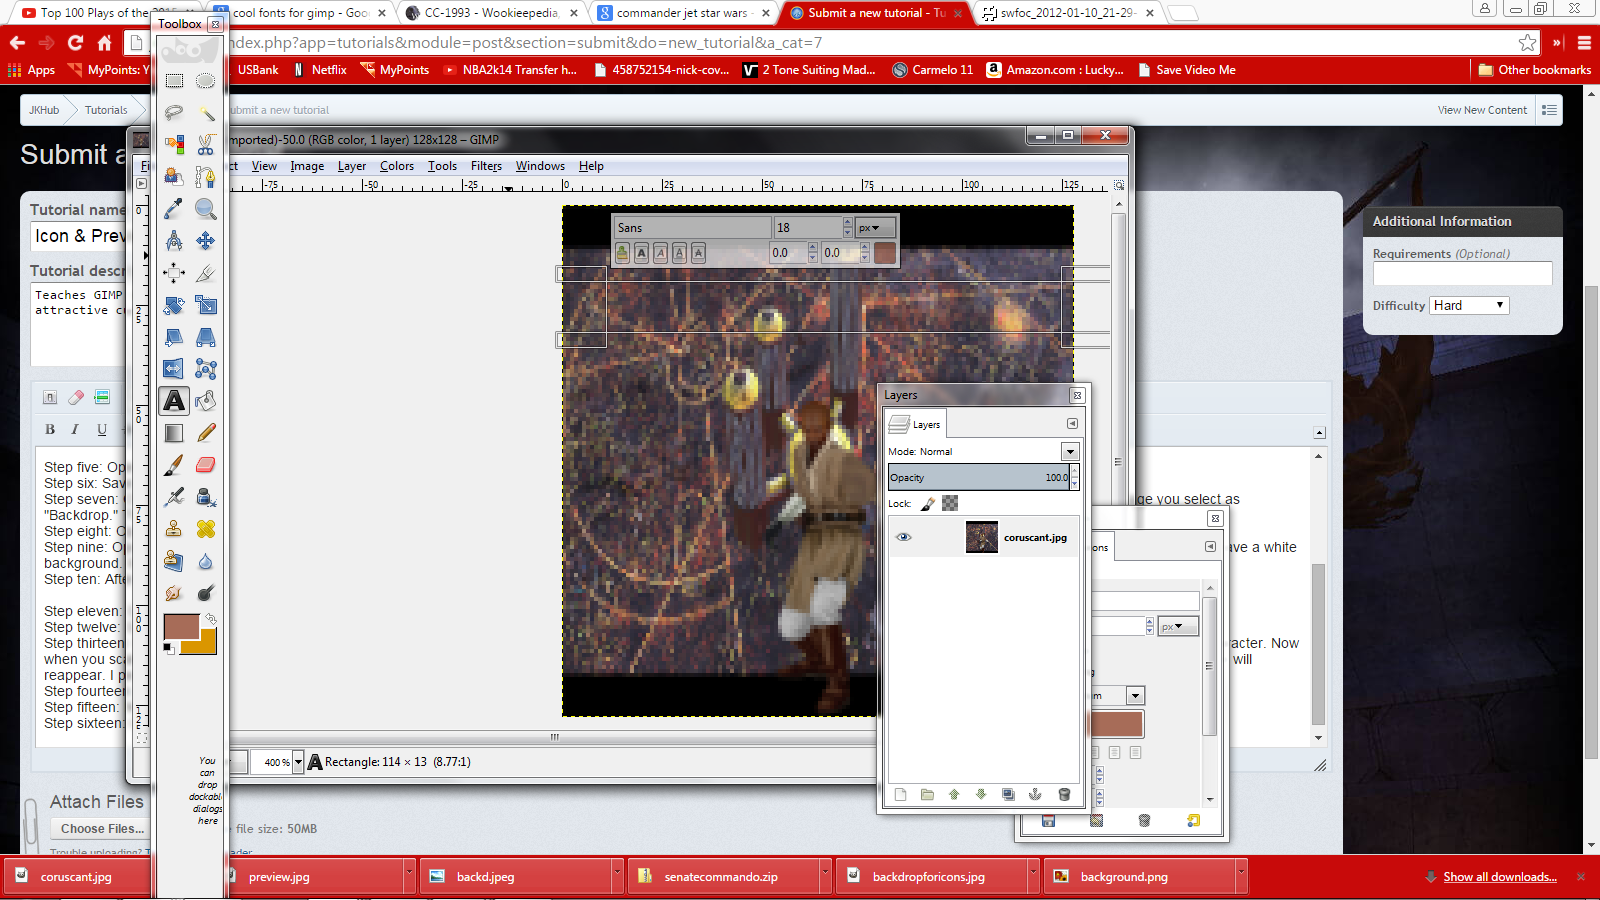
Step sixteen: Click and drag above the character. The size doesn't matter for now, just as long as it's tall and wide enough to support size 18 font. You should see this.
Step seventeen: Type the name in all caps. I used Mace Windu so obviously I'd type "MACE WINDU". After you've typed the name, select all of the text. Then press the square and select the color white- this way the text shows up on the background.
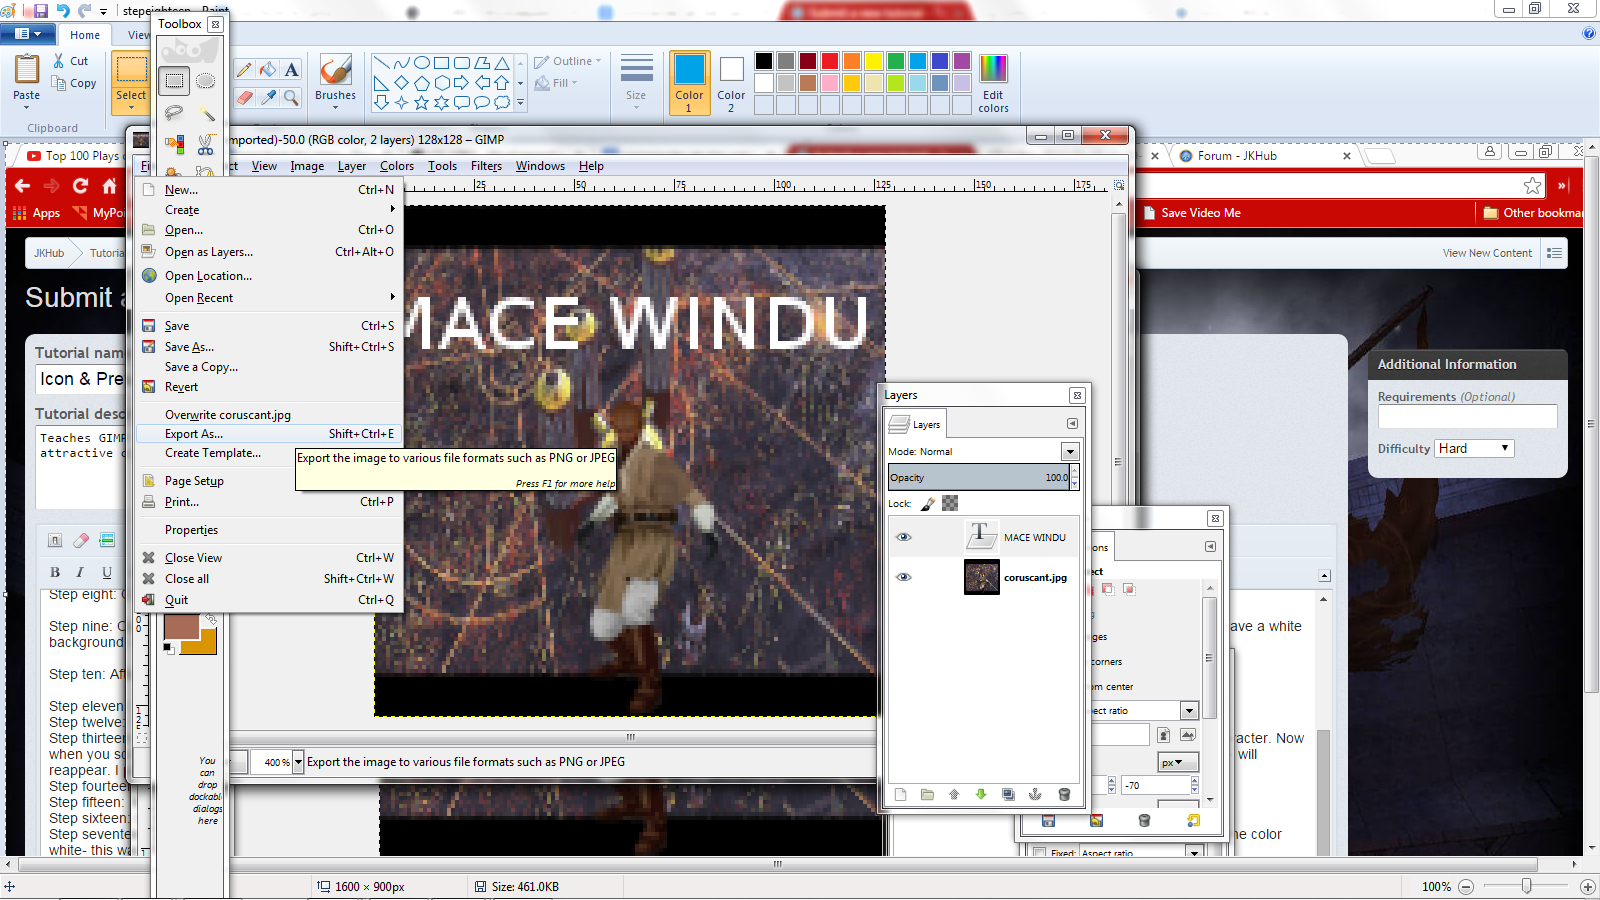
Step eighteen: Press "file" then "Export as". A menu should pop up. Obviously you'll name this icon_default, but change the file extension to .JPG, that way, if anything goes wrong or you feel like changing it, you'll still have the Modview screenshot you saved earlier.
Step nineteen: Copy+Paste your models/players/whateveryourmodelis folder into your PK3 (or if you have an existing PK3, open it up and copy+paste your new icon inside it) with your new icon.
Step twenty: Launch MP and enjoy your work.
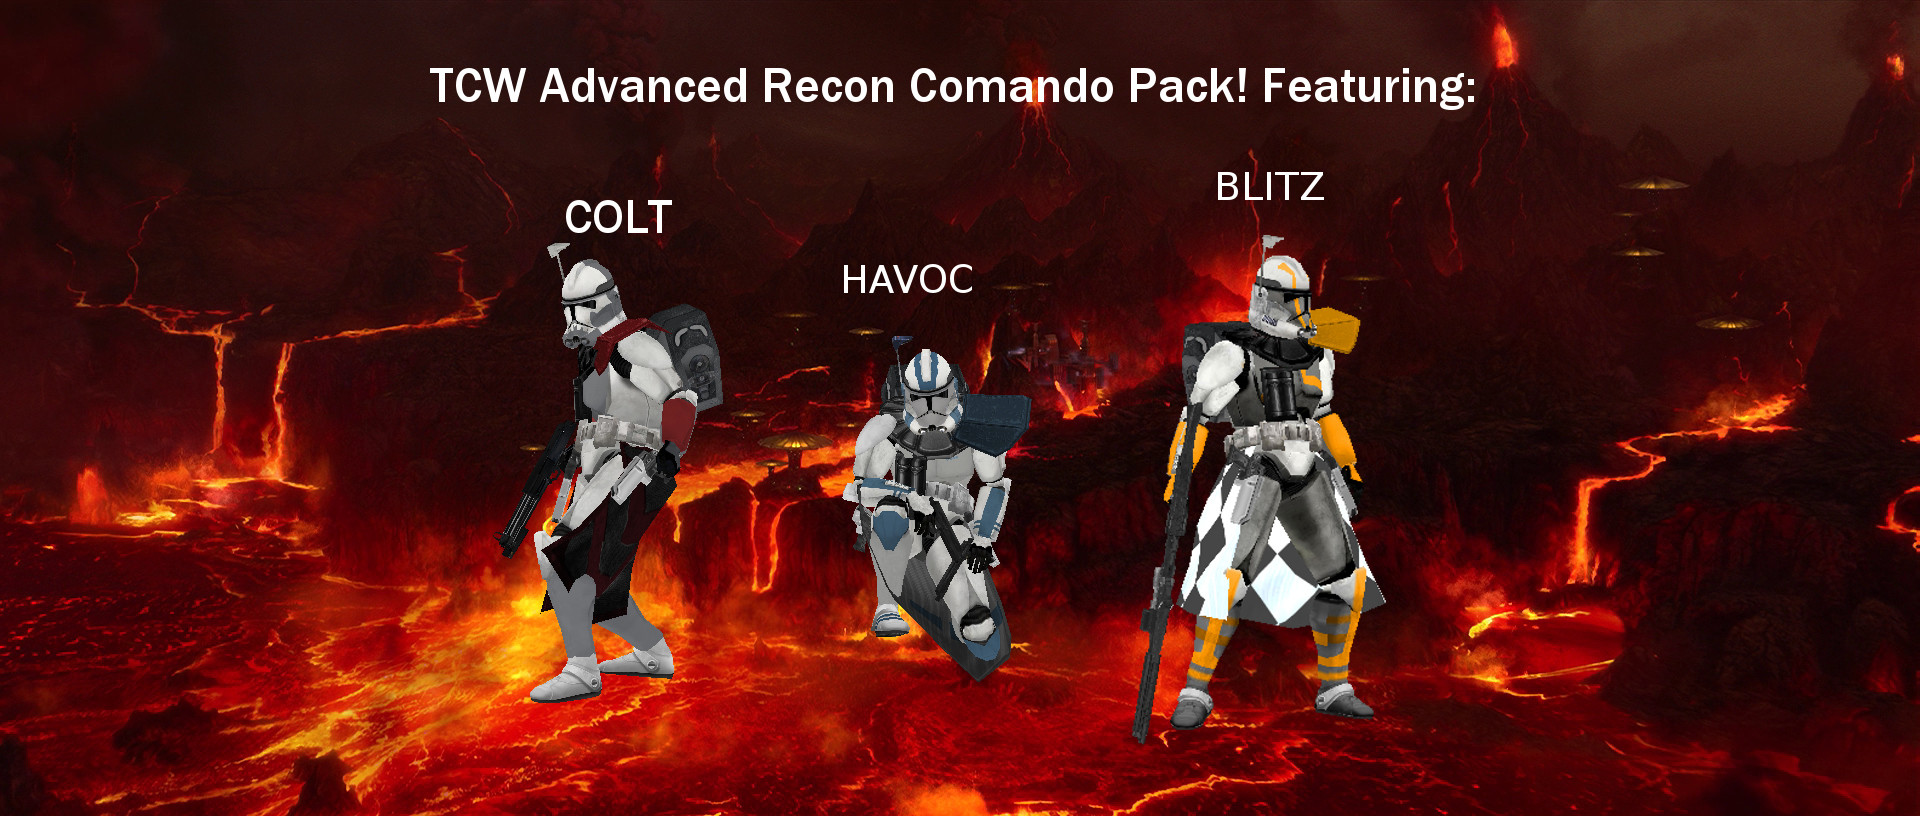
Here's a few previews I've created in my time.
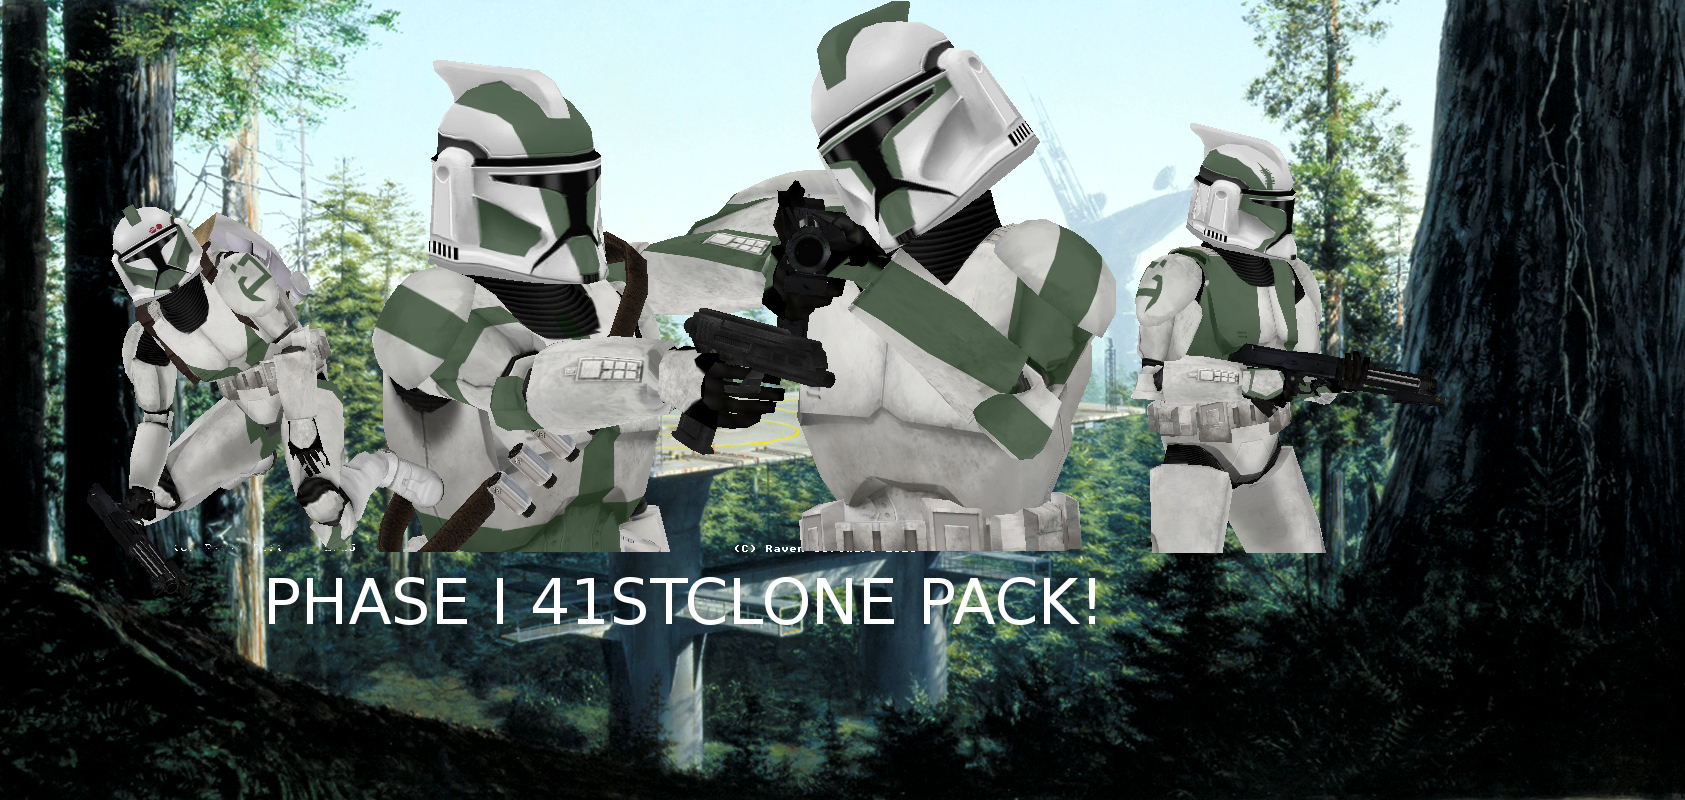
IF CREATING PREVIEWS: The dimensions of the image do not matter. The process is the same, only difference is dimensions of the images are irrelevant. The reason I mentioned keeping the layers tab open- every time you paste in GIMP, it calls the pasted section a floater, and it hasn't been assigned a layer. After you've moved the pasted section around- scaled, rotated, flipped, whatever- press the white square/page on the bottom left corner of the layer page thing. That way, if you've pasted multiple characters in, you can move layers up or down so that the characters appear to be behind/in front of the other. Look at my Phase I 41st preview below. Gree is in front of the Phase I green trooper (who is aiming down sites) even though I pasted green leader way after Gree. That's because I moved the layer which had pasted Gree above the one that contained Green Leader. This allows for screenshotted models to be overlapping without looking shoddy. I hope you guys enjoyed this tutorial. If there are any questions, feel free to PM me!


Recommended Comments
There are no comments to display.
Create an account or sign in to comment
You need to be a member in order to leave a comment
Create an account
Sign up for a new account in our community. It's easy!
Register a new accountSign in
Already have an account? Sign in here.
Sign In Now