


Introduction
This tutorial is based on the reskinning of the standard models you can usually find under your profile screen. I have added a screenshot under almost every piece of text you can find here incase you do not understand something.
1: The Tools
2: The Start
3: Lets Paint!
4: Ingame with it!
5: RESULTS
1: The Tools
Alright so you want to make your own skin? Well you will be needing certain tools to start with or else you won't get any further.
Here's a list of tools that you will be using:
- Pakscape(recommend)/Ipak3/winrar/winzip
- Modview
- Photoshop/Gimp/or any other painting program
- Notepad/textedit or any other text editing program
Download Pakscape
Download ModView
Photoshop is not a free tool and i will not give any download links of that, Gimp on the other hand is free to use and can be found here http://www.gimp.org/ I will be using Photoshop in this tutorial but both Photoshop and gimp work the same so it shouldn't give any issues
TextEdit is an text editing tool for Mac users
Pakscape
Is used to get into the assets file where the skins are located you could compare it to winrar or winzip but i recommend to just use Pakscape because you can easily save your skin as a .pk3 later on and its easier to arrange everything. There also is Ipak3 for Mac users but i have no knowledge on that program other than that it can be used to make maps and skins
Modview
Is used to see your skin, you can also see the animations for further amusement. There also is a option in there to make a screenshot to file or clipboard which will proof quite usefull if you were going to show off your skin before showing it ingame.
Photoshop/Gimp
Our very own digital paintbuckets, this is where we will do most of the work in...well to be honest not the most annoying work.
**Both programs work on the Mac**
Notepad/Textedit
You can use any text editing tool for use on the .skin files but i recommend the ones that come standard with windows or mac.
2: The Start
Before we start reskinning, we need a folder to actually place them in...
So what i want you to do is:
- Go find a location somewhere on your computer and make a new folder and name it Base.
- Then go inside the Base folder and make a new folder called Models
- Then go inside the Models folder and make a new folder called Players
Now you would have: (example:) C:/Base/Models/Players(I will use the desktop)

Now its time to get some things done inside the players folder
To do this we will have to open Pakscape
As soon as you have opened pakscape, do it in this order: File > Open > Assets1, Then go into Models > Players >
And now you copy/paste the _Humanoid folder into the Players folder that you have just created.


Sometimes you might get issues in modview about shaders, usually its not a big deal but just to be on the save side: Open Assets1 (if not already) and copy the entire Shaders folder inside your newly created base folder.
Now comes the fun part, WE are going to put the skin you want to reskin inside your newly created folder. I will be using the Jedi model.
Open Assets1, once again inside Models > Players. And now you search for the model you desire (jedi model for me)

Put your desired reskin inside your newly created players folder so it would look like Base > Models > Players > Skinfolderhere basically in the same place you have put the _Humanoid folder.

Alright. Just one more thing till we head over to the next chapter.
We are going to show off our skin in Modview
- Start modview
- Click Open and then look for the folder your skin is located at
- Open the .GLM file (usually the only one visible)


AND THERE IS YOUR SKIN! We will be using this program to keep track on our skin
If you run windows Vista or 7, you might get crashing issue's with Modview. To fix this you will have to change the compatibility mode to XP
3: LETS PAINT!
Go inside your desired skin folder and you will see ALOT of files in there...these are the files you will be reskinning. For some skins you might want to remove some unnecessary files.
If you are following the tutorial exactly as i am doing (using the Jedi model) then remove all the files not referring to the standard jedi model
You might want to re-open Modview after removing some parts

Now open the first file you wish to reskin in your desired painting program. I will change the torso.

From here you are going to let your inspiration flow and do whatever you want!!!
I will make the torso white using the quick selection tool, black/white tool, and then adjusting the brightness in the variations option.

Ok so you have changed something inside your model. Now you probably want to see how it looks like on your skin don't you?
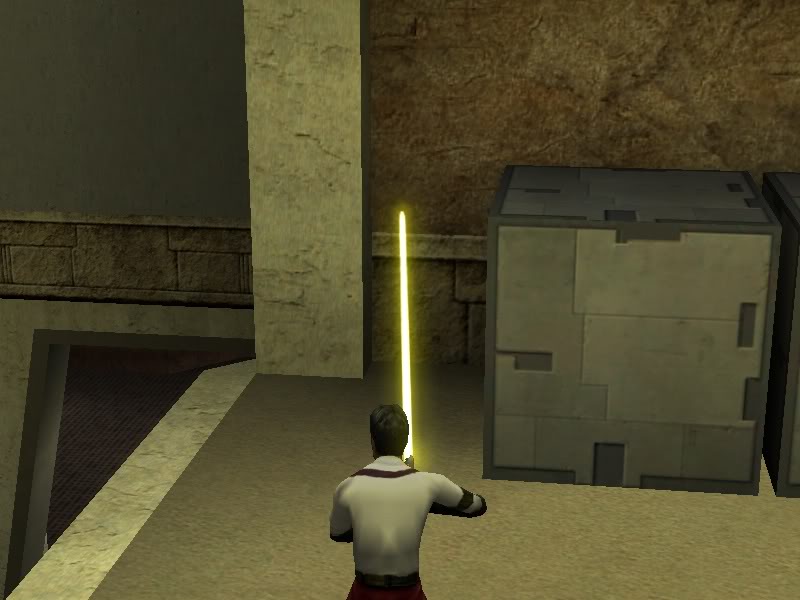
Alright maximize modview and then press the button shown in the below screenshot
Hint: Pressing both buttons next to the red circled button, you can adjust the view

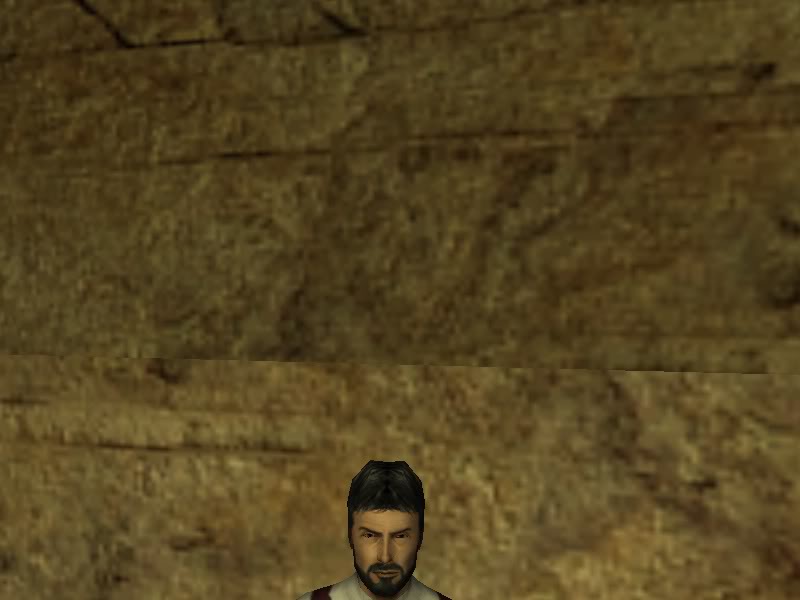
Now your skin will refresh and whatever you have done to the .JPG file will be shown. Here's an example of my own edit:


Hint: To move around towards the back of the skin, simply hold your left mouse button and drag around.
Alright so are you happy with what you have done? As soon as you have reskinned all the parts that you need, We will want to see it ingame!. The only problem now is that you would just have replaced the normal model so we will have to change some other files first!. Which will be explained in the next chapter.
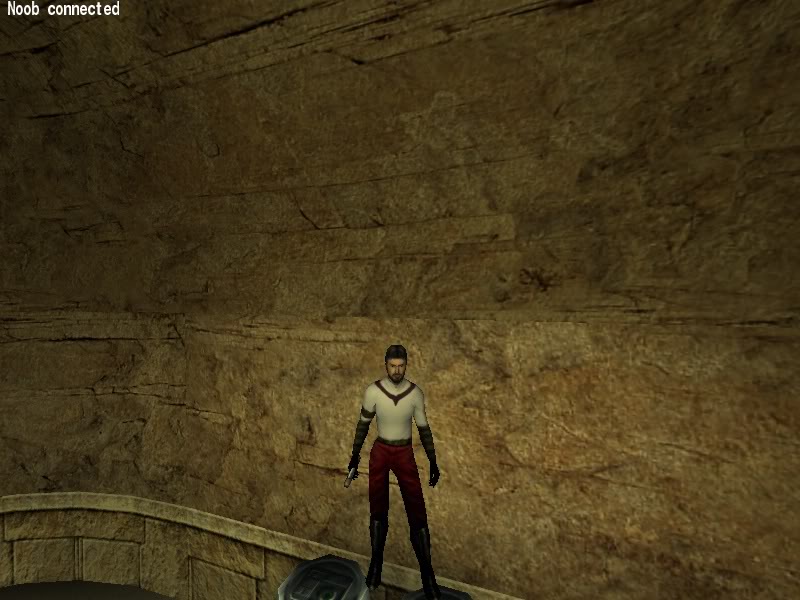
But first...lets see what i have done with my version of the Jedi.

4: Ingame with it!
Finally we're gonna see him ingame! After some other parts of course.
We can basically just put this Jedi model into our game's folder now but that would just overwrite the original Jedi model, and i don't want that in this tutorial!. So we are going to rename him.
First i want you to rename the folder where all the .JPG files are in. Use whatever name you like BUT remember the name. I will use ValisTest

Now go back into your skinfolder and open the Model_Default file in notepad. You will see alot of lines...

Now basically all you have to do is rename all the names (Jedi in my situation) into the same name you gave your skinfolder.
Hint: Press CTRL+H so you can change everything in an instant

If you have changed the names of the JPG's. You will also have to change the names inside this file or else it won't work.
Are you unsure if you did everything right? Then open Modview again select the skin and see if you get any errors, most errors come from the Model_Default file. Everything correct now? Alright! now its time to get it into the game folder.
So open pakscape and make a new a new file by either going to File > New or by pressing the white paper in the top left.

Now you will have to do something probably already familiar to you. Make a new folder and call it Models then go inside models and call it Players.

Now put the folder of your newly created skin into the Players folder. And save the file as a .Pk3 Inside your Game's Base folder.

Alright! you got your new skin placed in your game's Base folder! now go ingame and see if it works! I will do the same!
Hint: But for you it might be best to read a little bit further first
I have tested my version of the skin, and it works. And if you have followed the tutorial the correct way then yours should as well BUT i suggested you shouldn't have looked yet. BECAUSE we are still missing something. Which are Icons!
Normally i would've put this in 1 of the other chapters but this way you will learn more about the programs as you play around with them.
So go back to the folder where you edited all your JPG's. And grab the Icon_Default. Open it in your painting program.

Now edit it however you like, as this will show up on the leaderboard at times. And you will be able to see it when you want to select it from your profile.

Now you open up pakscape, and you open your newly created skin which is located into your game's base folder
Go into Models > Players > Skinfolder And put your icon in there. It could be that you already put some icon in there, so in that case just overwrite it.
5: RESULTS!
ALRIGHT! now go ingame and test it!
When you enter the game you can either select your skin by clicking the icon in your profile OR type /model YourSkinNameHere in your console (mine would still be ValisTest)
Here are some screenshots of the skin from this tutorial.
https://jkhub.org/images/Pd6zs.jpg
https://jkhub.org/images/aL1bZ.jpg
https://jkhub.org/images/0bo33.jpg
Congratulations, You have succeeded in making your own skin!. I'm looking forward to see your future work!


Recommended Comments
There are no comments to display.
Create an account or sign in to comment
You need to be a member in order to leave a comment
Create an account
Sign up for a new account in our community. It's easy!
Register a new accountSign in
Already have an account? Sign in here.
Sign In Now